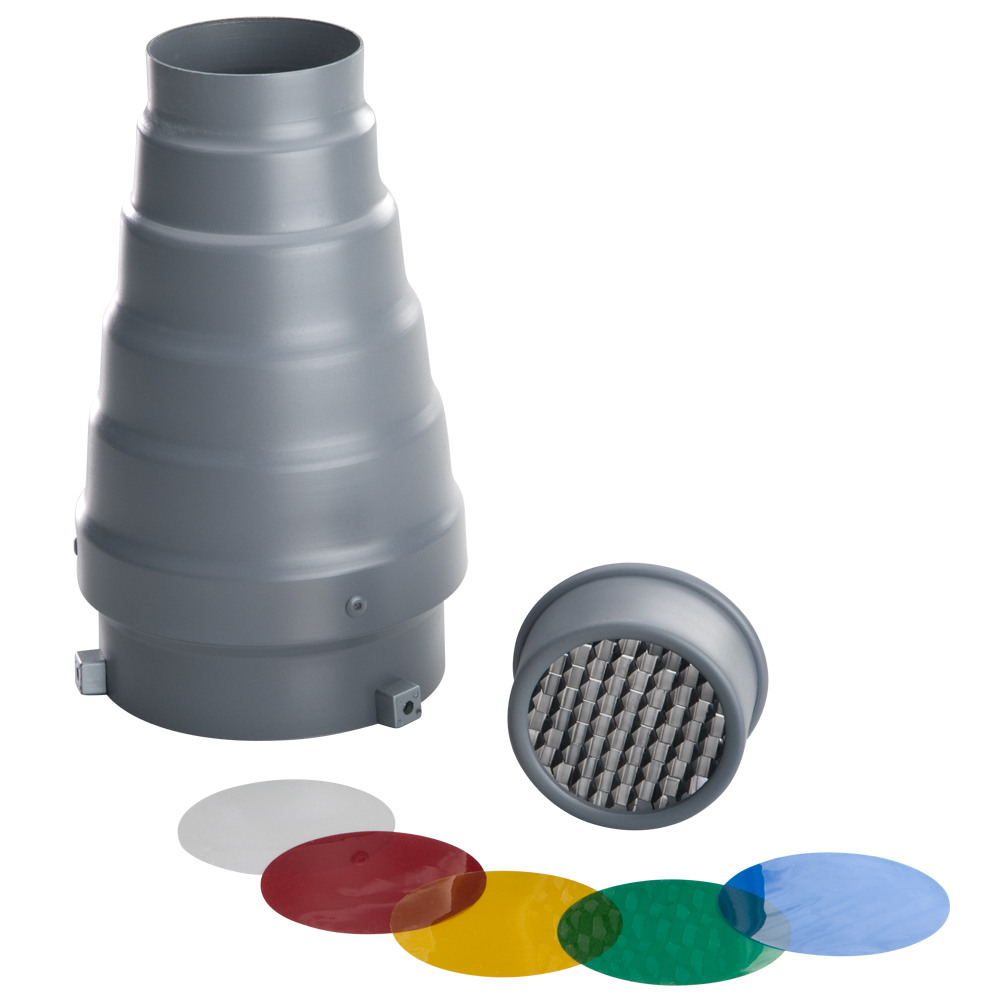
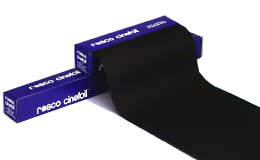
Today on The Slanted Lens, we are going to answer the age old question, “What is a snoot?” We are still at the YouTube Space and going strong but before we get to our film noir setup, let’s take a look at what a snoot is. A snoot is a funny name for a piece of equipment that fits over a studio light or portable flash and allows the photographer to control the direction or area of coverage of the light. In film, we use black wrap to create snoots – basically black aluminum foil that can be formed into a funnel and molded to the light.
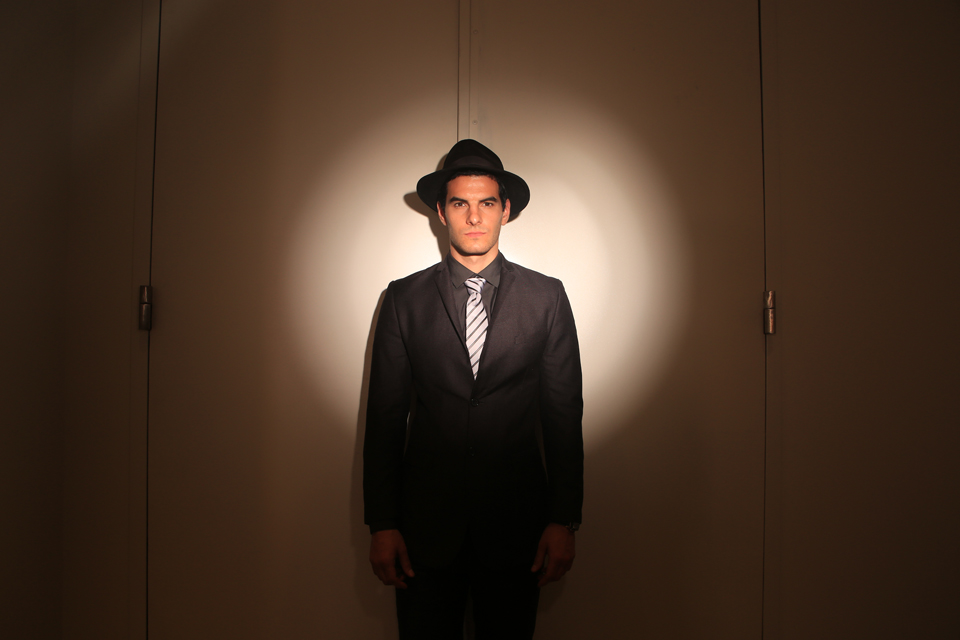
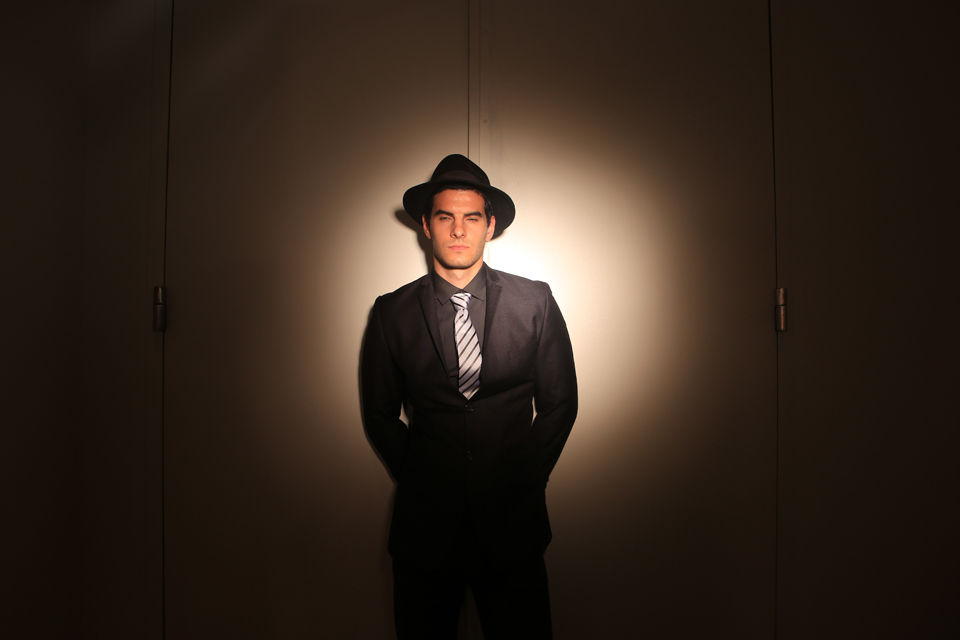
So what is the area of coverage of a snoot? This is a hard question to answer since there are many different sizes from different manufacturers and you can make your own. The one I have is fairly average so let’s look at how it compares to a grid. I shot an image of our subject against a white wall with the light eight feet away and a second on set. The area of coverage is very narrow and the fall out is very sharp. There is a certain amount of fill in the dark areas when we shot on the white wall but I don’t think the snoot was sealed well enough to the instrument. Images using a snoot usually have a very concentrated area of light with no fill in the shadows.
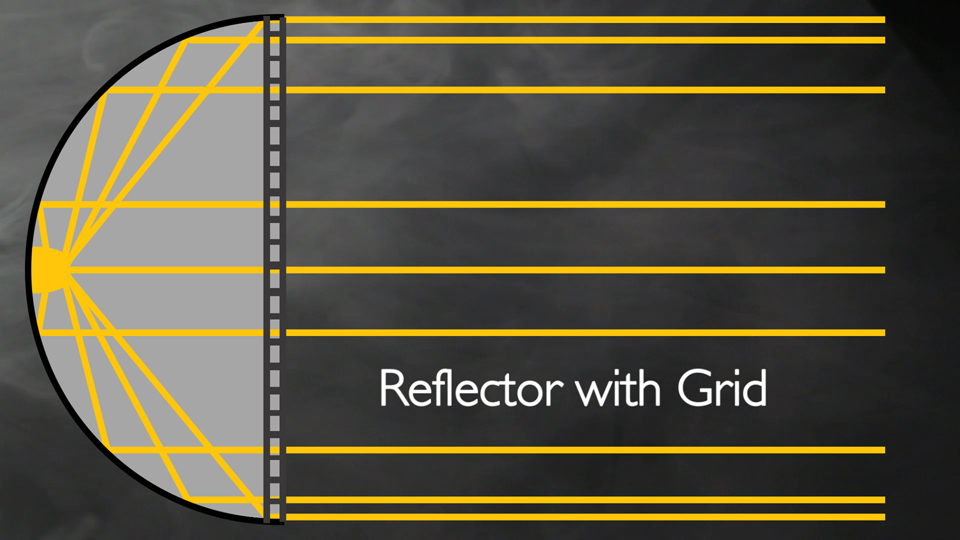
Compare this to a shot with the same setup using a 10-degree grid. The edges are softer with the grid, the light falls off much faster and there is a hot spot in the middle.
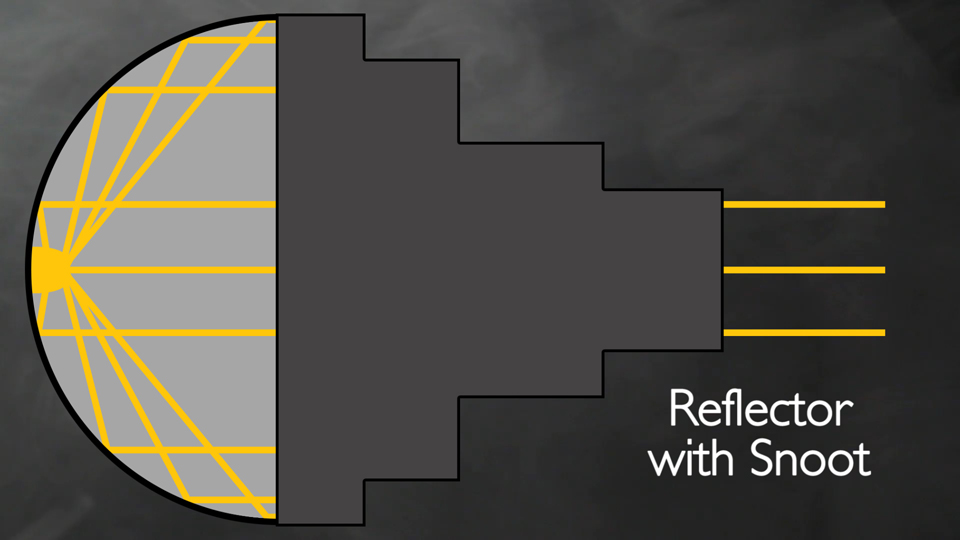
The quality of light with a snoot is a little bit harder than a grid. It is a very directional light with little or no fill from light bouncing off the sides of the reflector. Because the snoot is so far out in front of the reflector, it has negated any side bounce. Take a look at these graphics of how the strobe’s light is distributed using a grid and a snoot.

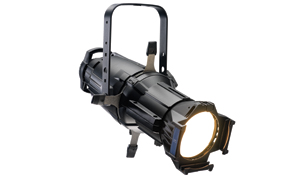
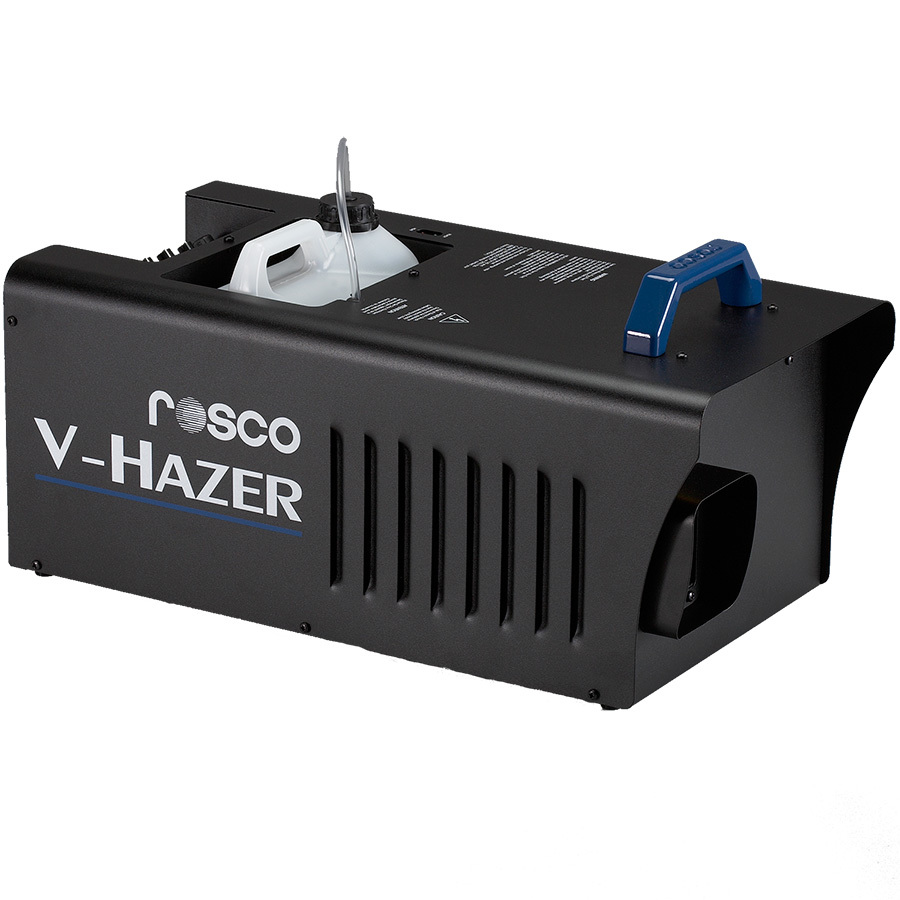
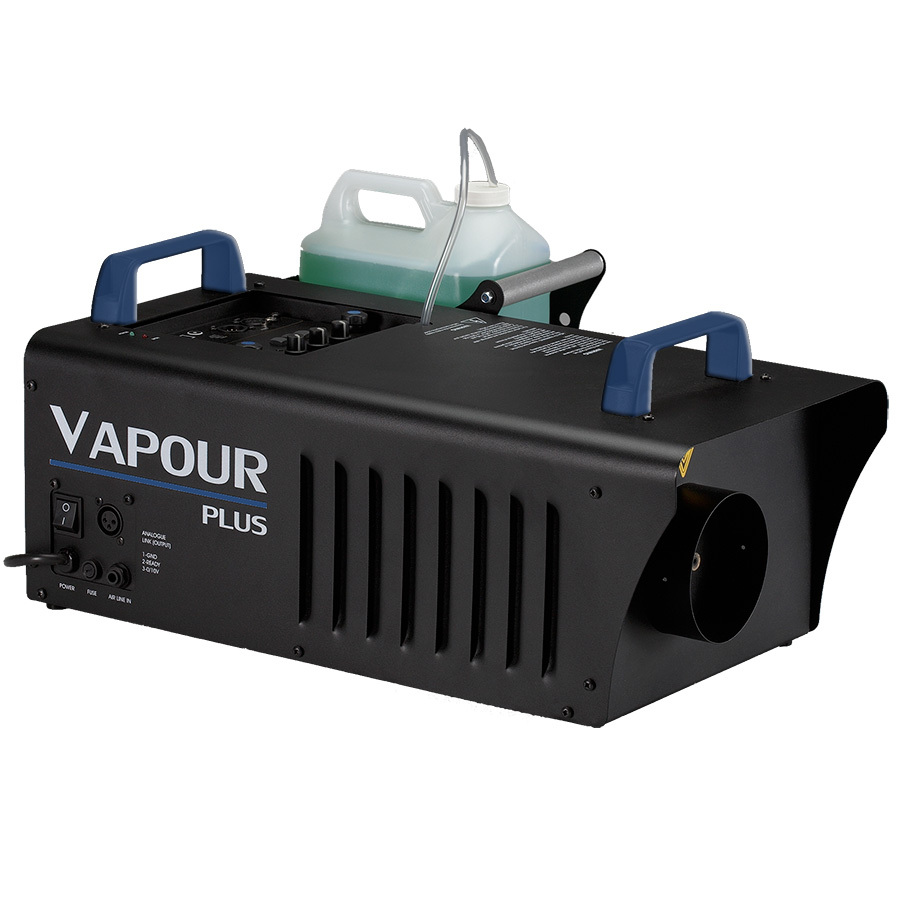
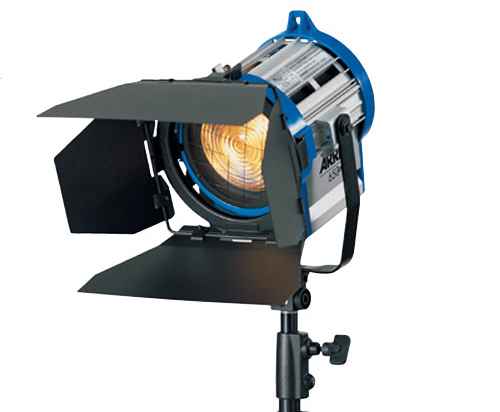
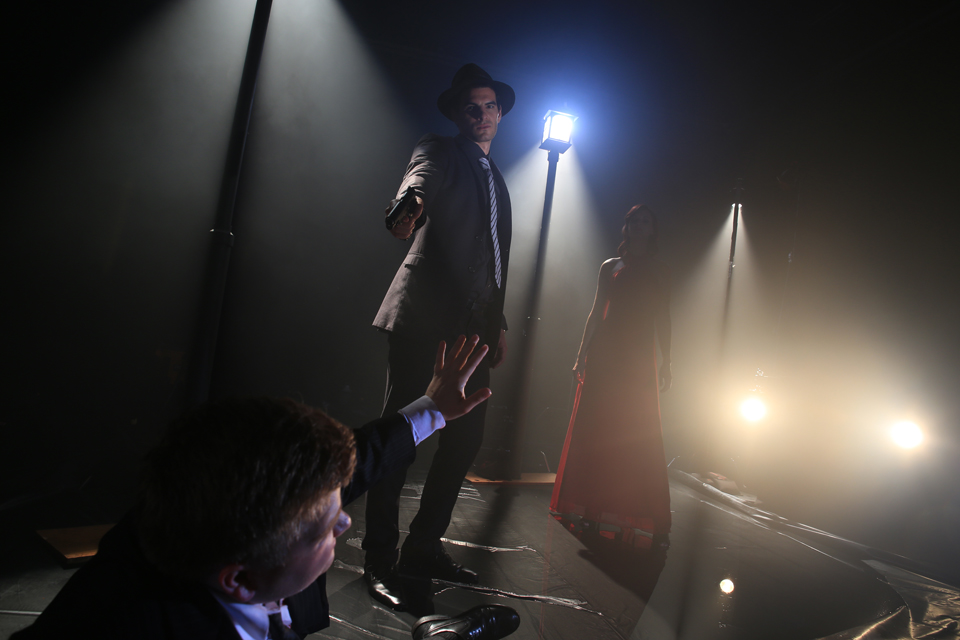
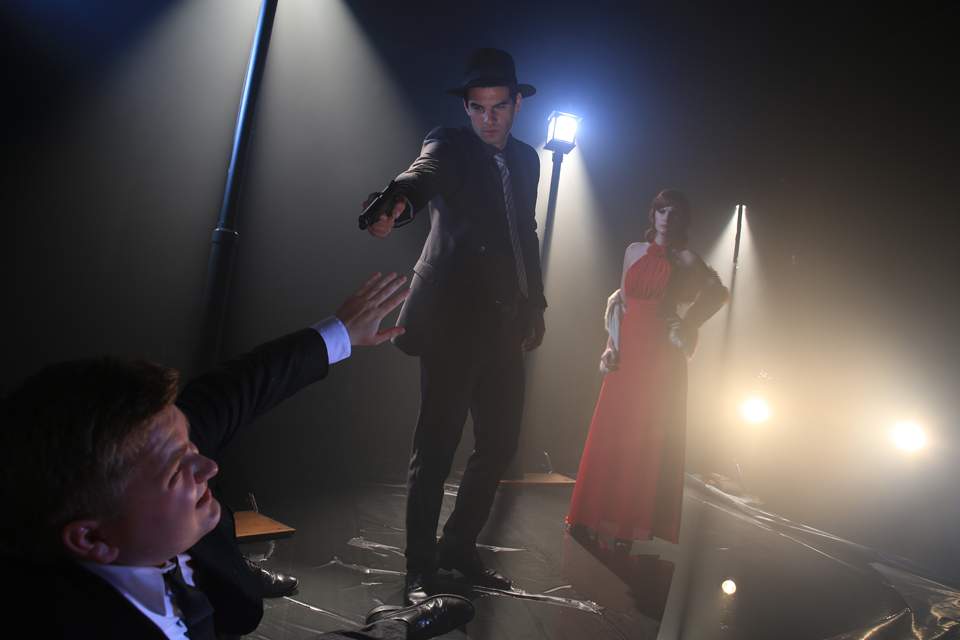
Now that we have a better understanding of what a snoot is, let’s use it on set and see how well it works. As I explained in the last lesson with grids, we made some DIY street light poles with ABS pipe and some Source 4 lights. The car is really two ARRI 650 tungsten lights clamped on a cross bar. I am using a combination of haze and fog from Rosco’s V-Hazer and Vapour Plus machines.
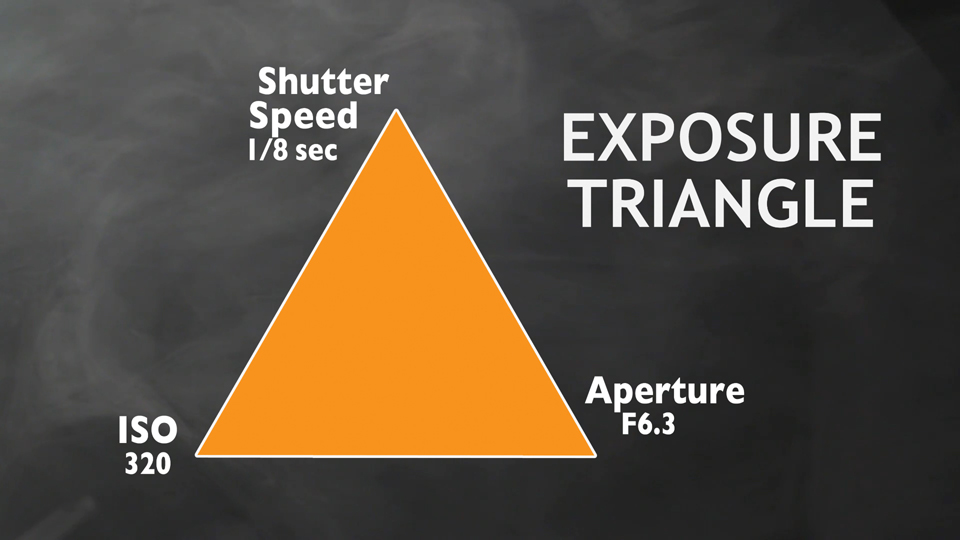
I am shooting on a Canon 5D Mark III with a Tamron 24-70 mm lens. I will be shooting as wide as I can get at 24mm, using a shutter speed of 1/8 to help burn in the Source 4 lights. I want some depth of field so my aperture is f6.3.
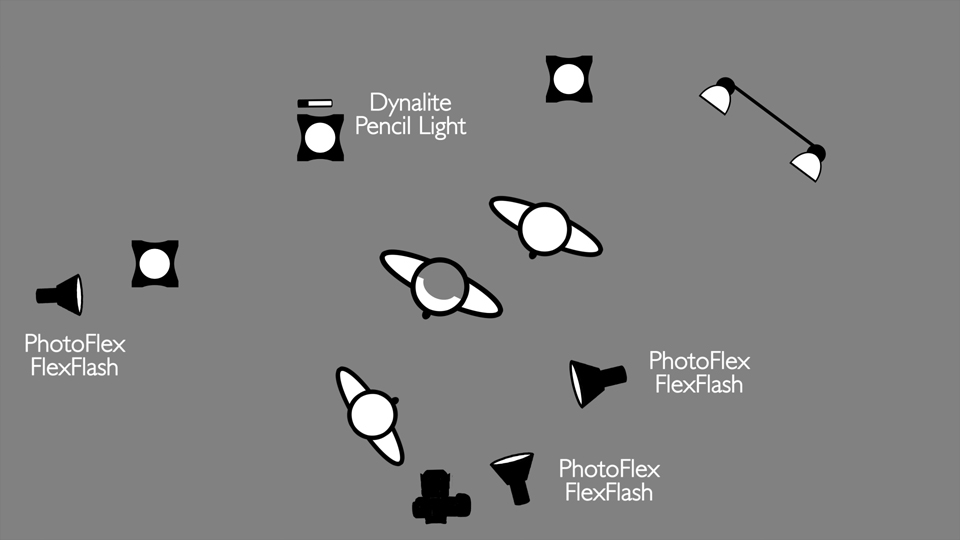
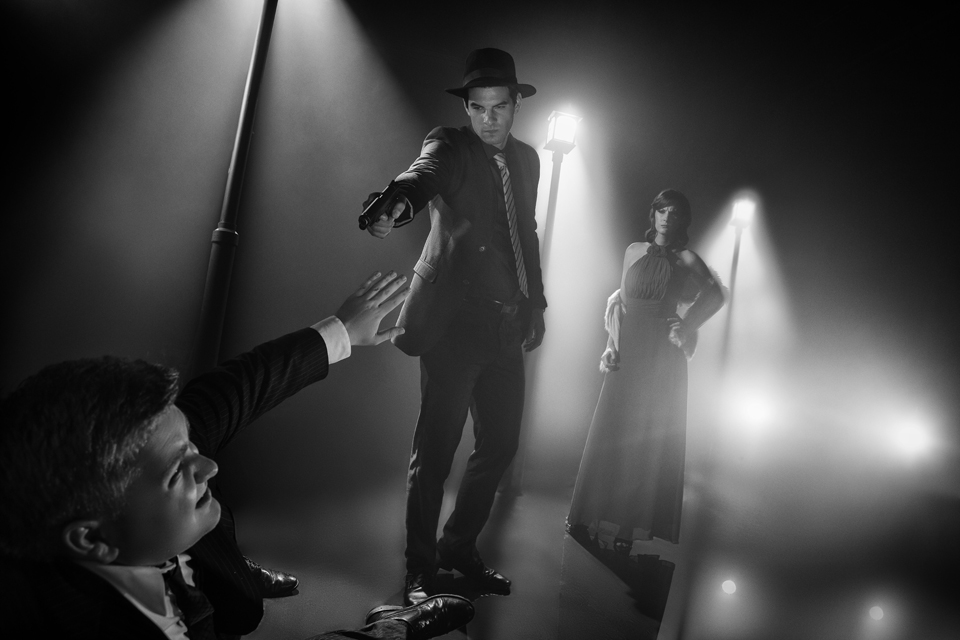
The first strobe light is a PhotoFlex FlexFlash that was placed down low coming in from camera right. This gives us a nice highlight on the victim’s face that looks like it is coming from the car. We will use black wrap to make the snoot.
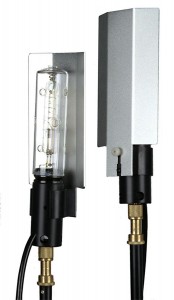
Next, I added a Dynalite Pencil light to our middle street light to give us a nice glow around that light.
I used the only snoot I own on our next light, another FlexFlash. This is an old Speedotron snoot that fits onto a 7-inch reflector. I will keep the exposure low on this light so it integrates into the scene and looks like light coming from the car.
The last light is from camera left and will be a rim light on him and key her.
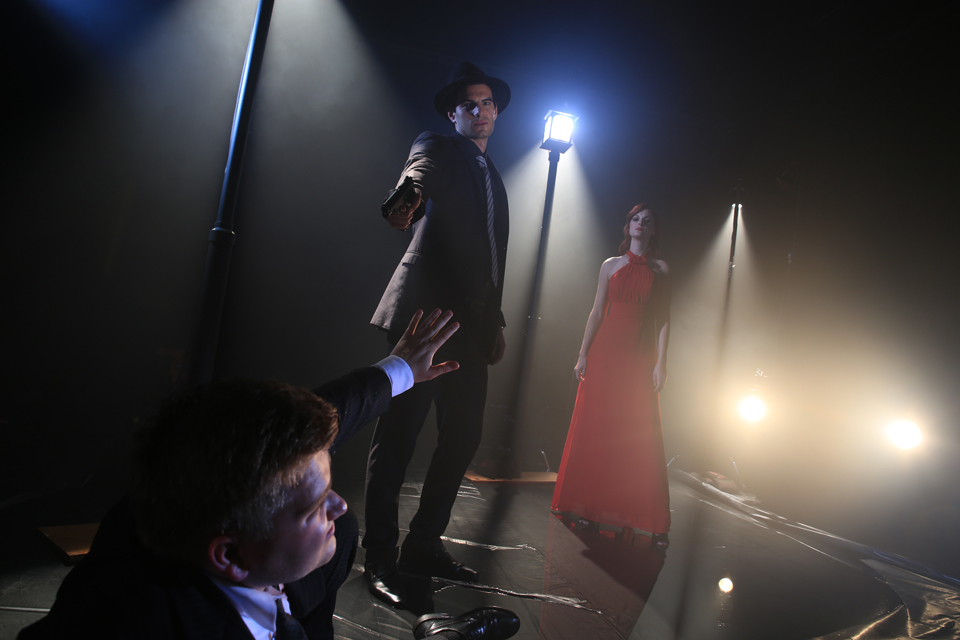
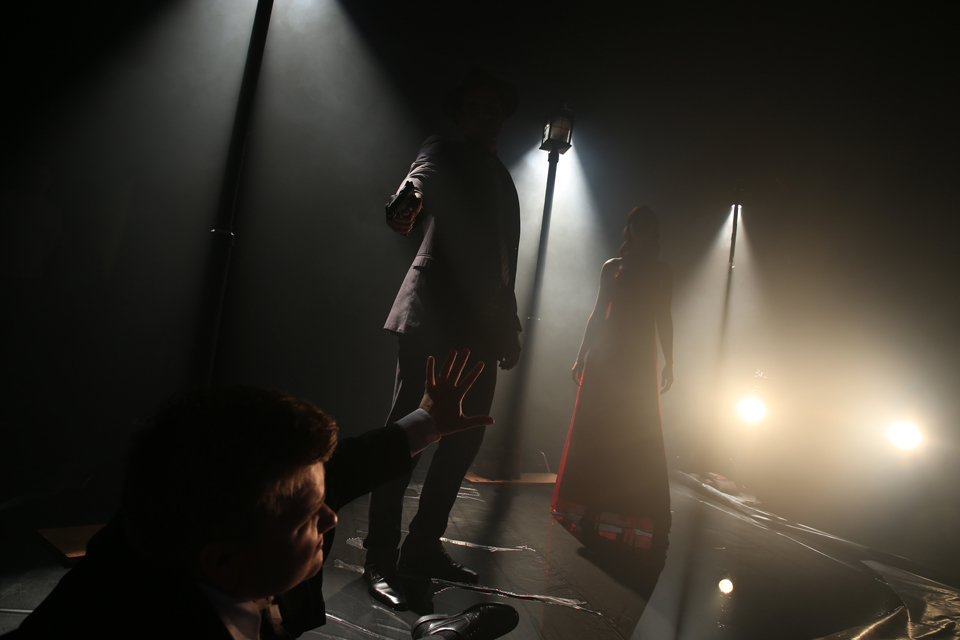
Now that we have all the lights set up, let’s get creative.
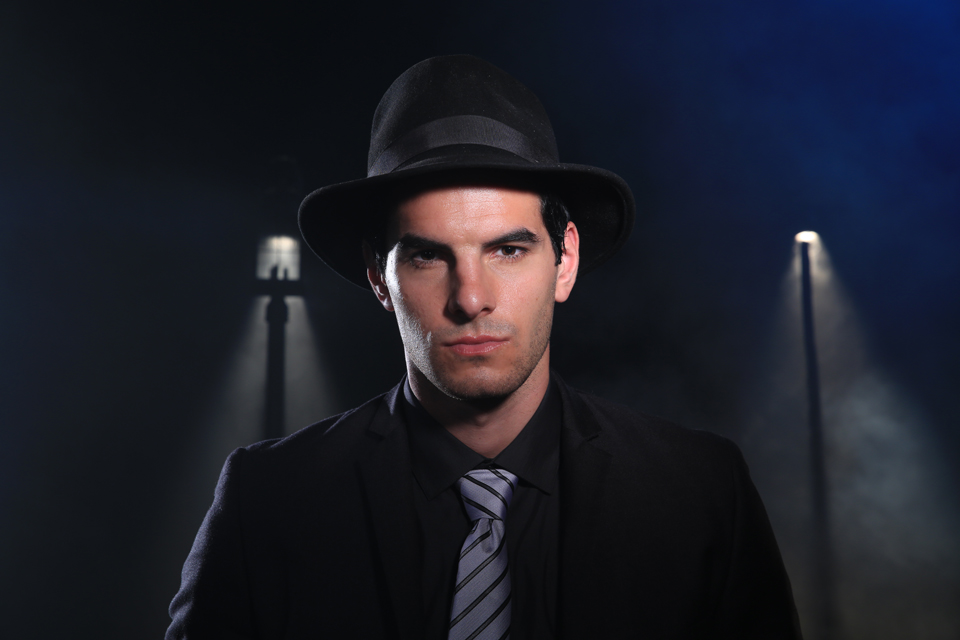
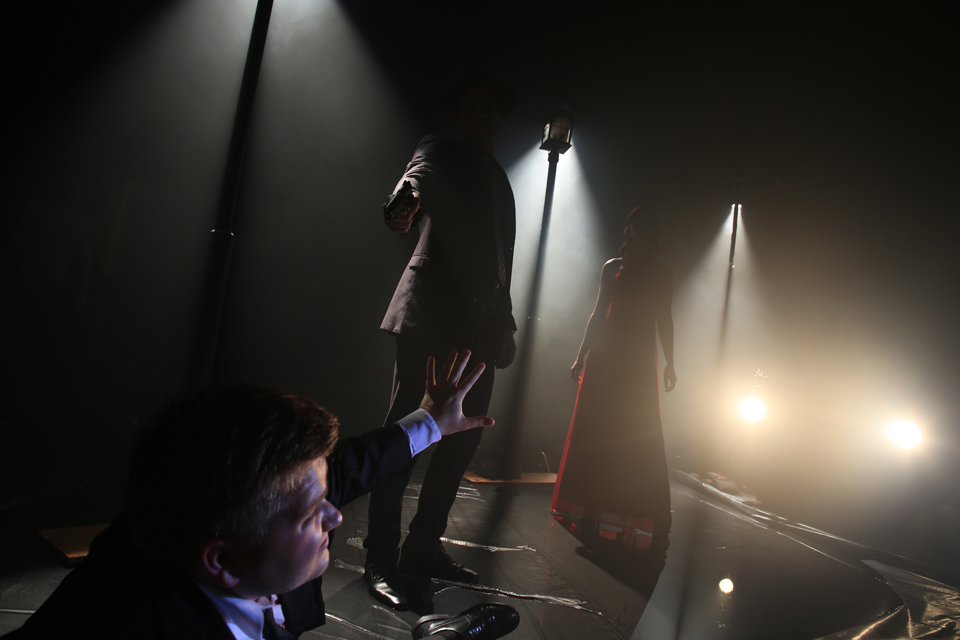
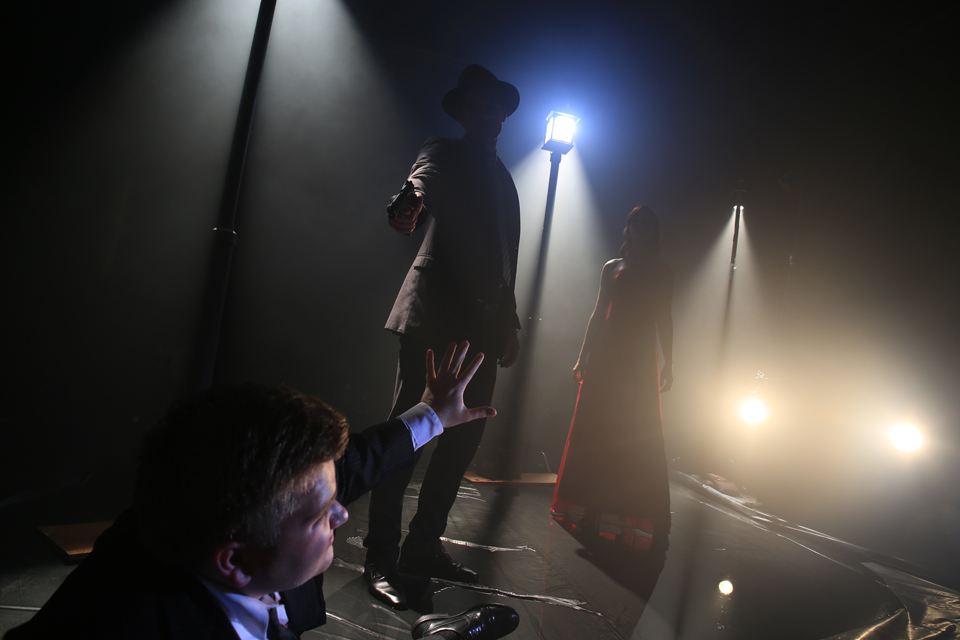
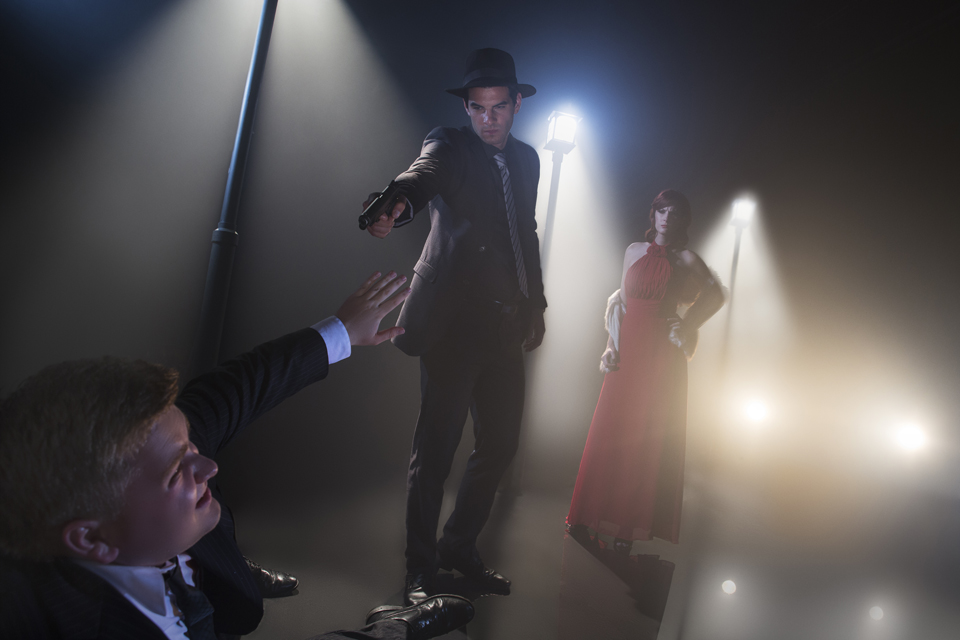
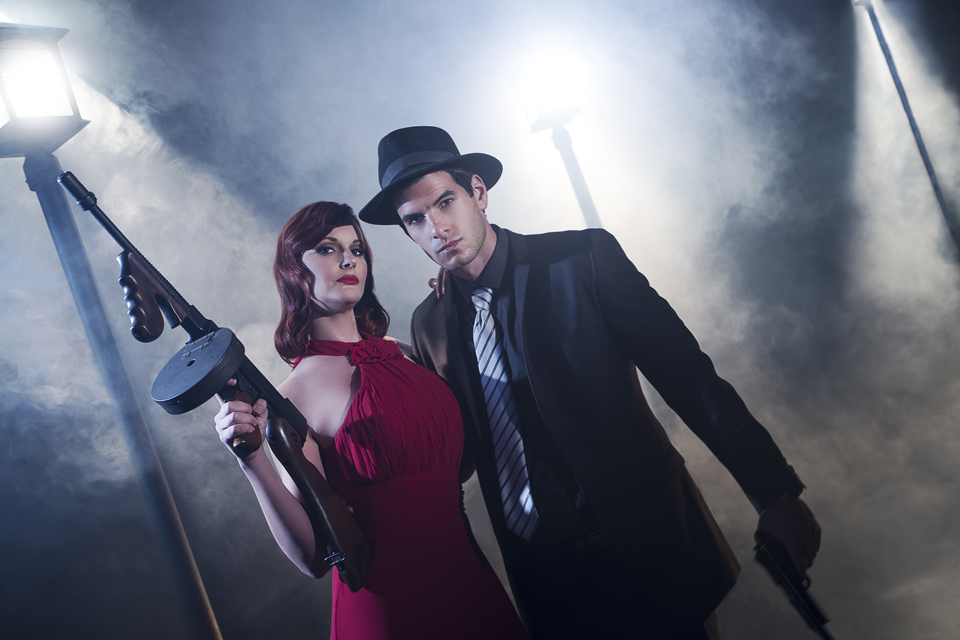
Here are some of the unedited images:
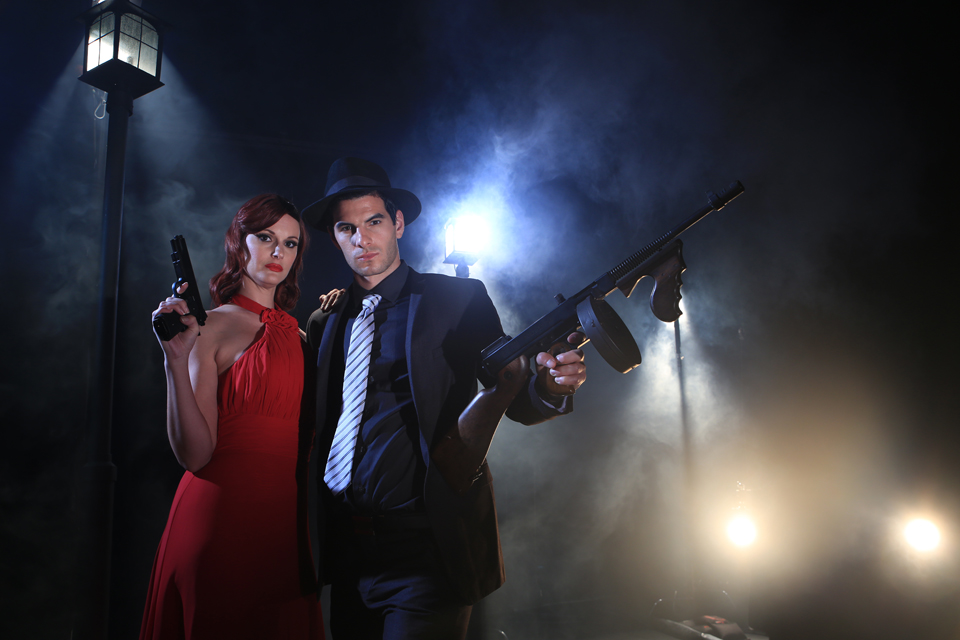
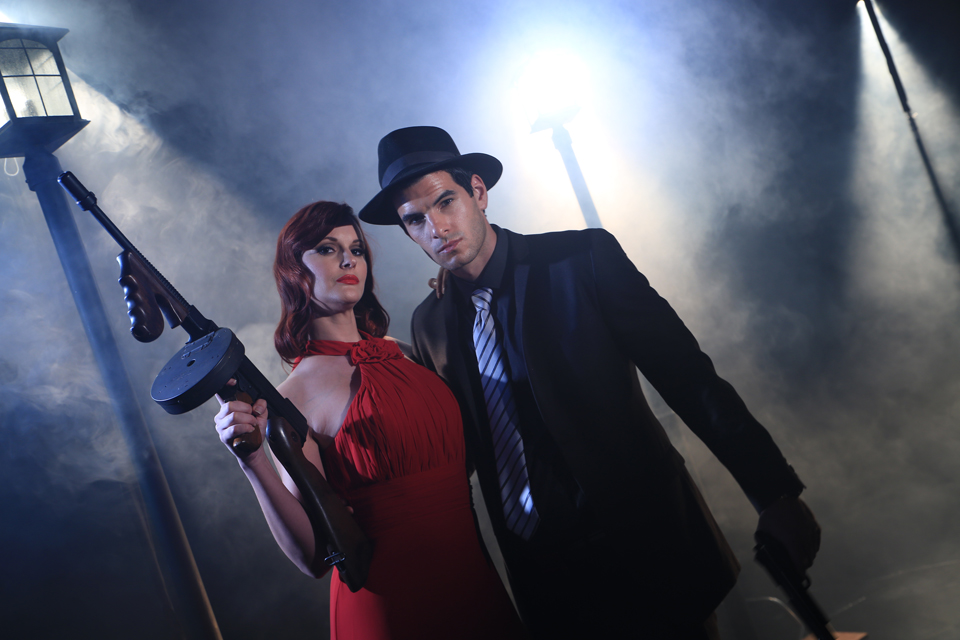
We got some great images with snoots and a diffuser. This type of look is very compelling to me. Take a look at a few of the edited color images after the faces and floor were retouched:
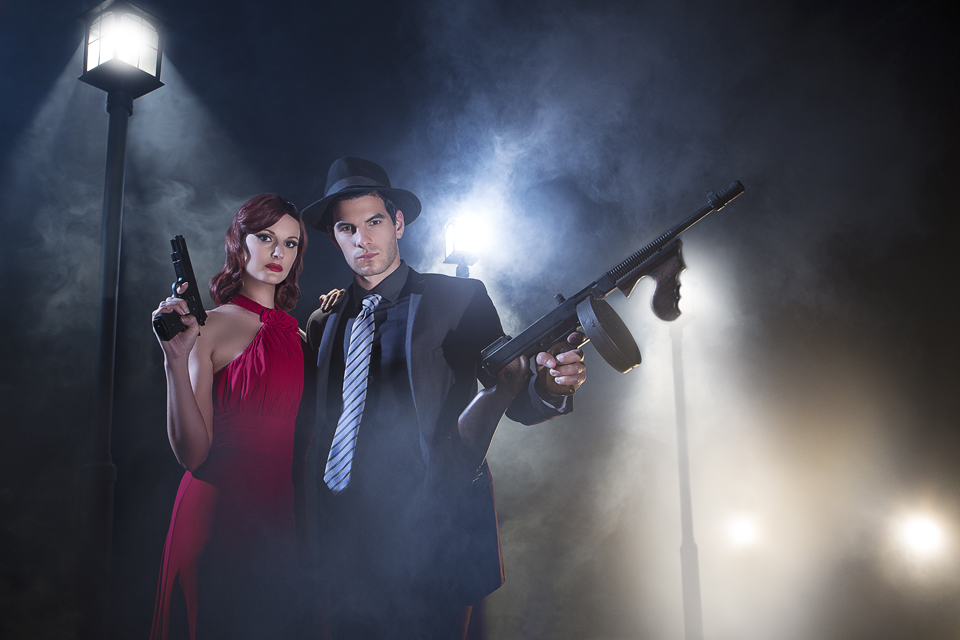
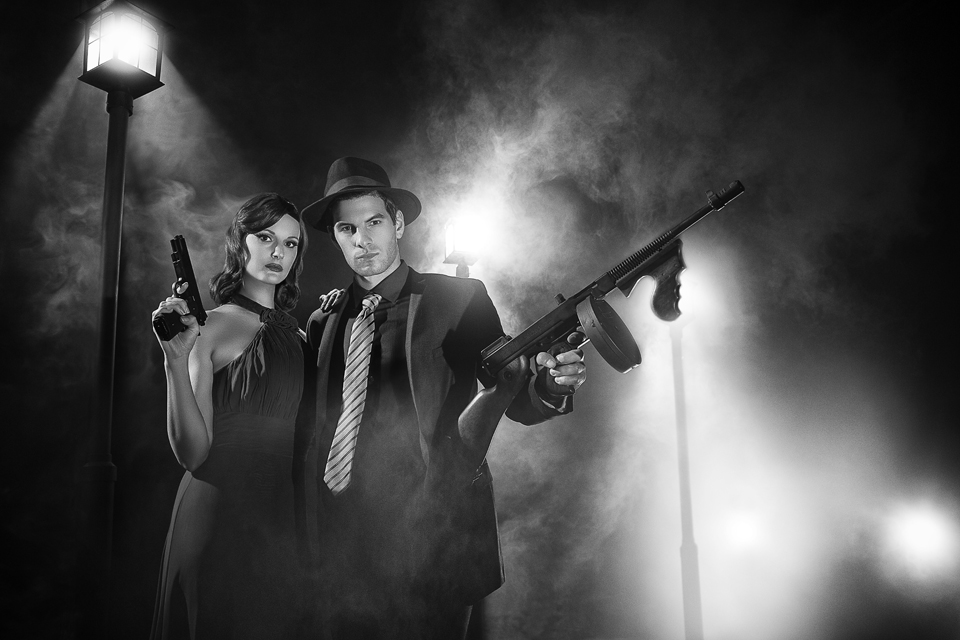
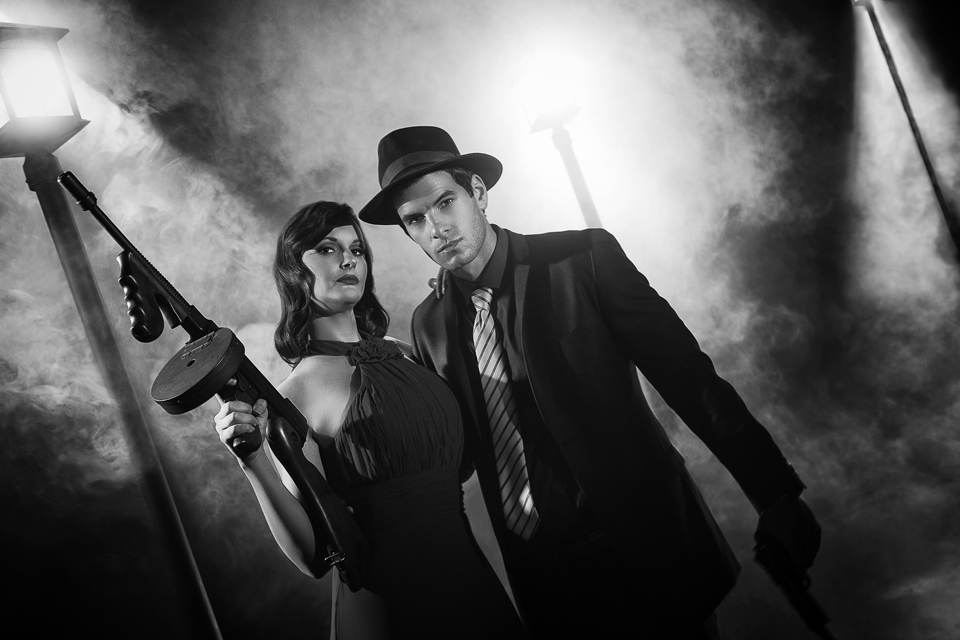
Snoots are a hard light that create a lot of contrast, which is great for black and white images. It wouldn’t be film noir if the images didn’t look good in B&W so take a look at the final images after I took them into Silver Efex:
These past two lessons on grids and snoots have been a great exercise for me and has helped me understand the difference between these two pieces of equipment. Grids are harder and more diffused on the edges while a snoot is more directional and keeps a constant exposure throughout the light pattern. Snoots do have the advantage of being any size you want them to be when using black wrap to create them. Grids only have four sizes. They both have a place on set, though, and I hope you learned as much as I did.
Thanks for watching! Keep those cameras rollin’ and keep on clickin’.
Don’t forget to enter our January 2015 giveaway to get a chance to win a Rosco V-Hazer Fog Machine!