 (If you want to watch the video go to The Slanted Lens on YouTube!)
I really don’t like images that look strobe lit. If you understand how to balance your strobes with the practical and the ambient in the room, they don’t look strobe lit. It looks really wonderful. They integrate and it gives a lot of depth. 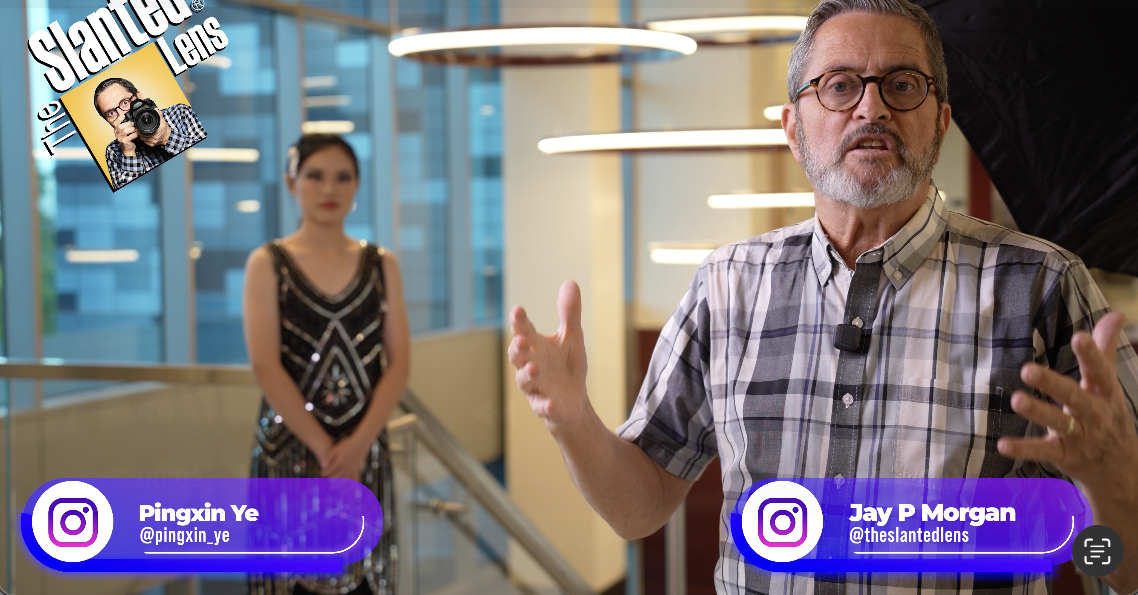
So, let’s take a look at two different ways to figure out how to balance your strobes with the ambient and the practical light in the room. So, you quickly can make things look just beautiful and not strobe lit. Let’s get started and see exactly how to do that.
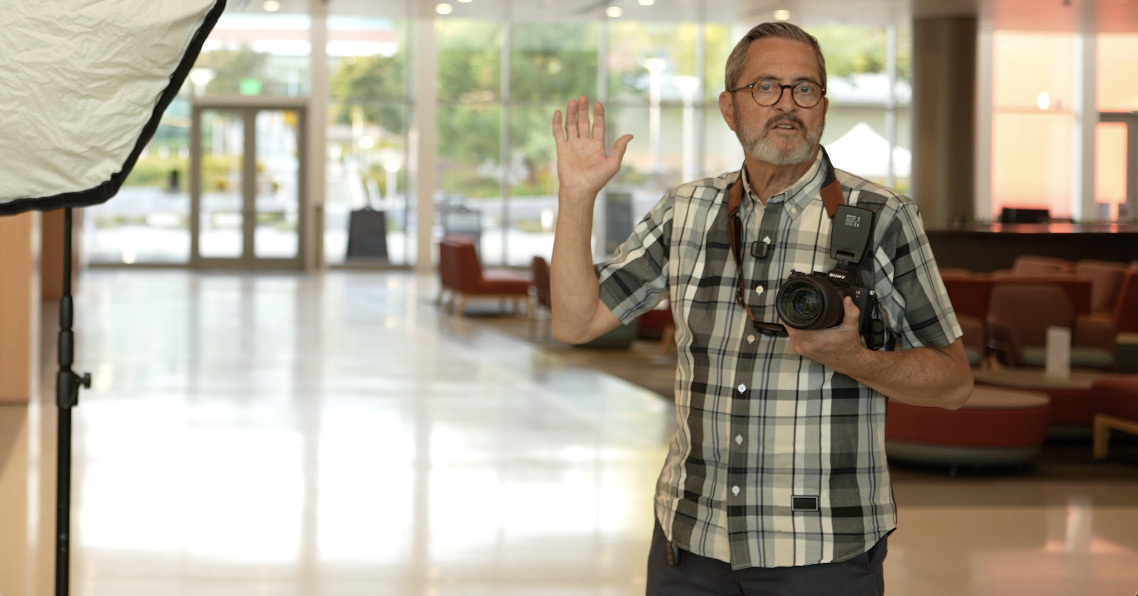
When we go out to shoot on location, generally speaking, we are going to be balancing strobes with whatever light sources are out where we’re shooting. In this case, we’ve got the sun going down outside the window. We’ve got practical lights inside and then we just have the room tone, the different fluorescents that are on in the scene. 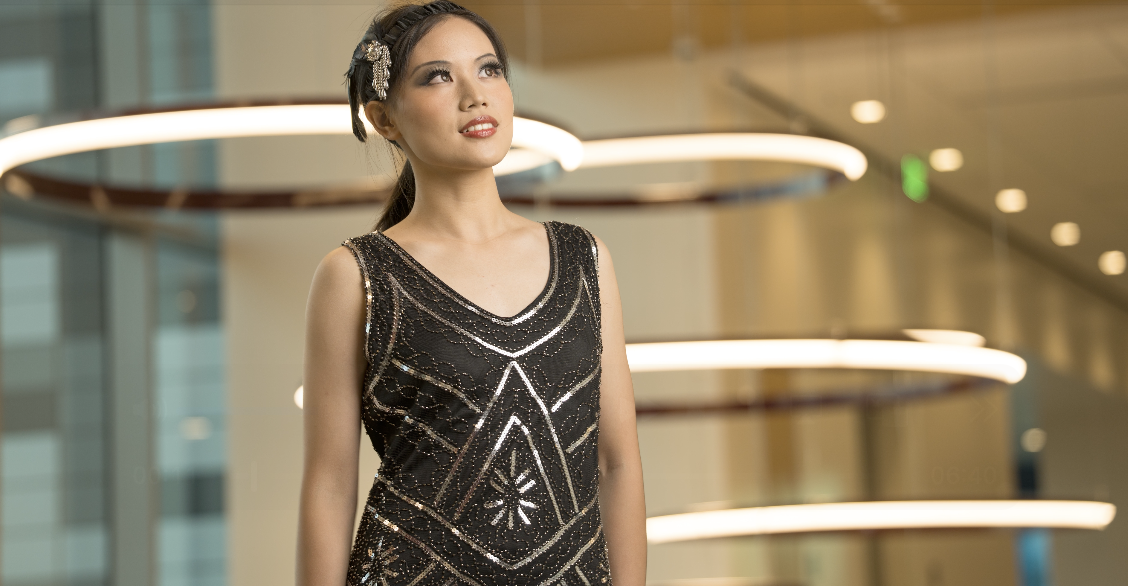
How do we figure out what all those are doing? How do we quickly integrate our strobes into all that, all those different light sources so that we can shoot fast and move and change and be able to just work organically? Let’s take a look at two different methods to figure out exactly what light is going on in this scene. Then to add our strobes to it.
The first one really kind of leans into the, all the practical light in the room and how to add our strobes to that. The second one leans into how do we get our strobes to look exactly the way we want and then we slowly add the practical light into that. So, let’s take a look at those two different methods.
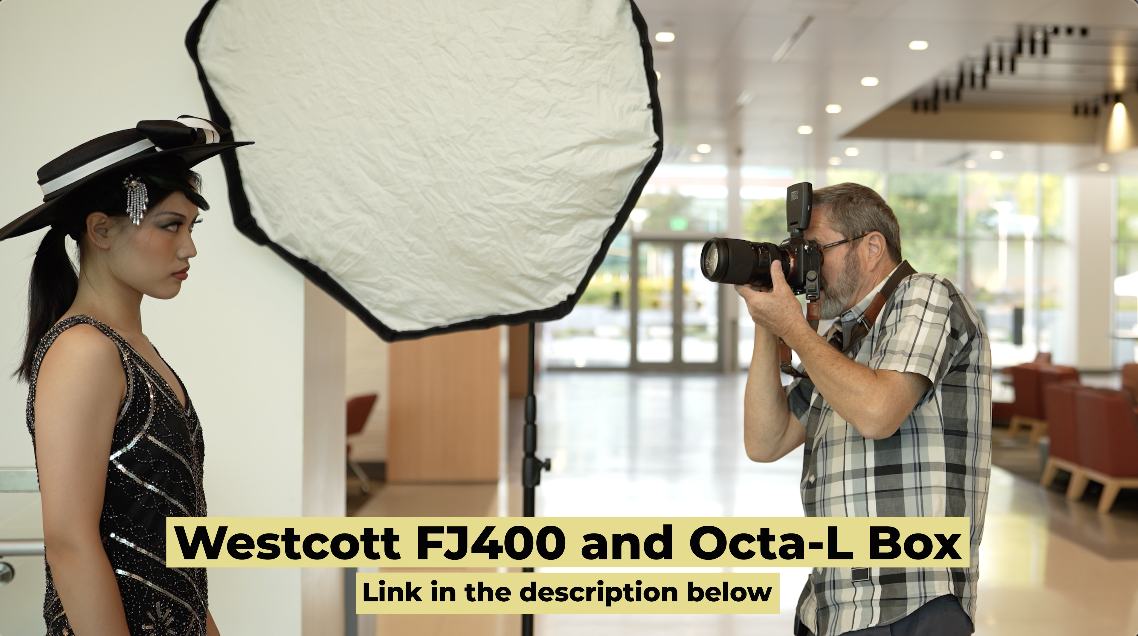
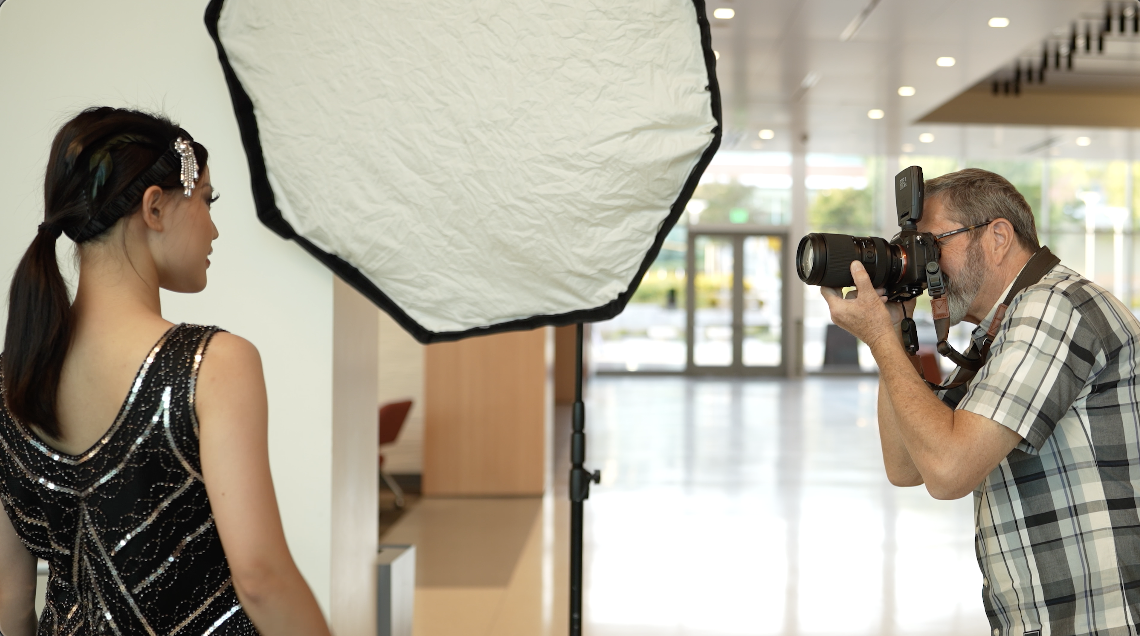
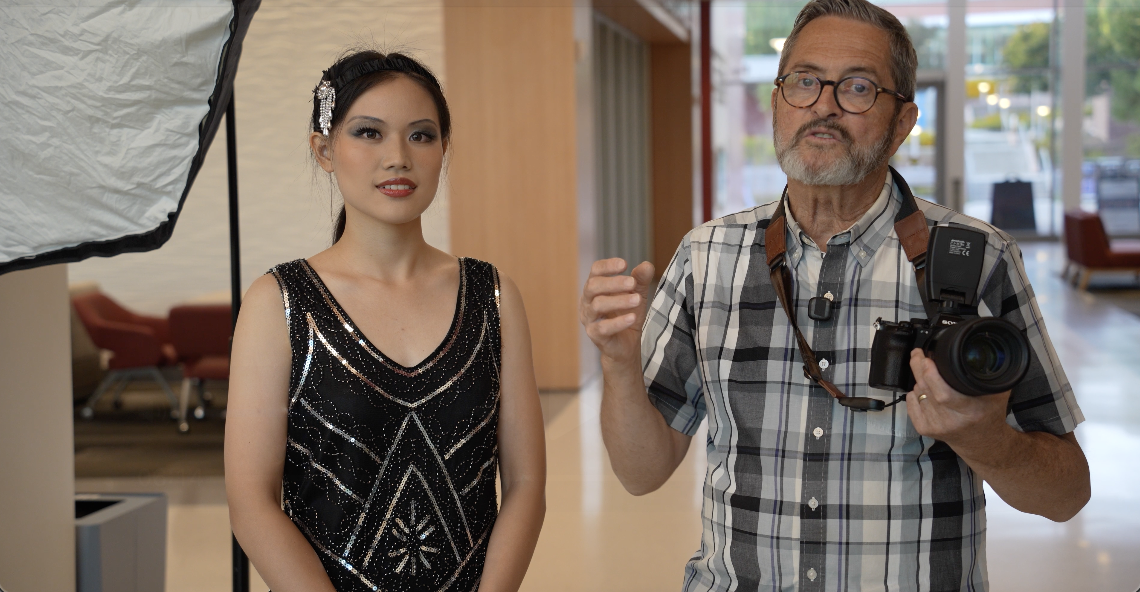
(Westcott FJ400 Stobe and Westcott Octa-L Box)
Method number one. So, this method is very similar to what you do with TTL with a speed light. Number one, we’re going to set our camera on manual. We’re going to set our aperture to f/2.8 or f/3.2 right around there. 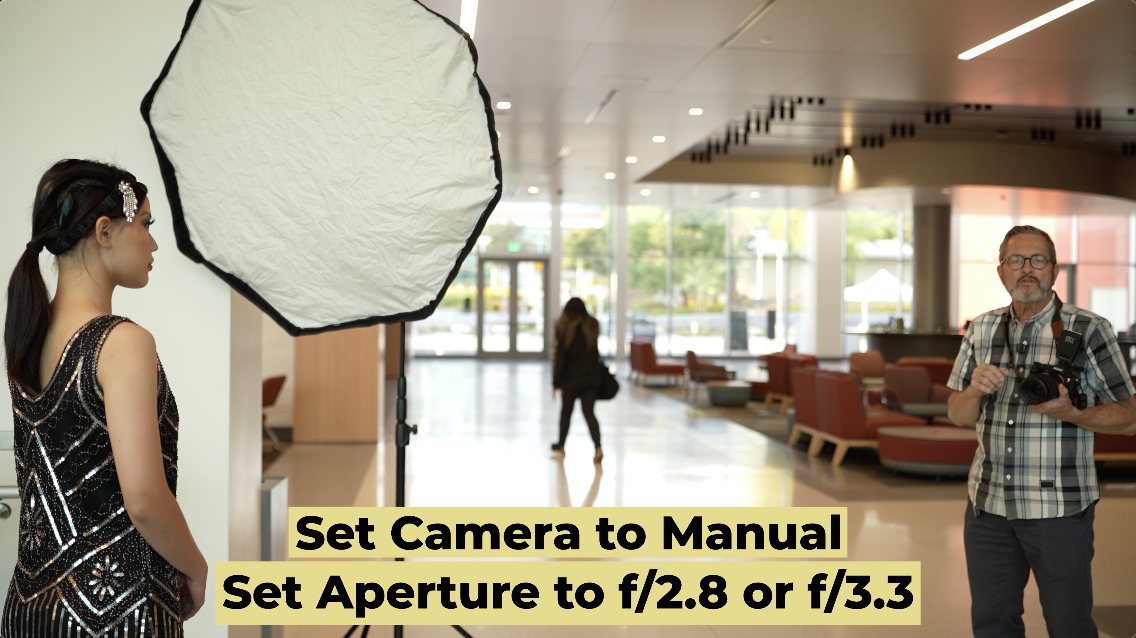
Something wide open so it gives us really shallow depth of field. We could do a higher aperture if we wanted, if we have more people, but I’m going to stay with a really wide open aperture. So, I’m at f/3.2 right now. So, if I need to, I can increase my ISO. That’s the only way I’m going to make this work in some situations because it’s going to be very dark. So, I would increase my ISO. Right now, I can stay at 100 ISO. It’s looking great.

Okay, I’m going to take a picture. That’s manual f/3.2. And I mean the practical light, everything outside, it all just looks beautiful. But she’s very dark in the foreground. 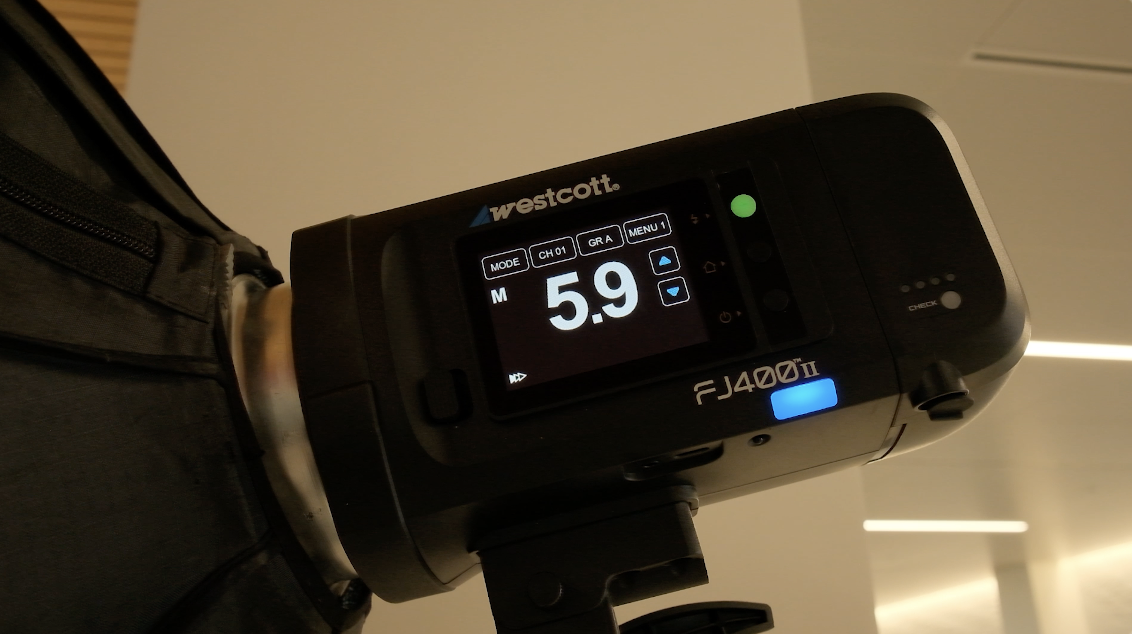
So now if I turn my strobes on, I’m going to have to just adjust the power on my strobes to match the aperture that I’ve chosen, which is f/3.2. 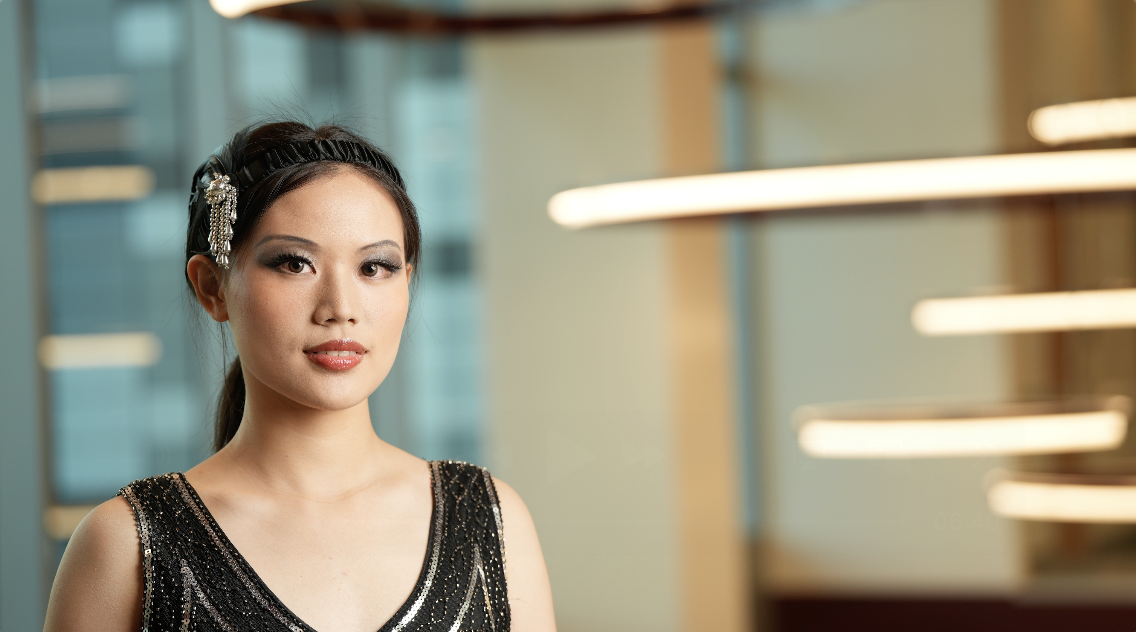
So if I take my first exposure, a little bit bright, but not bad. I’m going to dial that down a little bit. 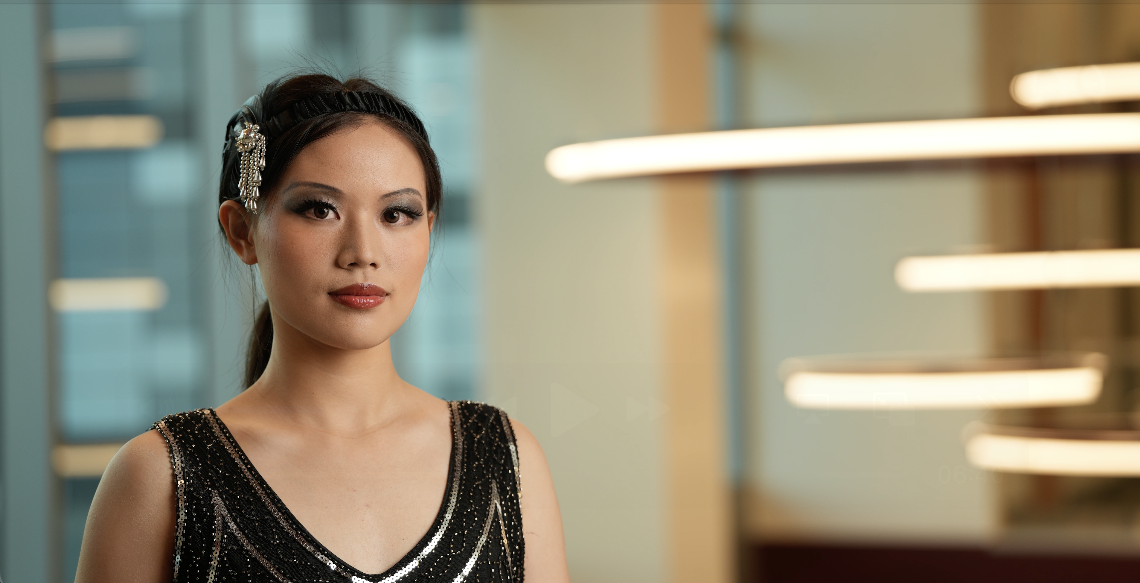
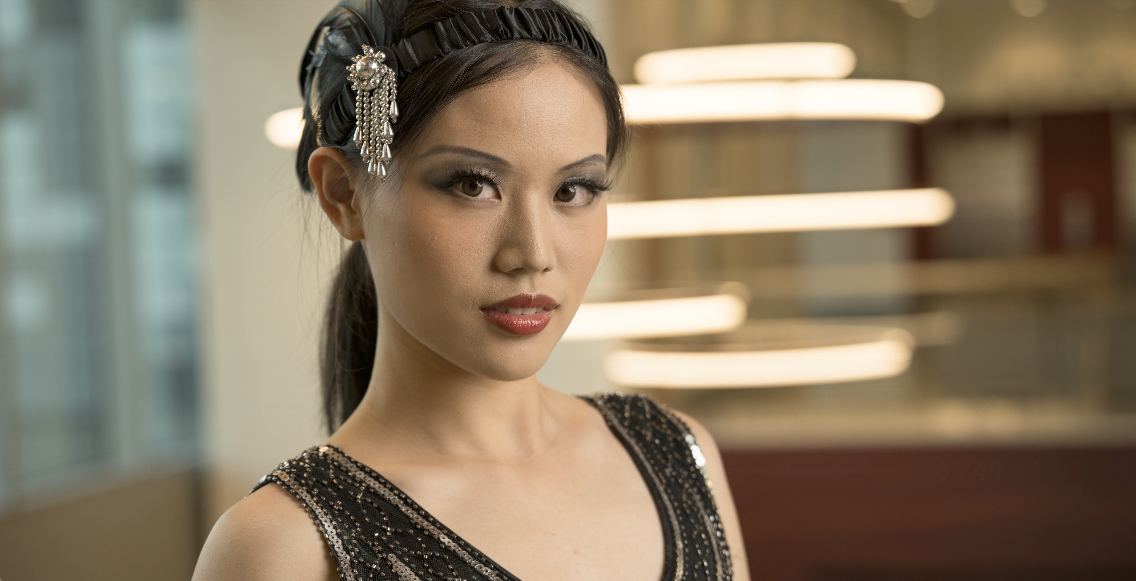
Okay, I’m going to take another shot here. Looking right here, Phoebe. And now it’s just beautiful light on her face. All the practical light looks excellent. Everything’s really exactly where I want it to be. I can just shoot away. 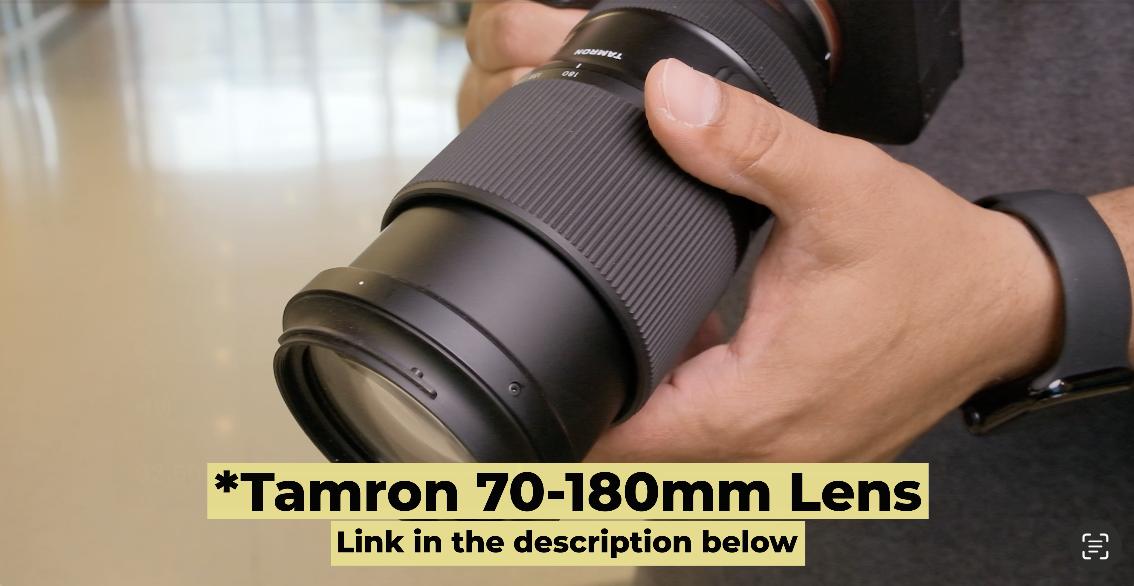
Now I’m on a 70 to 180 millimeter lens. If I wanted to at this point, I could start to play around with my shutter. So if I decide, okay, I’m going to just let that shutter go to, and I’m going to handhold it here just for fun. 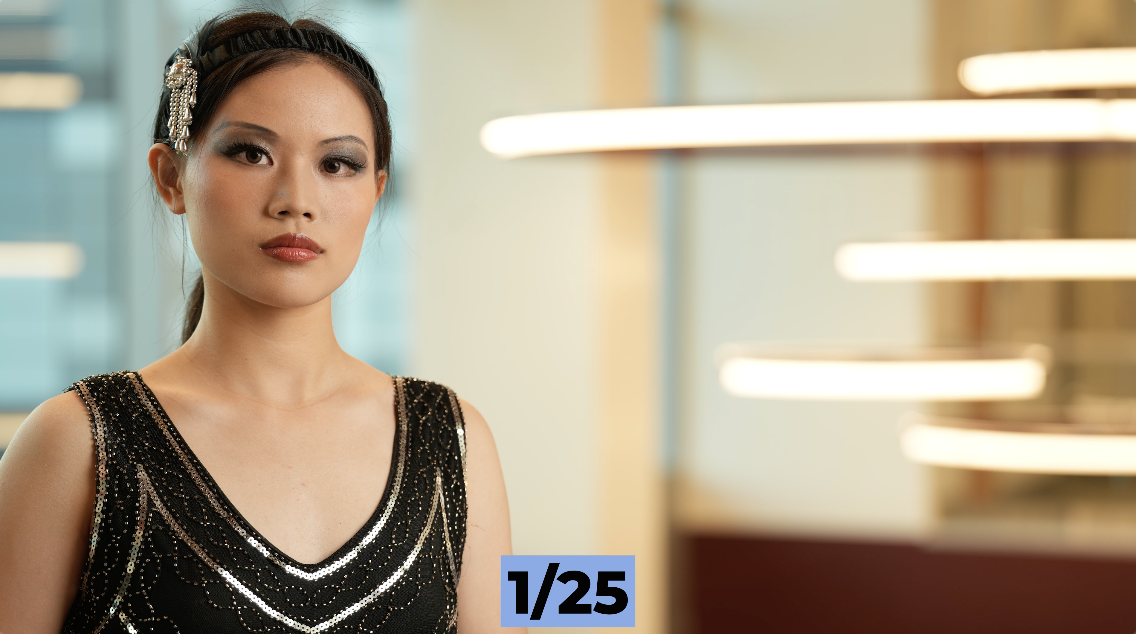
I’m going to go to 1/25th of a second. Look how much brighter the background became. 
If I go from that to 1/13th of a second, another shot that gets much brighter in the background. I mean, now I’m really having a hard time hand holding it.
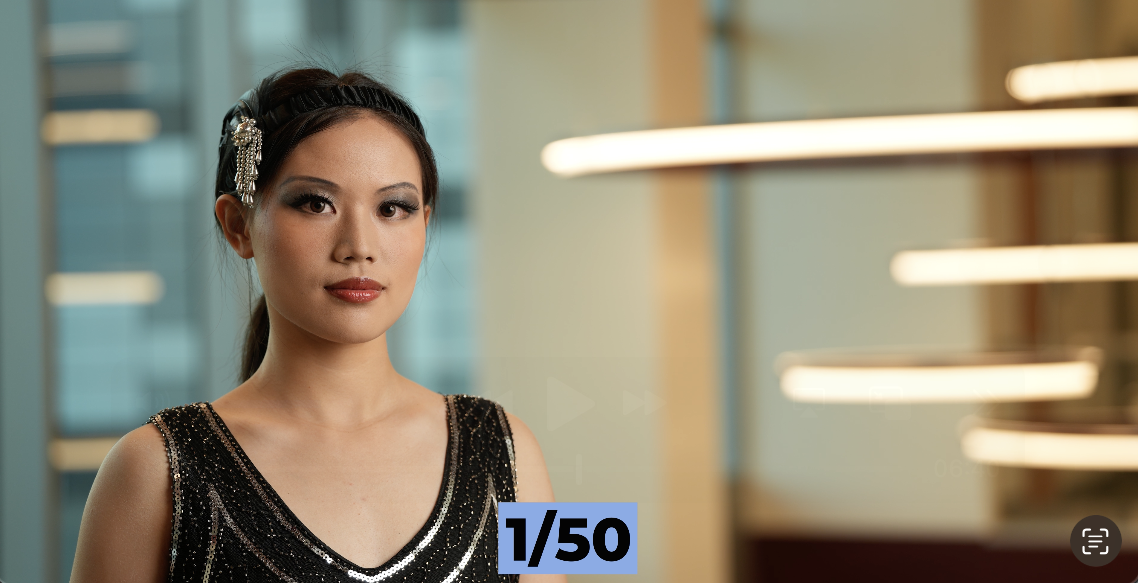
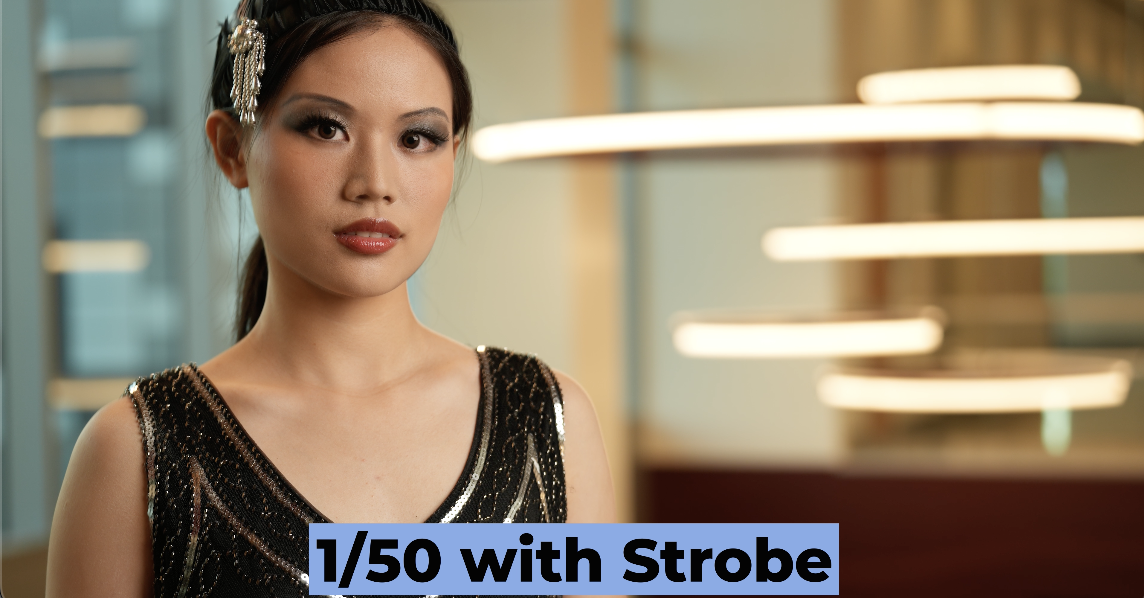
But if I go the other direction, f/3.2, and I go to back up to 1/50th. There’s another shot of Phoebe at 1/50th.
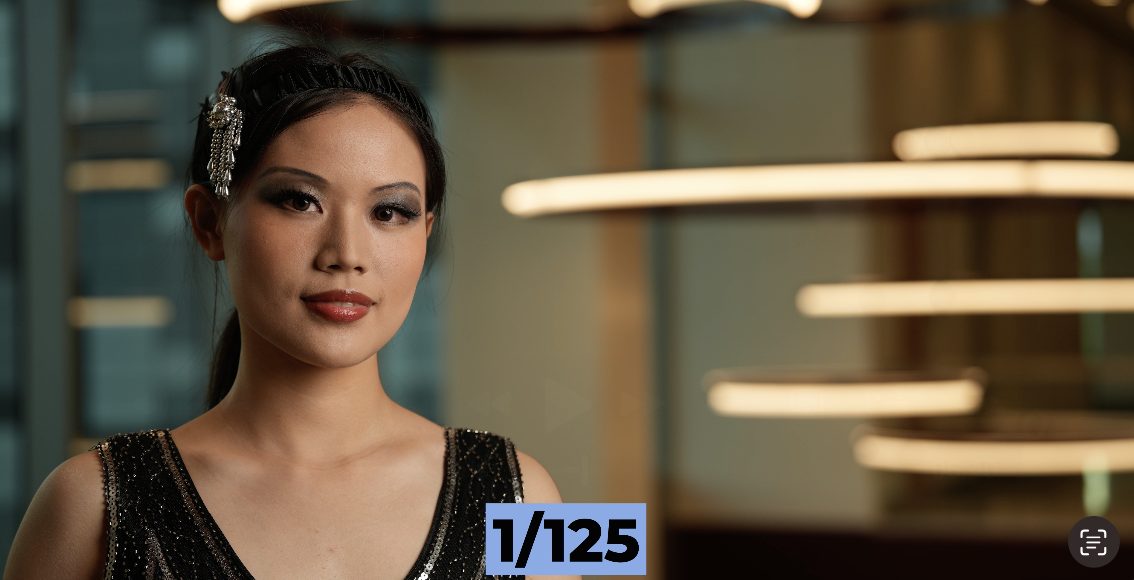
Now I’m going to go to 1/125. Look what happened to that background. It becomes much darker. Now she starts to look very strobe lit, but there’s a nice balance there at a 1/50th of a second at f/3.2 where it all just feels comfortable. 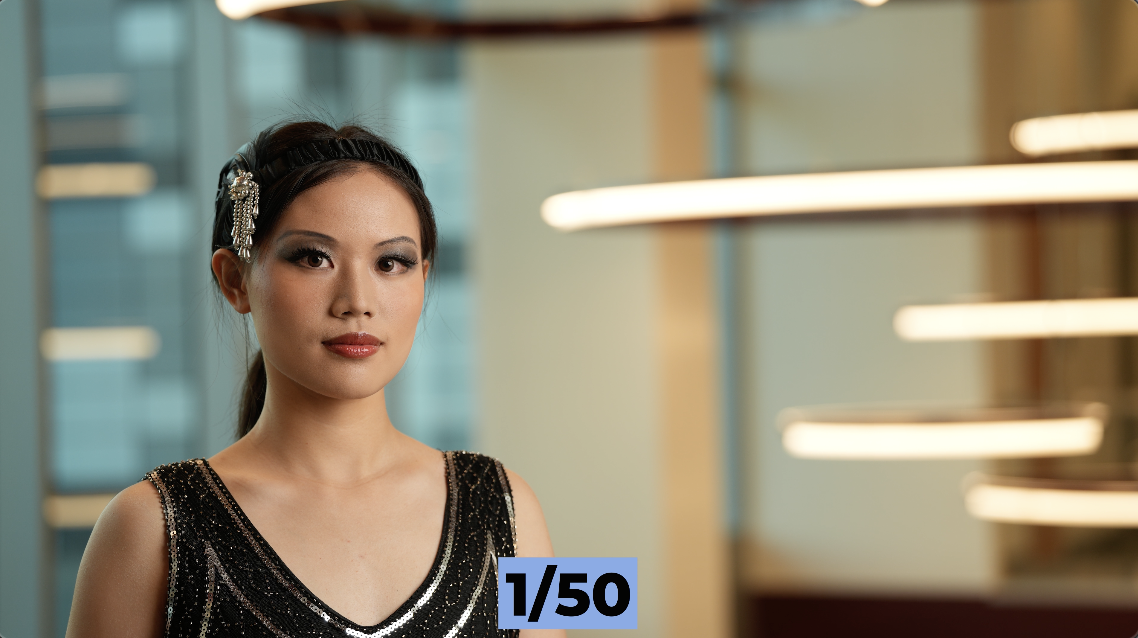
It feels like those ambient lights in the background are lighting her face.
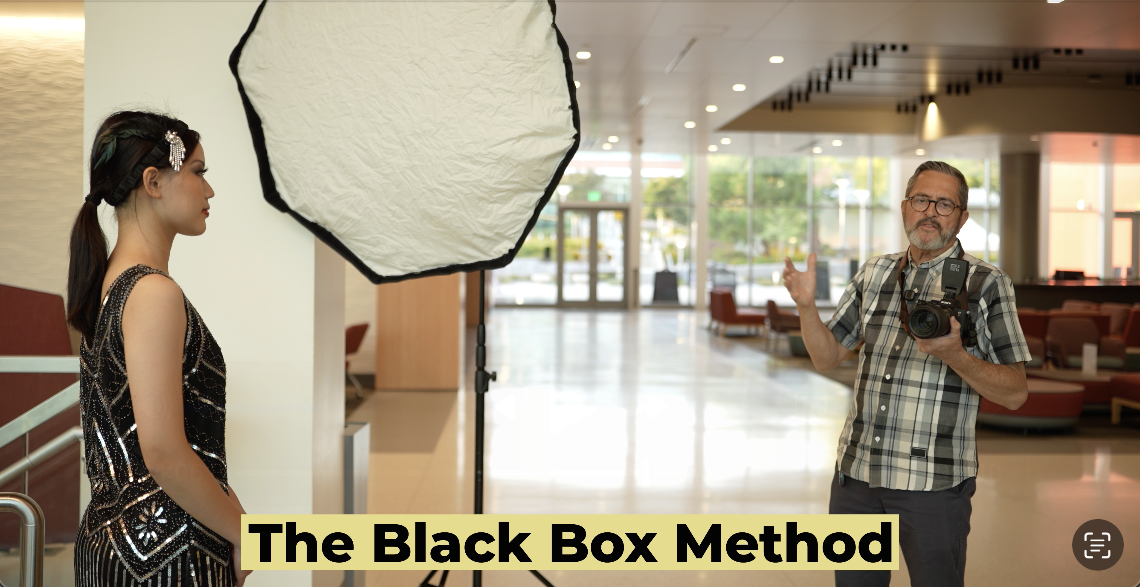
The next method is called the Black Box Method. And what I’m going to do is I’m just going to move my shutter to 1/250th of a second. I’m going to turn my strobes off. And I’m just going to take a picture of Phoebe here. 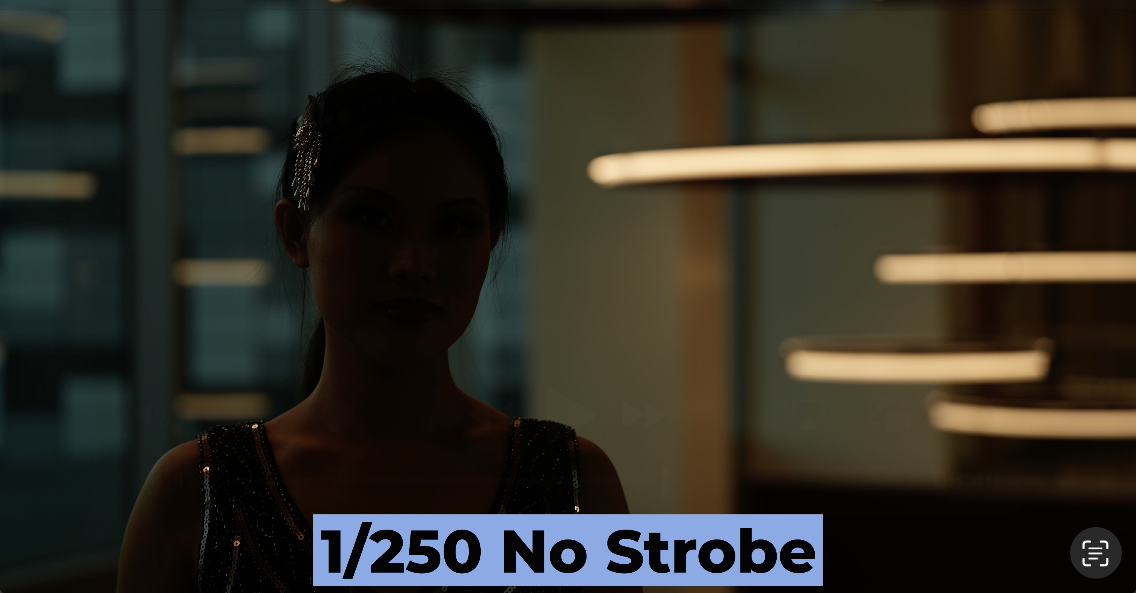
When I take this picture, it’s very dark. She is dark. The scene in the background is dark. I mean, it’s just, it’s all, it’s not completely black-boxed because I have these practical lights. I’m looking right at the lights. So, it would be hard to make them absolutely disappear. But it’s just, it’s dark all the way around. 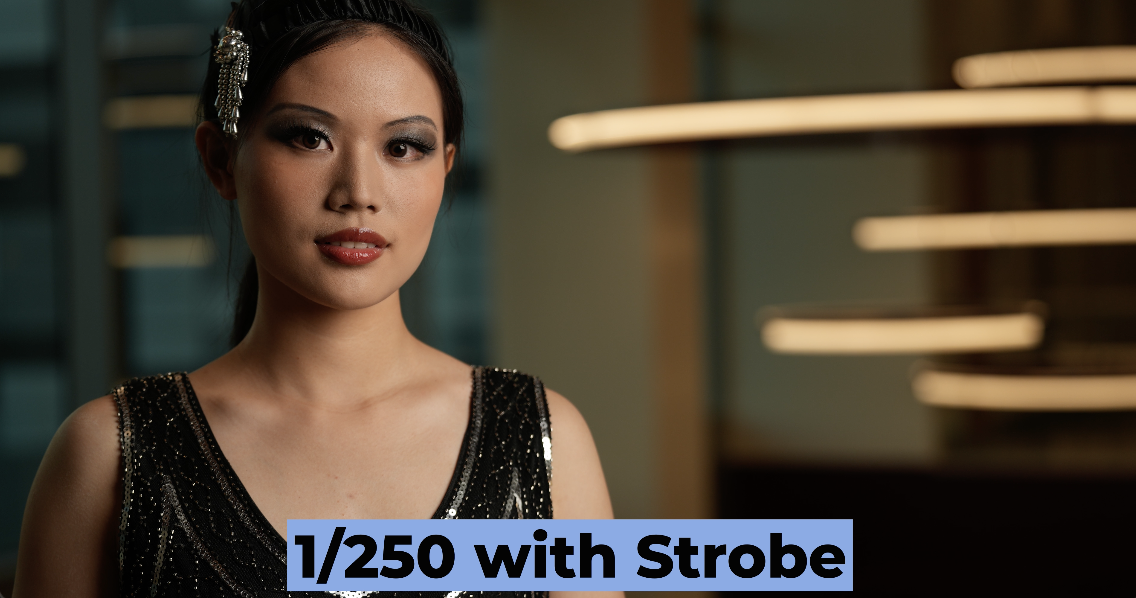
If I turn my strobes back on now, I’ll get a correct exposure on her face because 1/250th of a second does not affect the power coming out of the strobes. So, I should get a nice exposure on her face. If not, I can raise my strobes up or down to give a correct exposure on her face. That’s a nice exposure on her face, but things are very dark.
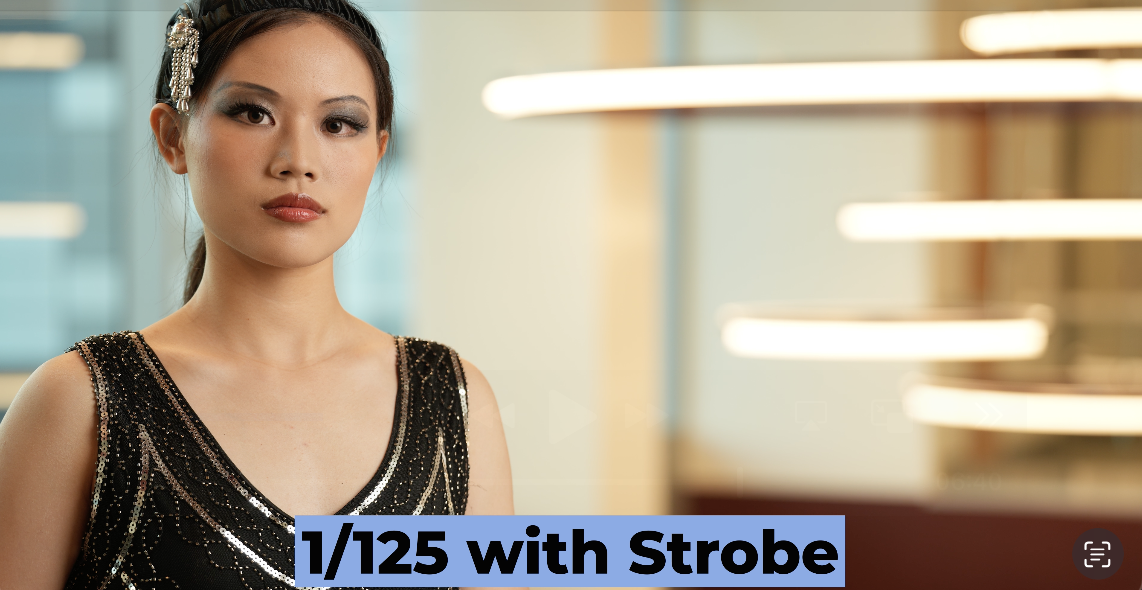
So, now from there, I can go from 1/250, I’m going to lengthen my shutter to make the background brighter. So, there’s 1/125. Much nicer.
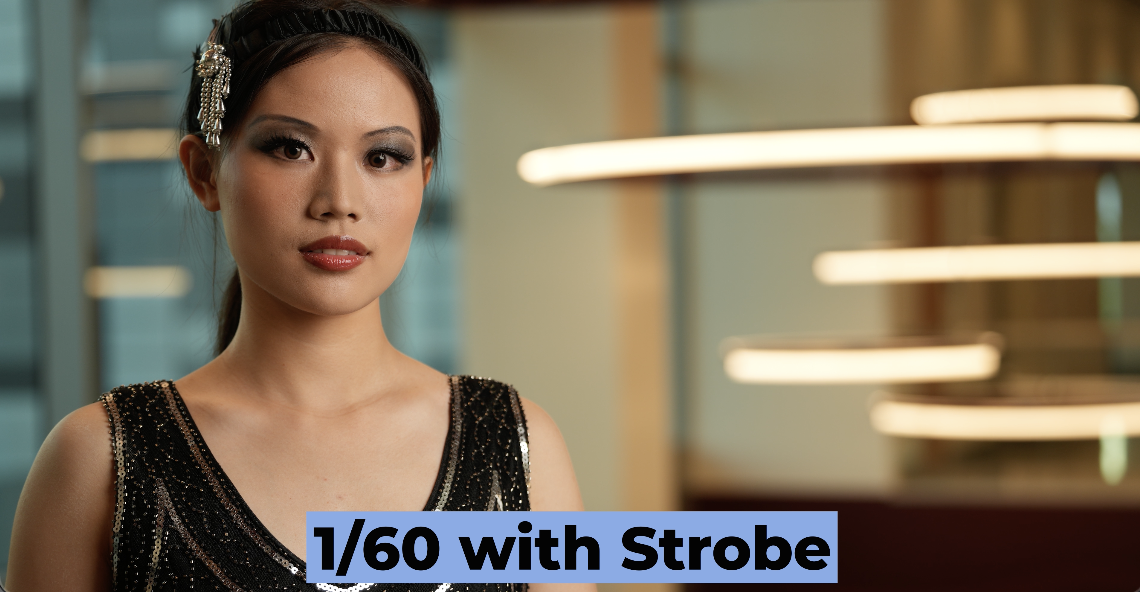
I’m going to go now up to 1/60. And where I ended up before was 1/50th.
So, I’m going to do 1/50th. And there’s now where everything starts to integrate together again. Look, it’s looking very good. So that’s a method where you start everything dark and slowly bring the background up as you lengthen your shutter 1/250, 1/125, 1/60, 1/30th. I mean, a lot of times you have to get to a tripod or you can push your ISO up a stop and then you have to dial your strobes down a stop in order to be able to compensate. That gives you a correct exposure.
But that’s the black box method. It helps you see what the strobes are doing a little better on her face. Because I can, when it goes all dark, I can see exactly how the strobes are falling on her face. I can position where I want them to be, feel comfortable with it, then I can slow that shutter down to bring all the practical lights into the scene, integrate them, and give it the depth that it needs.
So, there’s a look at two different methods on how to balance the practical lights and the room lights with your strobes. Both of them really have a good place. 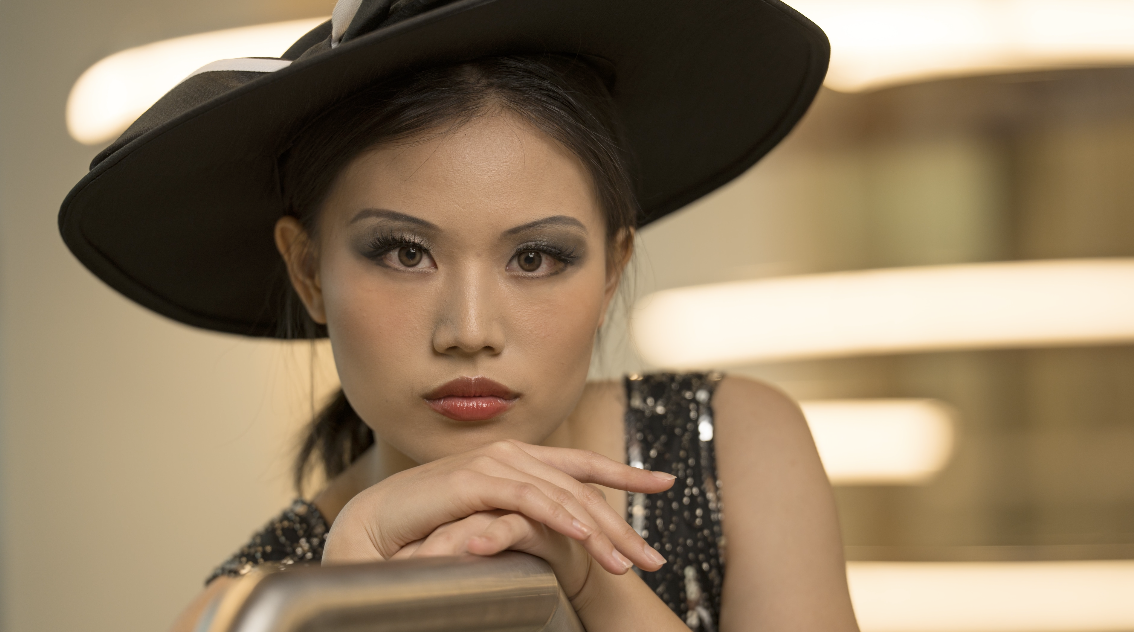
I use the second one, going to 1/250th of a second when I really want to check my strobes to see exactly what they’re doing. But I usually start with the first one, give myself a manual exposure, turn on my strobes, and they balance almost immediately. 
It’s a very fast way to get moving, especially if I’m moving around, shooting a lot. It helps me move, shoot, move, shoot a lot faster. So, which method do you like the best Phoebe? I definitely like the first one. Well, there you go. Phoebe approved. Method number one. So, there you have it. Keep those cameras rollin’. Keep on clickin’. Yeah!