When I light for an image, I have to control where the light is placed and on the camera is rarely a choice for me. Today, we are shooting a swordsman in front of a sunset on location in Los Angeles. We are going to take a look at how to get a TTL flash off the camera and also how to balance it with a setting sun.
I am using a Canon TTL 600ex and a Strobies Pro-Flash TLi-C. This gives me two light sources that I can get away from the camera, with the help of my PocketWizards. I will put the Canon 600 flash on a PocketWizard Flex TT5 and mount it to a Photoflex Octodome. I will set this flash to zone A for my key light to the right of camera.
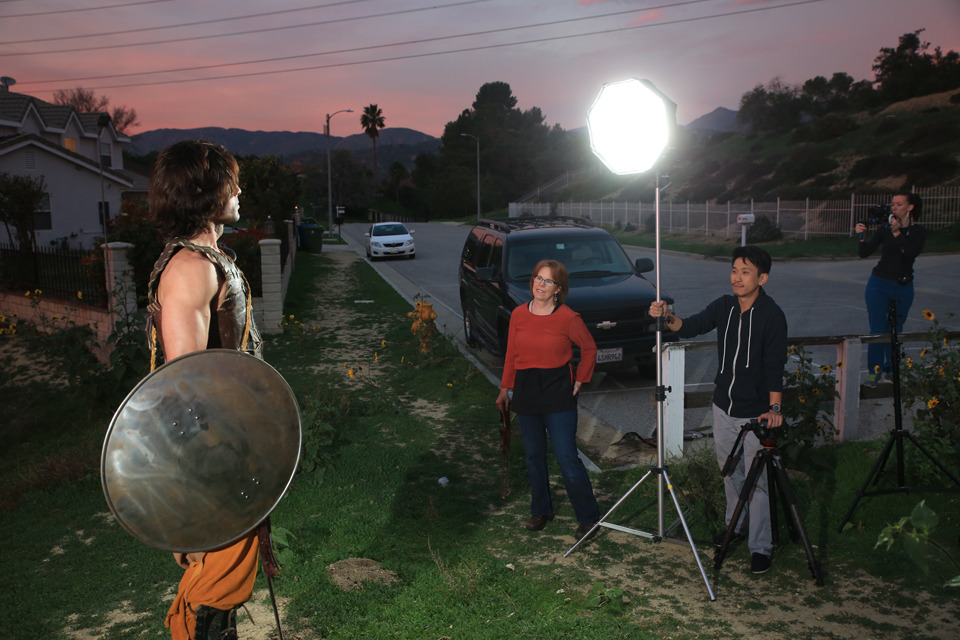
The Strobies flash will go on a second Flex TT5 set to zone B. This will be my rim light and because we are on a hill and cannot put down a stand, my assistant is going to “Hollywood” it – meaning hand-hold without putting it on a stand.

I am shooting with a Canon 5D Mark III and will use a Tamron 24-70mm lens. I will put the PocketWizard Mini TTi and the AC3 Zone Controller on the camera to control the two flashes. After I set both flashed to Manual, the zone controller will allow me to change the power on each strobe head from the unit on the camera. This is not meant to be a PocketWizard ad, this is just the way I solved the problem. I recognize it is an expensive solution, but it works for me. Canon has a remote trigger called the ST-E3-RT, but it only works on Canon’s TTL flashes. That is a lesson for a different day.
I will shoot with an ISO at 800 and an f10 aperture for deep focus. Starting off, I will use a 1/80 sec shutter but will need to lengthen it as the sun sets and I loose light in the sky. This first image shows the ambient light, mainly the sunset in the background with no light on the talent.
I will now power up both of the lights and set them to full power on the AC3 controller. As you can see from this image, the light is too bright on the talent’s face.
I will drop the power on the key light by one stop by rolling the dial from 3 to 2. I like the level on the rim light, so I will leave the Strobes flash in zone B on full power.
Now the light is too dim on his face, so I will dial the key light back up 1/3 of a stop by moving the dial clockwise one click to 2/3.

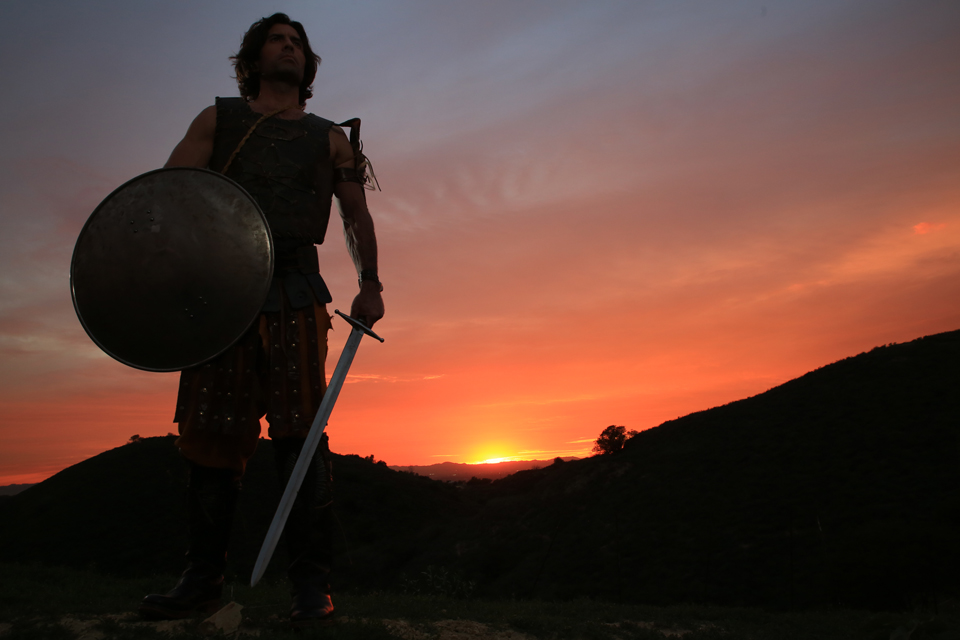
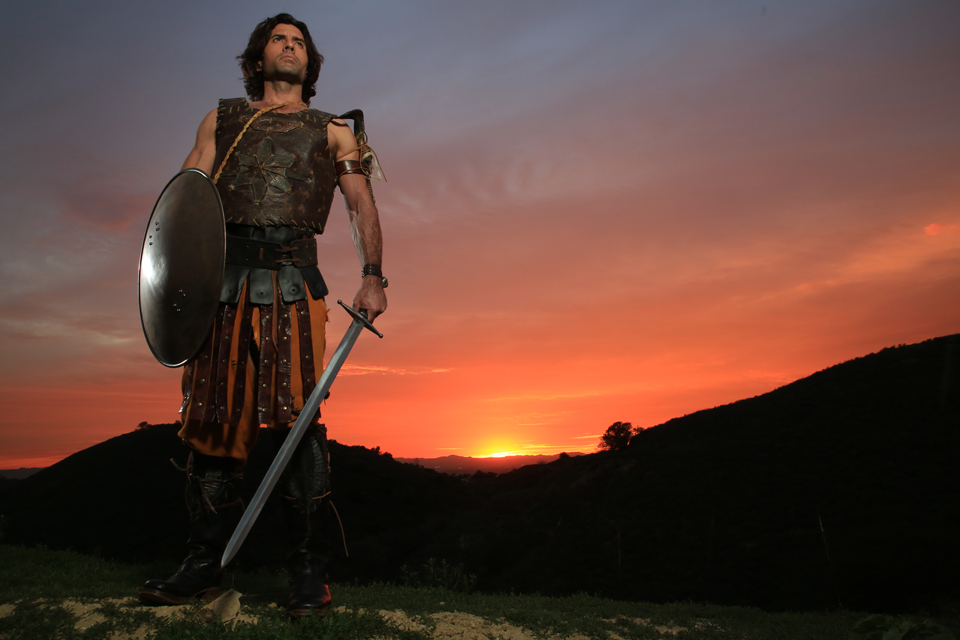
The background is balanced and the rim and key lights look great together so now we will start shooting. As I mentioned earlier, I will need to balance my exposure as the sun sets. The aperture will stay the same but I will need to lengthen the shutter. The aperture stays the same because our strobes are balanced to the aperture. When I lengthen the shutter, it will not affect the strobe exposure on the face but will brighten what is not lit by the strobes – in this case, that is the sky.
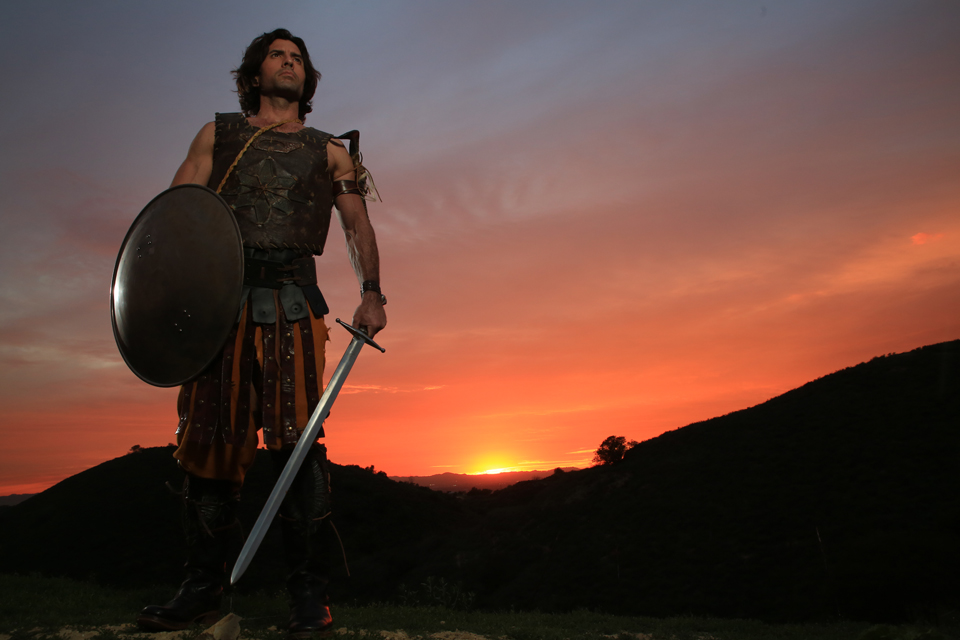
Here is an image using out original settings of ISO 800, f10 and 1/80 sec after the sun had set. The sky has become very dark but the light on the talent has not changed.
When I lengthen the shutter speed to 1/15 of a sec, I get the exposure I need so that I can keep shooting. I will end up extending the shutter speed to more than one second in order to get off as many shots as possible.

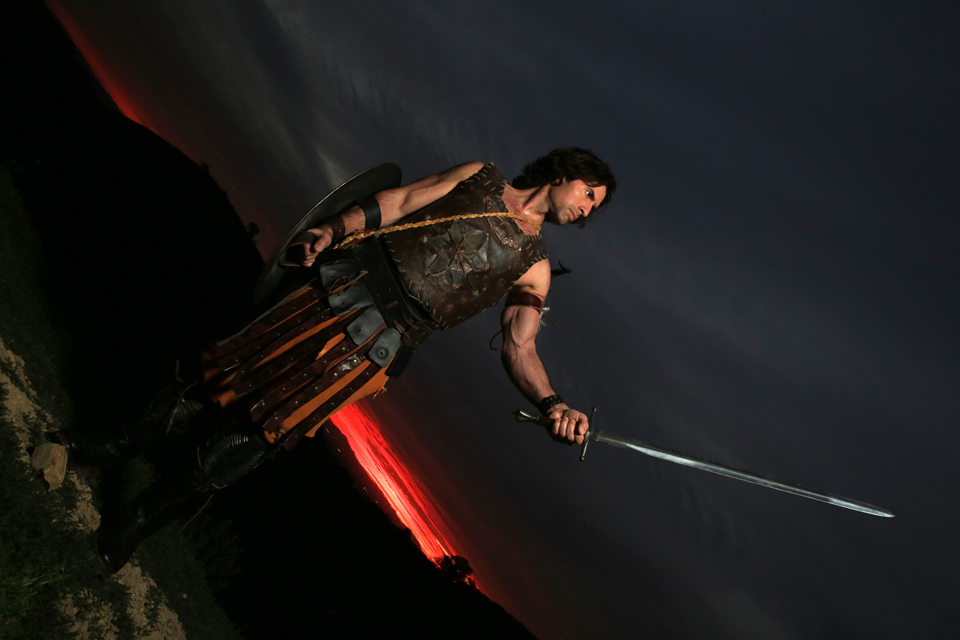
This was fun working with TTL flash and the setting sun. I like TTL flash so much more when I can get the light off the camera, place it where I want and use modifiers to shape the light. I hope you enjoyed our lesson and as always, keep those cameras rollin’ and keep on clickin’.