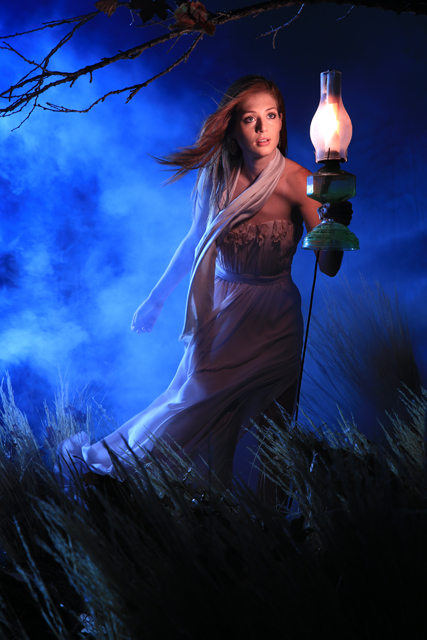
A few months ago, I did a fantasy portrait with a woman holding an umbrella in the wind. While I was on this set, I took some time to shoot another image using the same set elements. We had the branch, grass and the backdrop and I wanted to add a woman with a lantern. Julene says I shoot with lanterns too much but I love the look, and holding a lantern is a great motivated key source; you see the light source in the shot and it creates a reason for all the light that will happen in the image. Street lights, lanterns, lamps, flashlights and windows create motivated lights sources and give the viewer a clear view of where the light should come from and how it should look in the image. I knew that when shooting that we would later strip in a background of some sort. The perfect background presented its self when Julene and I went to Maine. We became fascinated with light houses and photographed several of them as we traveled up the coast.
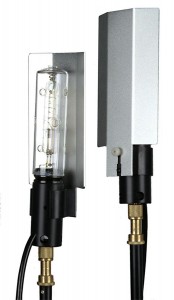
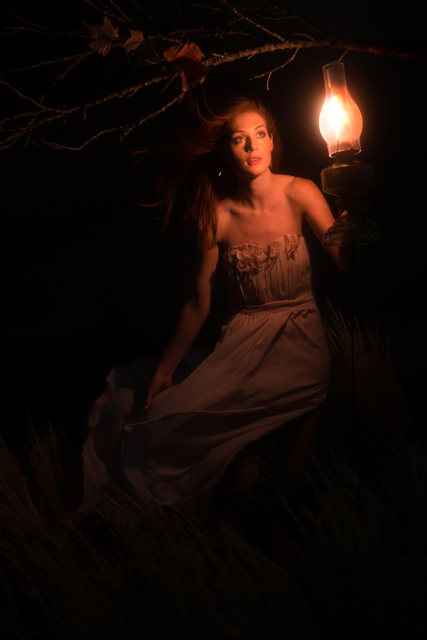
Let’s take a look at how we shot the primary image and then how we did the background. Using a Canon 5D Mark III with a Tamron 24-70mm lens, I shot at 1/50 of a second at f5.6 with an ISO of 320. The color balance was set at tungsten because I am using a orange gel in the lantern. The first light was the motivated key. We put a Dynalite Pencil Light in the lantern and ran the cord to the floor which will need to be removed in post. The lantern was wrapped with diffusion and full Rosco CTO, or orange gel. I stacked several layers of diffusion on the front of the Pencil Light and only one layer on the back. I want the lantern to light her face but not look too blown out on the side facing the camera.
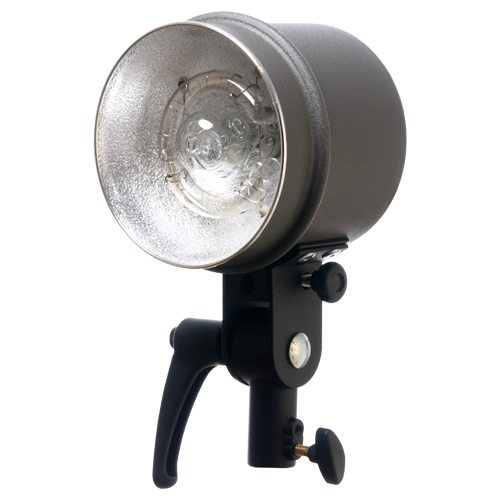
Our second light was a deep dish beauty dish with a Dynalite Studio Head. We will move this toward the camera to get around the lantern and light her face. It will imitate our motivated light and open up the woman’s face. We will now add three PhotoFlex FlexFlash strobe heads on the floor pointed up at the backdrop. All with diffusion but I am not going to put any CTO on these lights so the background will go to blue.
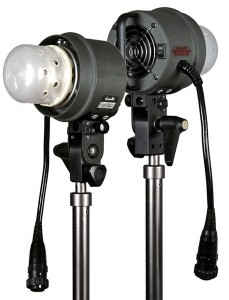
The final light will be a Dynalite Road Head as a rim light from camera left that will rim her body and help to separate her from the BG. This light does not have a full Rosco CTO. The blue will show up as we put smoke in the air. I also added a PhotoFlex LightPanel reflector on the camera left side to reflect some light back into her face and open up the shadows. We will use a wind machine from camera right to blow her dress and create the motion in her hair. Julene will lift her scarf and dress and drop it just as I take the shot to allow them both to catch the wind.
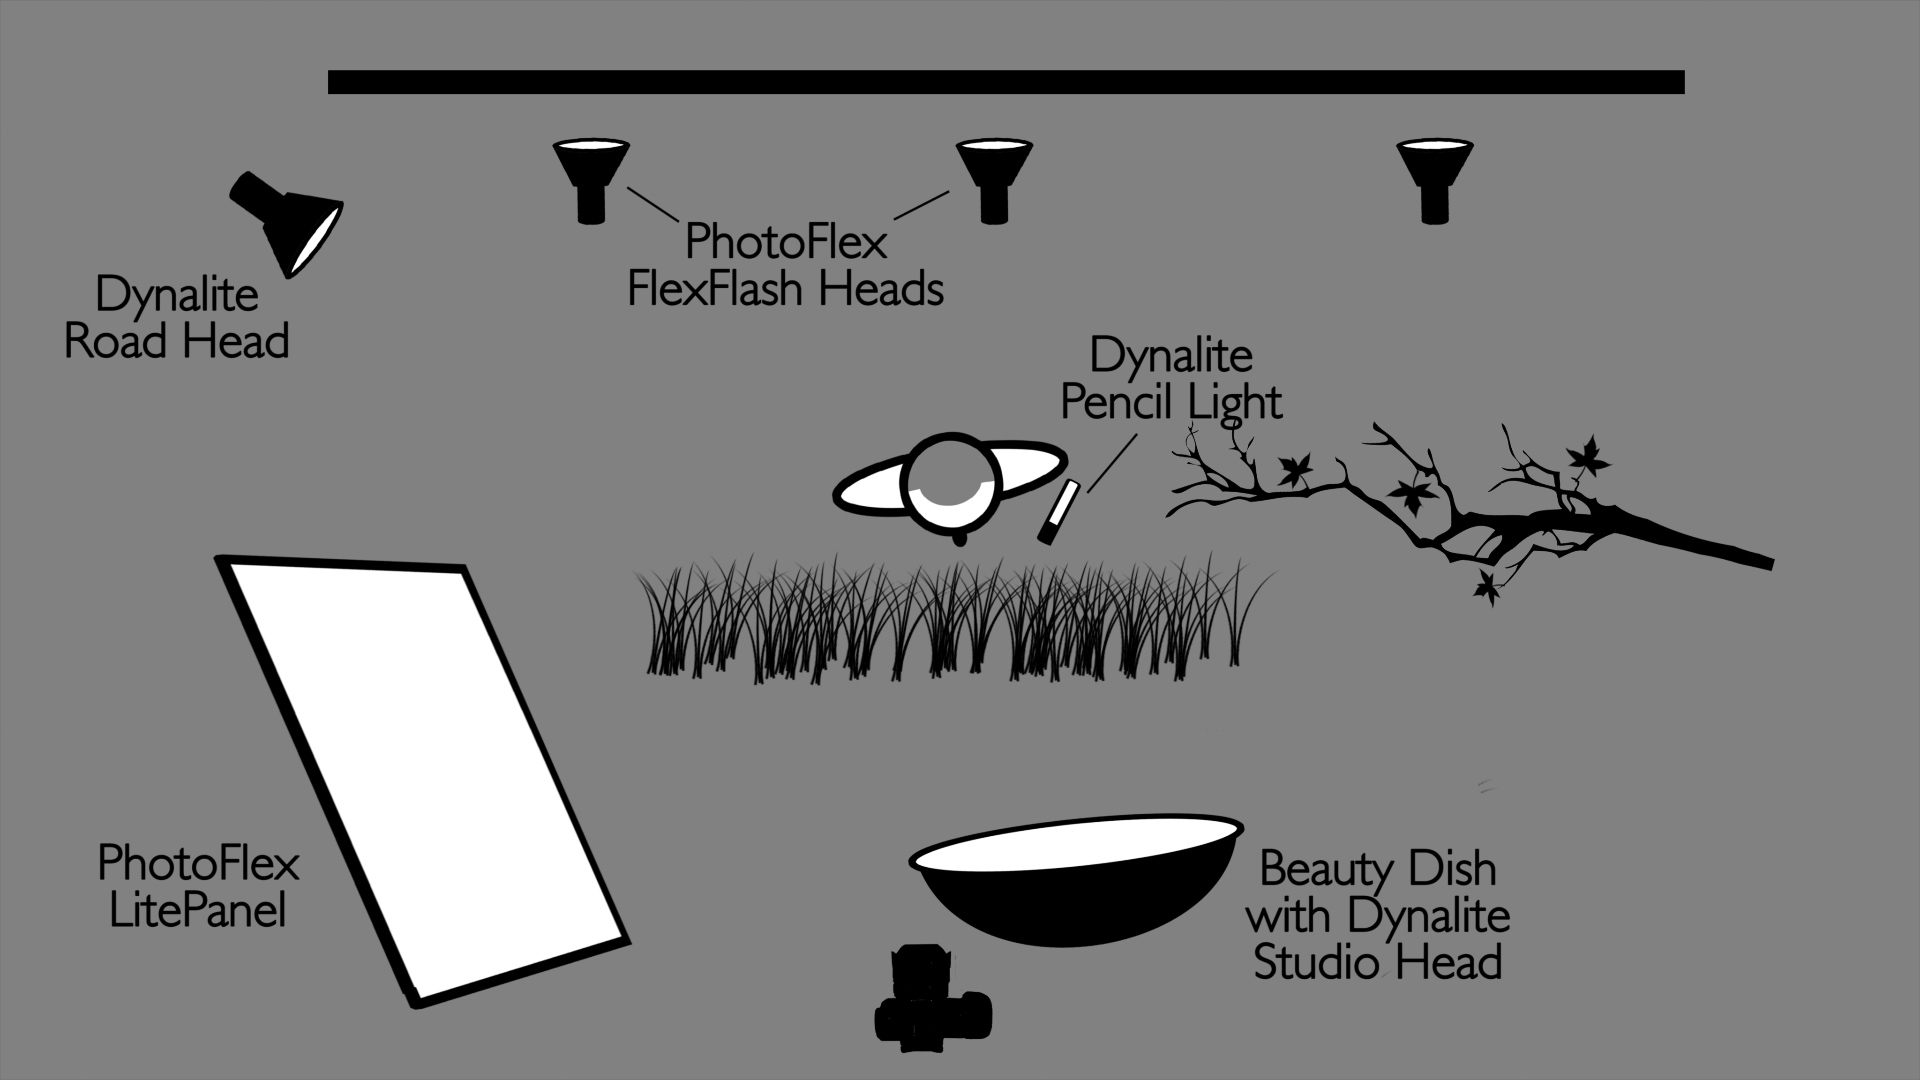
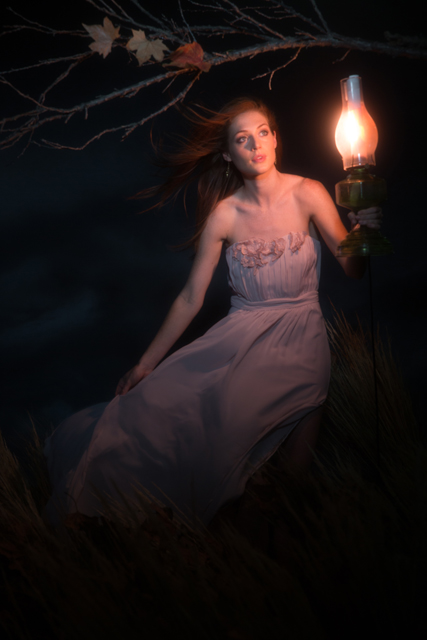
Here is our lighting breakdown and the image we will use for the final before any retouching. The fog in the background has picked up the blue from the rim and background lights.
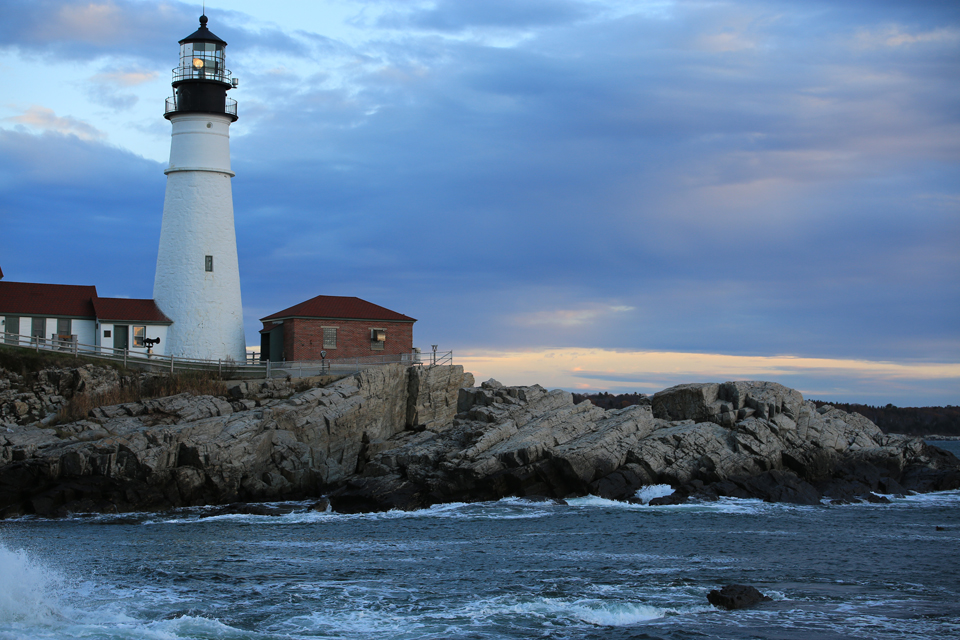
We now need a good background. As I mentioned, Julene and I found some great lighthouses in during our trip to Maine that will fit perfectly with this image. In one location we shot, I had the camera set up on a tripod and left Julene to shoot some images as I went to shoot from a different angle. I looked back at she was engulfed by a wave up to her arm pits and holding the camera over her head, trying to not get pulled out to sea. I grabbed the camera from her and pulled her up to higher ground. She saved the camera! True to form for Julene, as she was standing there drenched up to her shoulders, she said, “I think I’ll change. I got a little wet.” No drama, no fuss. She is amazing. Here is our light house shot. It is called the Portland head light, go figure.
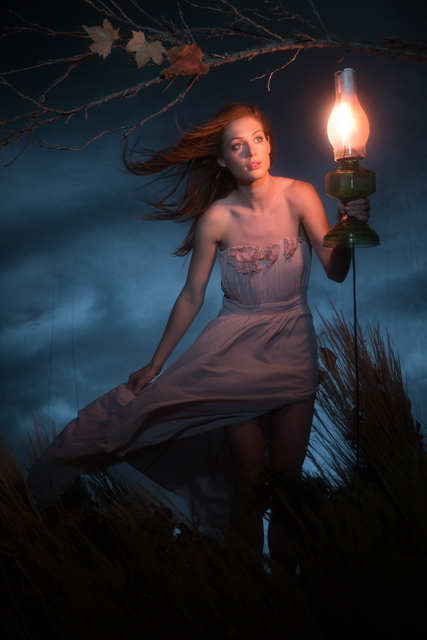
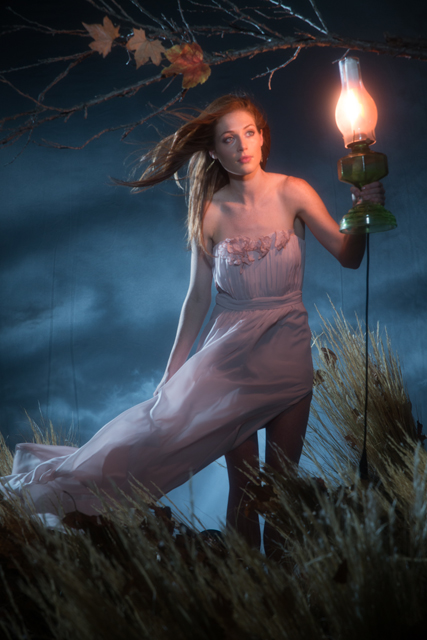
Julene did a great job compositing the light house into the background of the main shot. She used two images, one for the water and one for the light house. When she was done, I took he image into Nik software and using the Bleach Bypass filter, took out some of the color and made it feel a little less strong. Here is our final image.
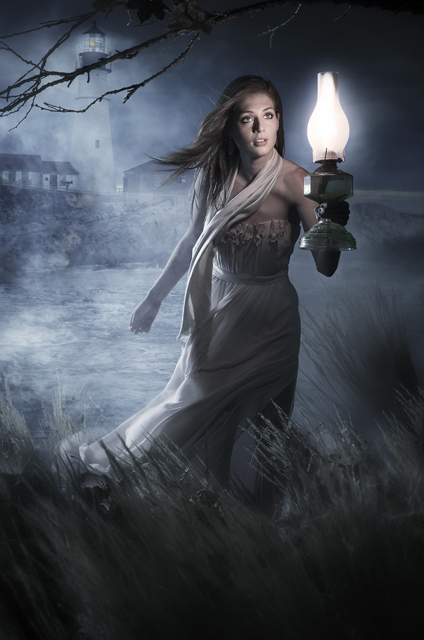
I love this type of fantasy portraiture – great fun to produce and put together. Using motivated lighting helps create this successful image and striping in a background adds more depth. Get out there and see what you can do with motivated key lights, whether they are lanterns, windows or street lamps. Keep those cameras rollin’ and keep on clickin’.
Don’t forget to enter our February 2015 giveaway for a chance to win one of 4 iSeries 1914-8 Waterproof Cases!