Visit our store to buy your Keep on Clickin’ t-shirts!
Hi I’m Jay P. Morgan and today on The Slanted Lens I’m going to teach you how to fire your strobes using sound.
Today’s lesson comes to you through a lot of trial and error. That’s just the nature of the beast when you’re triggering your strobes with sound. We first started by trying to use the Miops trigger at the camera to set off the strobes. But that didn’t work- it was too slow. So we attached the trigger to thePocket Wizards and used it to fire the strobes directly. That worked much better.
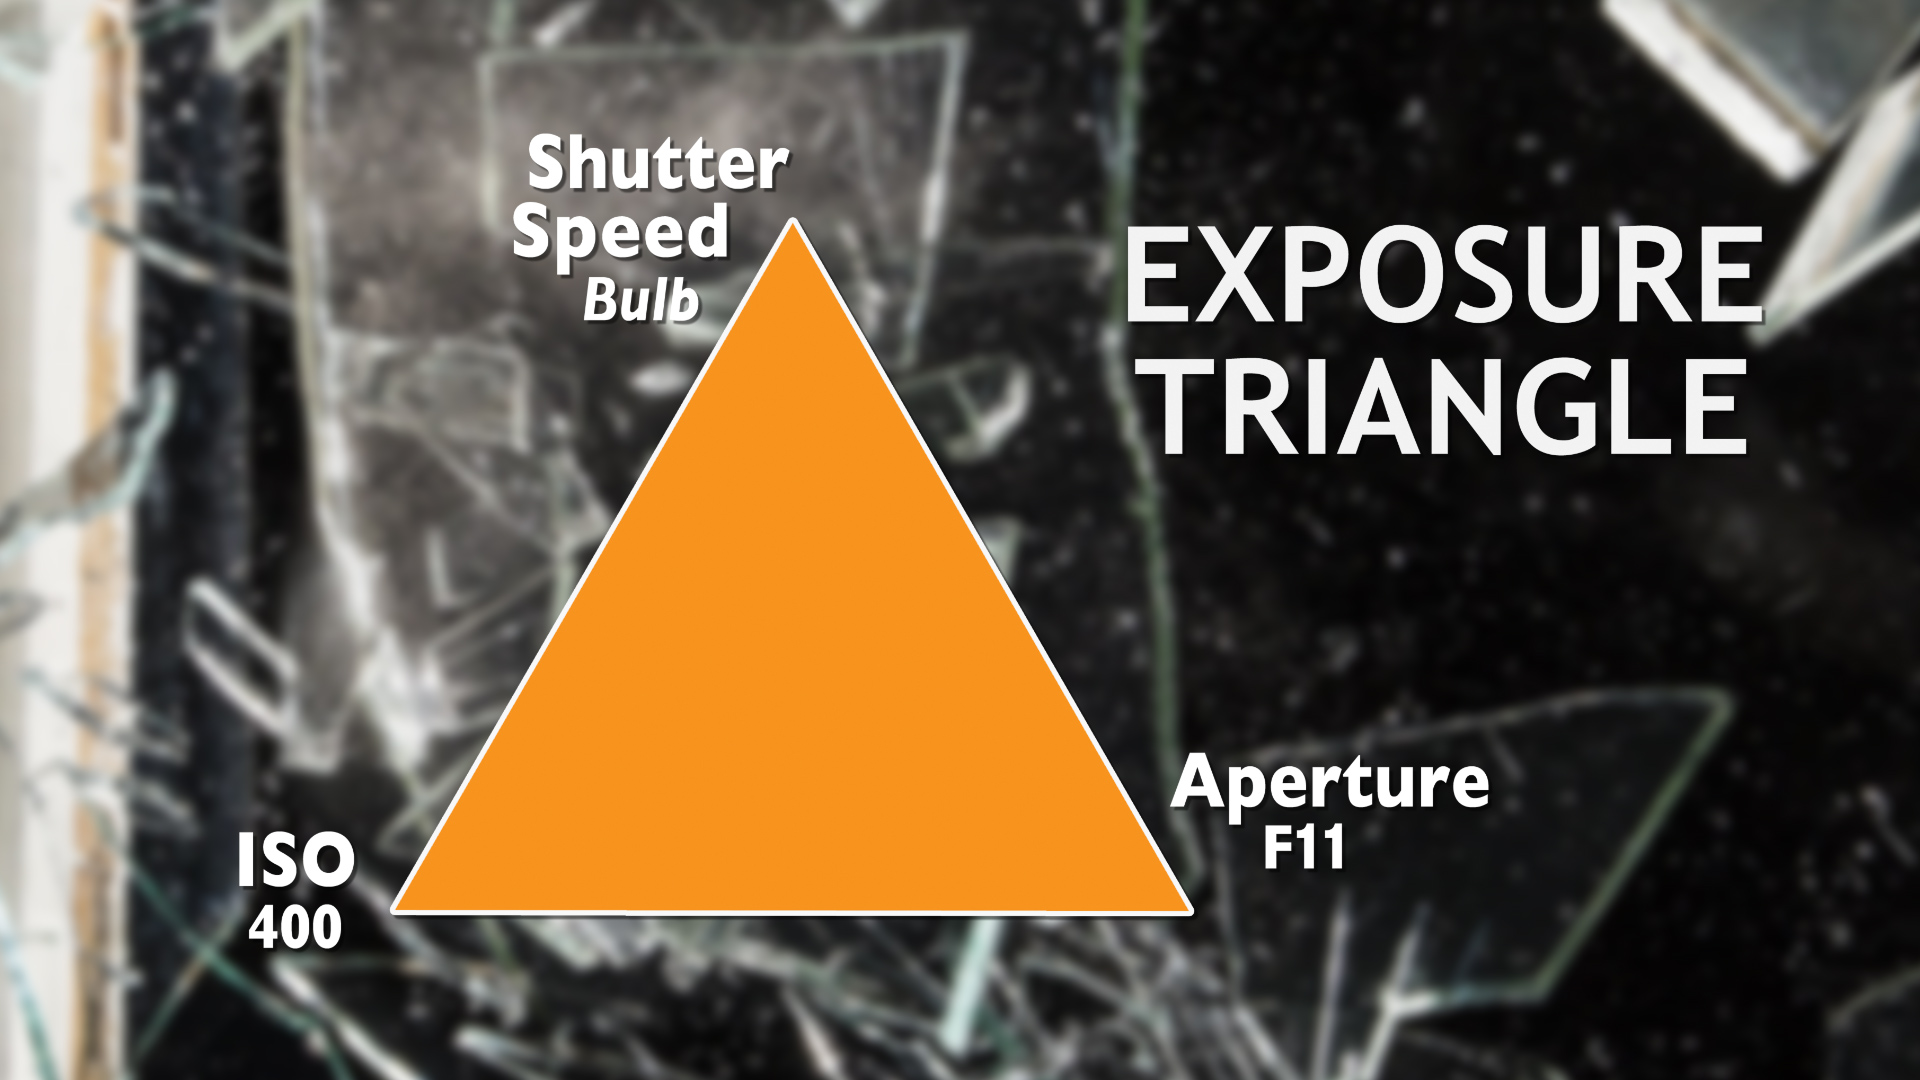
To get the exposure we had to turn off the lights, and since we were in a dark room we set the shutter speed to bulb, and needed to use a remote in order to avoid camera shake when we pressed the shutter button. We used our Canon TC-80N Timer Remote. When the camera is on bulb you press the remote button and the shutter opens, when you release it the button it closes. We hooked that up to the camera, opened the shutter, threw the ball through the glass, the sound triggered the Miops, the Miops fired the strobe, and we closed the shutter again as soon as the strobe flashed. It worked out great. Our camera was set to F11, bulb, and 400 ISO.
For our lighting setup we had two Dynalite Baja B4’s: one with a reflector and one with a grid. First off we had a Baja B4 in the background.
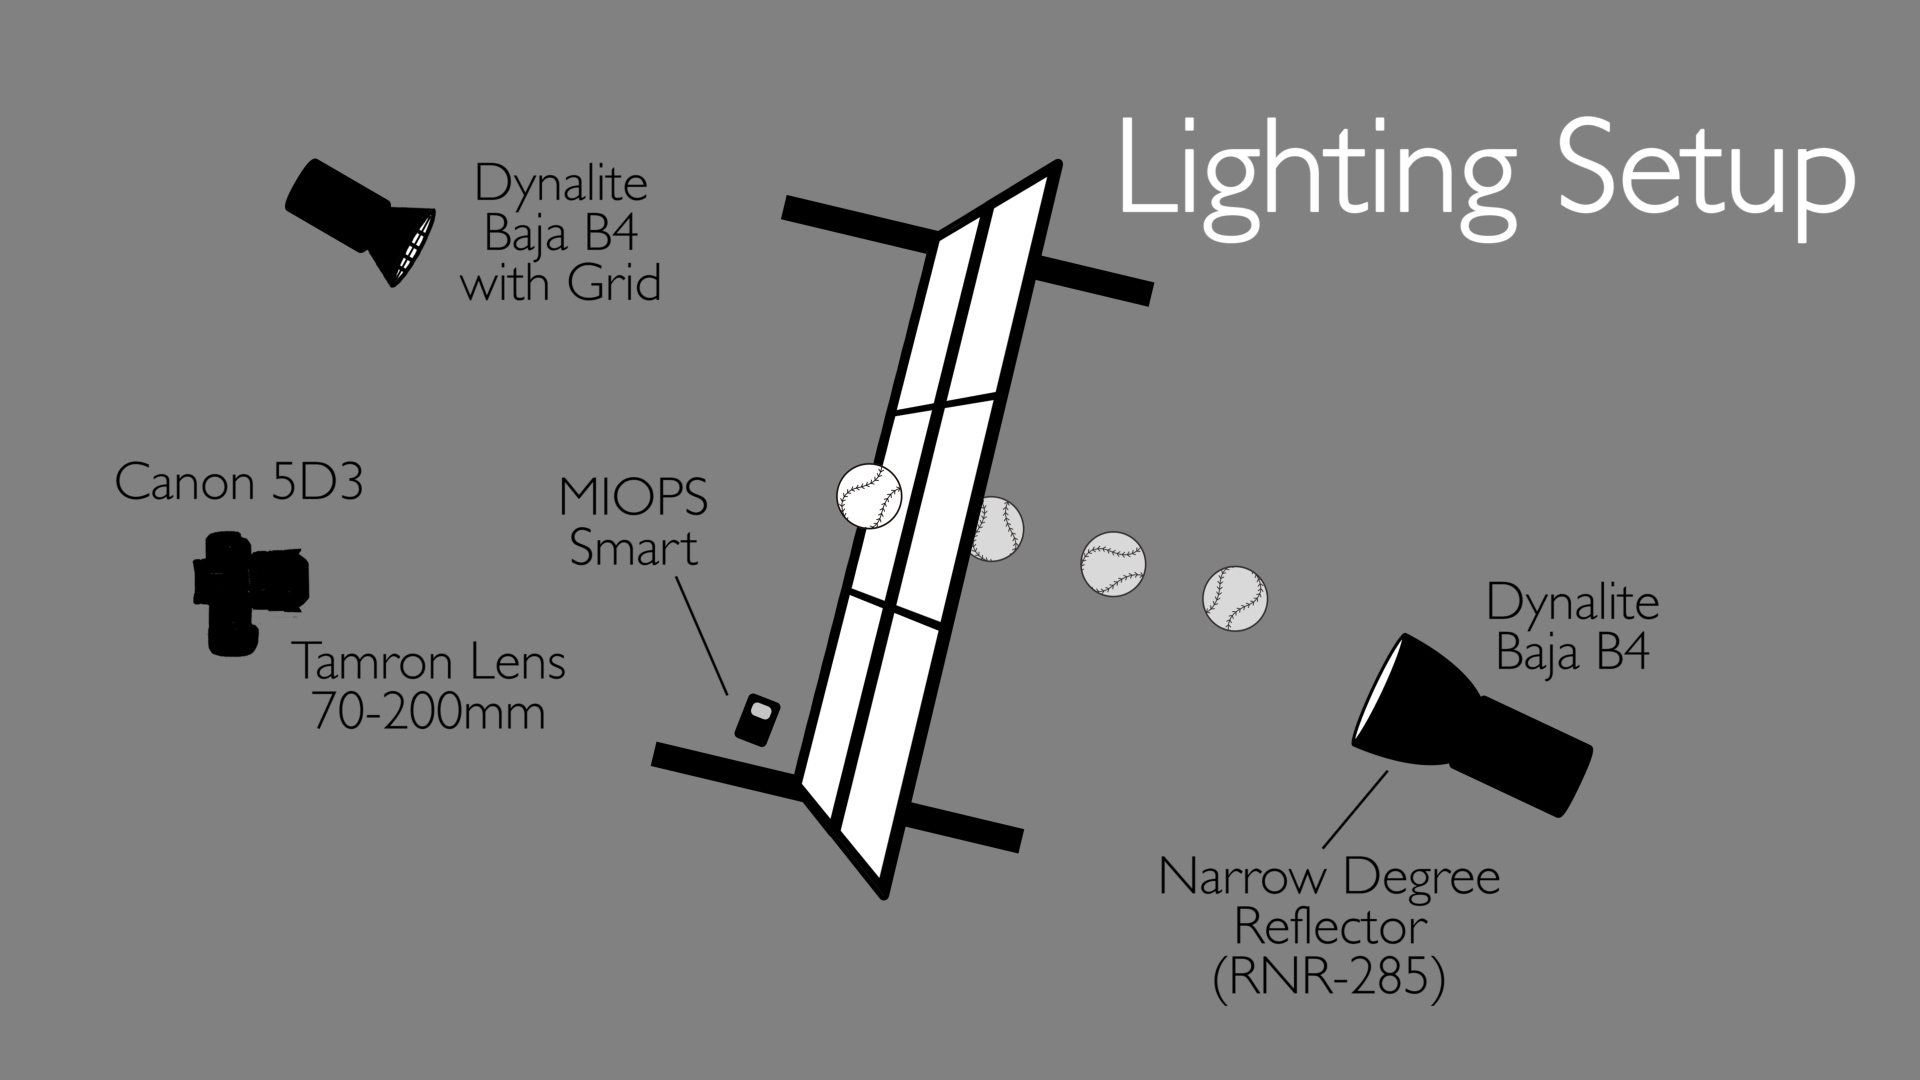
The goal of that Baja B4 was to light the ball, light the glass, light the ball as it went through the glass, and give a nice glow on all that material as it pushed towards the camera. That’s what was really lighting the image. Everything else that came after that was fill light. We used a reflector I’ve never used before on that Baja. It’s an RNR-285 narrow degree reflector. It’s made to keep your light in a nice pool. We didn’t want it flying all over the studio. We just wanted it to be on the ball, and on the glass as the ball went through it. It looked very good.
Secondly we put a grid on a Baja B4 we had acting as a fill light to open up the scene a bit. I didn’t want to open up the whole thing, I just needed the light on the ball in that area where it was coming through the glass pane.
Now we just needed to work out the exact timing of the strobe firing, so let’s look at how we setup our Miops trigger. First off, we went to sound mode. I started out at 99- almost complete sensitivity. But that was way too much. Pretty much any sound set off the strobes, coughing, talking, crunching glass under your feet. It was just way too much. I brought it down to about 86 which was a lot better because you could walk around and not set it off every time you bumped something or made any kind of noise. But when the ball hit the glass that still set it off without any problem. When you’re putting a Miops trigger on sound you’re going to get about a three millisecond delay for every meter, or about three feet, that you are away from the thing that’s making noise. Our trigger was about two and a half, three feet away from the glass. So it gave us about a three millisecond delay.
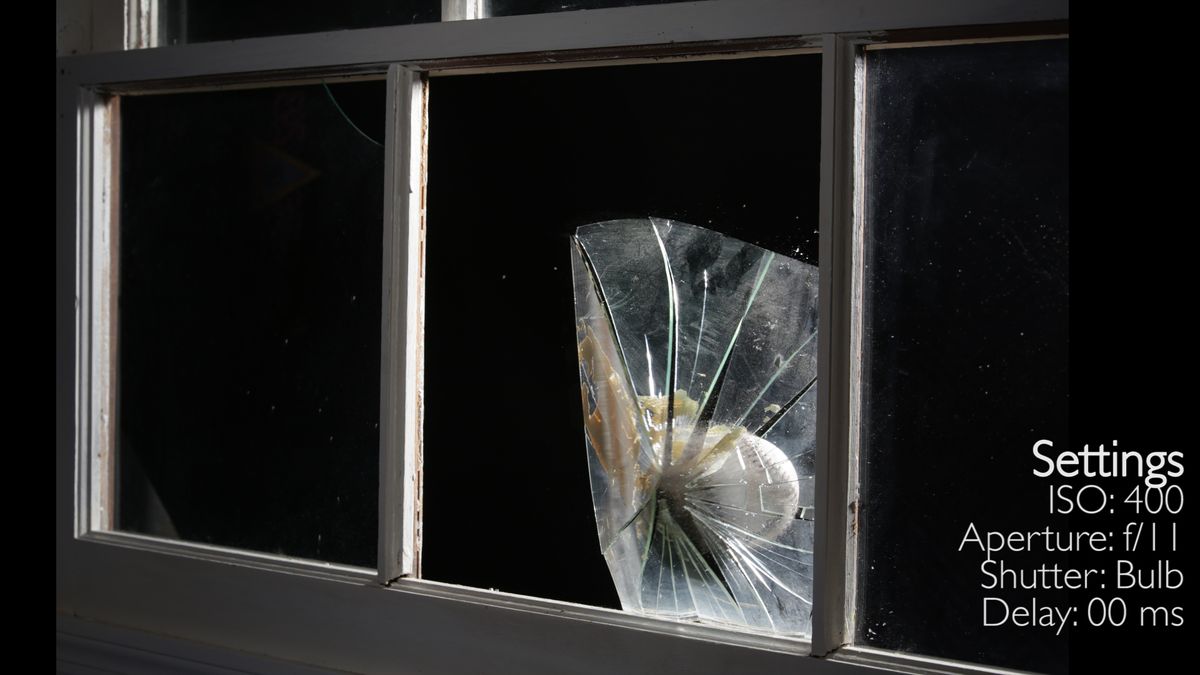
We set the trigger at zero, no delay, which was actually about a three second millisecond delay because of the distance.
Then we went to five, to see how that would look.

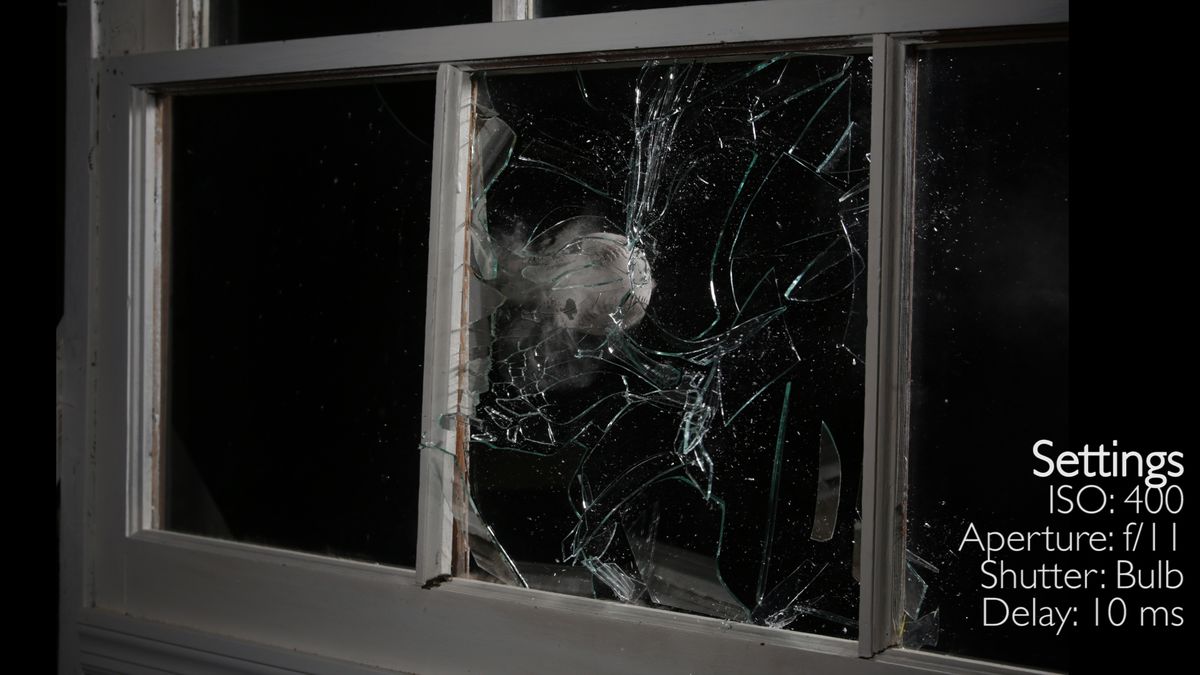
Then we went to ten,
to twenty,

to forty,

and then last of all eighty,
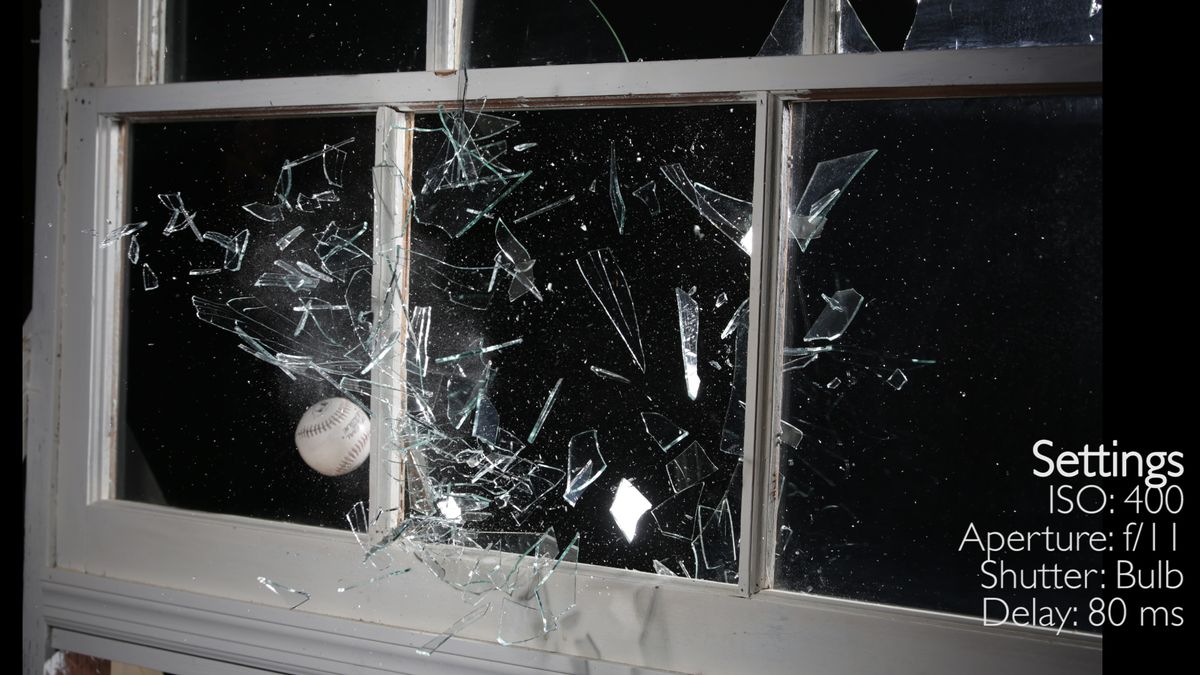
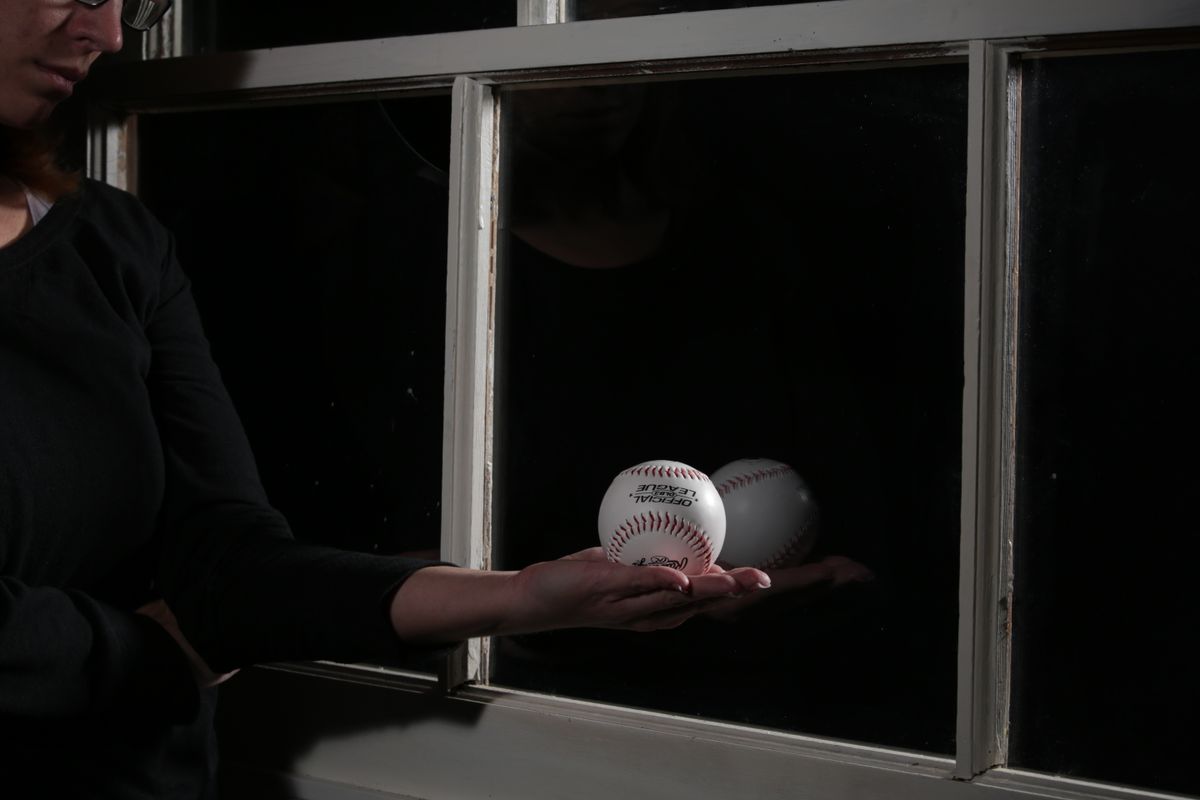
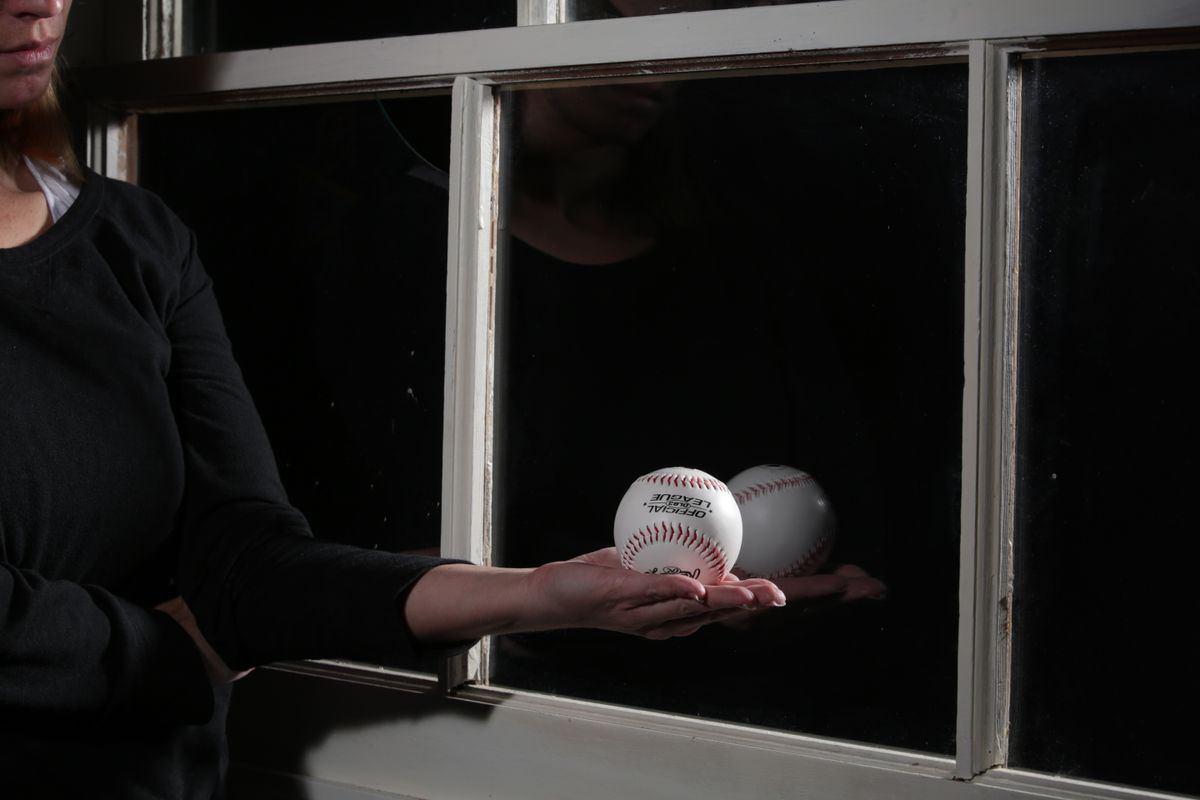
trying to get the ball further out through the window. The problem is, even though we had a constant, which was our trigger, I was throwing the ball through the window. Which means my arm strength and how hard I threw it changed the velocity and how fast it was traveling. So it became a little bit of an inexact science. But that’s the way this stuff is, and we got some pretty cool shots anyway. So let’s take a look at our final image today.

In the end it’s controlled trial and error. But I learned several things that you really need to apply. One is, get the trigger as close to your sound you can. Two, work in a dark room. Three, use a bulb release so that your camera doesn’t get jiggled. And then just experiment, experiment, experiment. So get out there and break some glass. And keep those cameras rollin’, keep on clickin’.
Equipment used:
Canon TC-80N Timer Remote