For a couple years now, I have been shooting a portrait series I call Time Period; it is an art series that allows me to look back a how people lived their lives in past times. I love history and this gives me the opportunity to live in a different time period, if only for a few hours. My goal is to create portraits that look like they were taken by me as if I were there in that time. It is a fun process, but can be an expensive one. Shooting for different time periods means that you need props, wardrobe and locations that fit and if you aren’t careful, these can all drive the cost way up. Today I am out at Herber Valley Air Museum for a portrait with a WWII pilot in front of his airplane and I want to give you four tips that will help you set up a vintage portrait shoot like this one without breaking the bank.
1. Look for museums
Both large and small museums often have a wide selection of donated items that will help in your endeavor. This air museum specializes in World War II artifacts and had two fully-restored planes in the collection. The museum also allowed us to use some clothing pieces and hand props that would have been expensive to rent somewhere else. This is a tricky process and I usually make a donation to the museum as payment.
2. Reenactors and LARPers
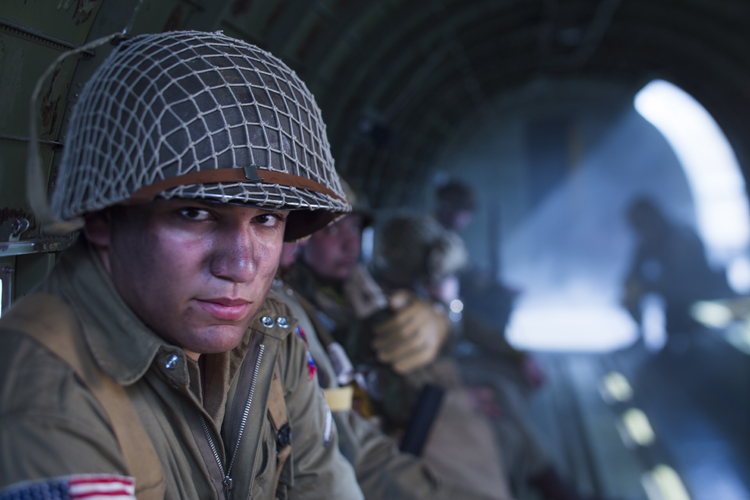
I look for reenactor groups and live action role players, or LARPers, to bring in to the process. There are groups all over the nation that have their own clothing, vehicles and props and have done the research to look authentic. This also gives me access to items that look new. Remember, the object of the portrait is to look like we are there in that time, so I don’t want items that look as though they have been sitting in a trunk for 100 years.
3. Wardrobe houses
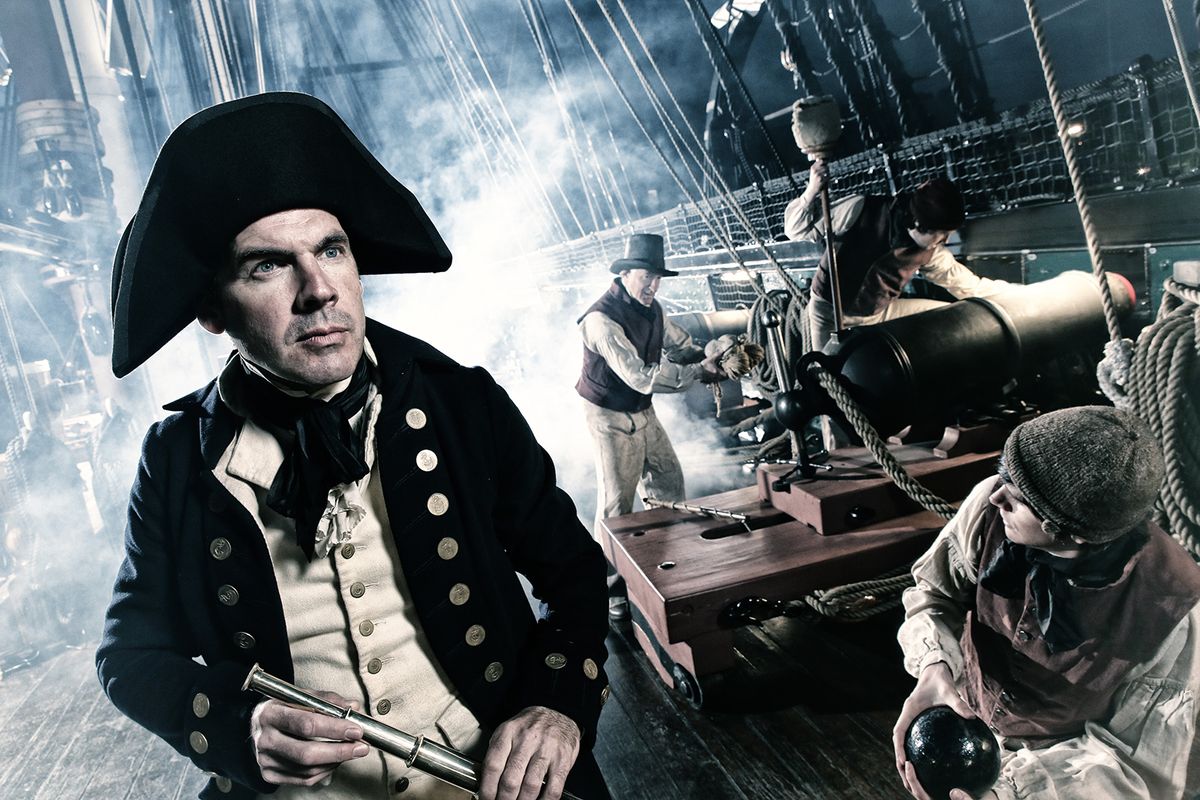
Sometimes you just have to rent wardrobe pieces. I don’t do this very often because it is cost prohibitive but there are locations in LA that get get costumes from movies that can be rented, and even shipped out. When I shot on the USS Constitution in Boston Harbor, Julene pulled costume pieces from Master and Commanderto bring with us. When going this route, it is beneficial to think about key pieces that you just cannot get anywhere else, like the ship commander’s jacket.
4. Location of set pieces or props
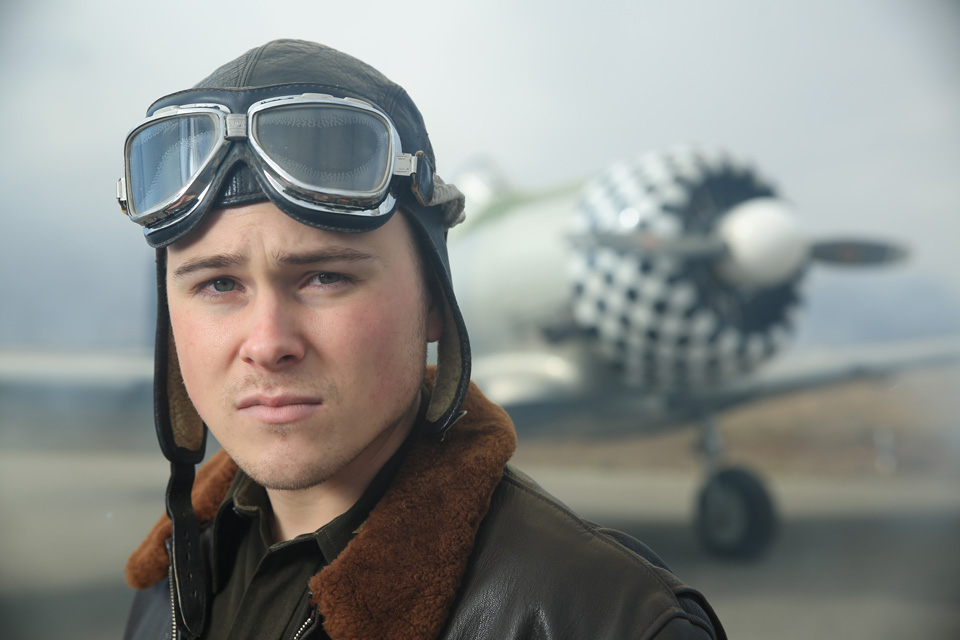
I use the place where the set pieces or props are located for the shoot. I have no choice with a plane or a ship. For the planes, which are often at modern-looking hangars, I use a lot of smoke to cover the things I don’t want to see in the image. I fill the frame with the plane or wagon and get down low so I am looking into the sky. This will get rid of most of the background that I do not want to see.
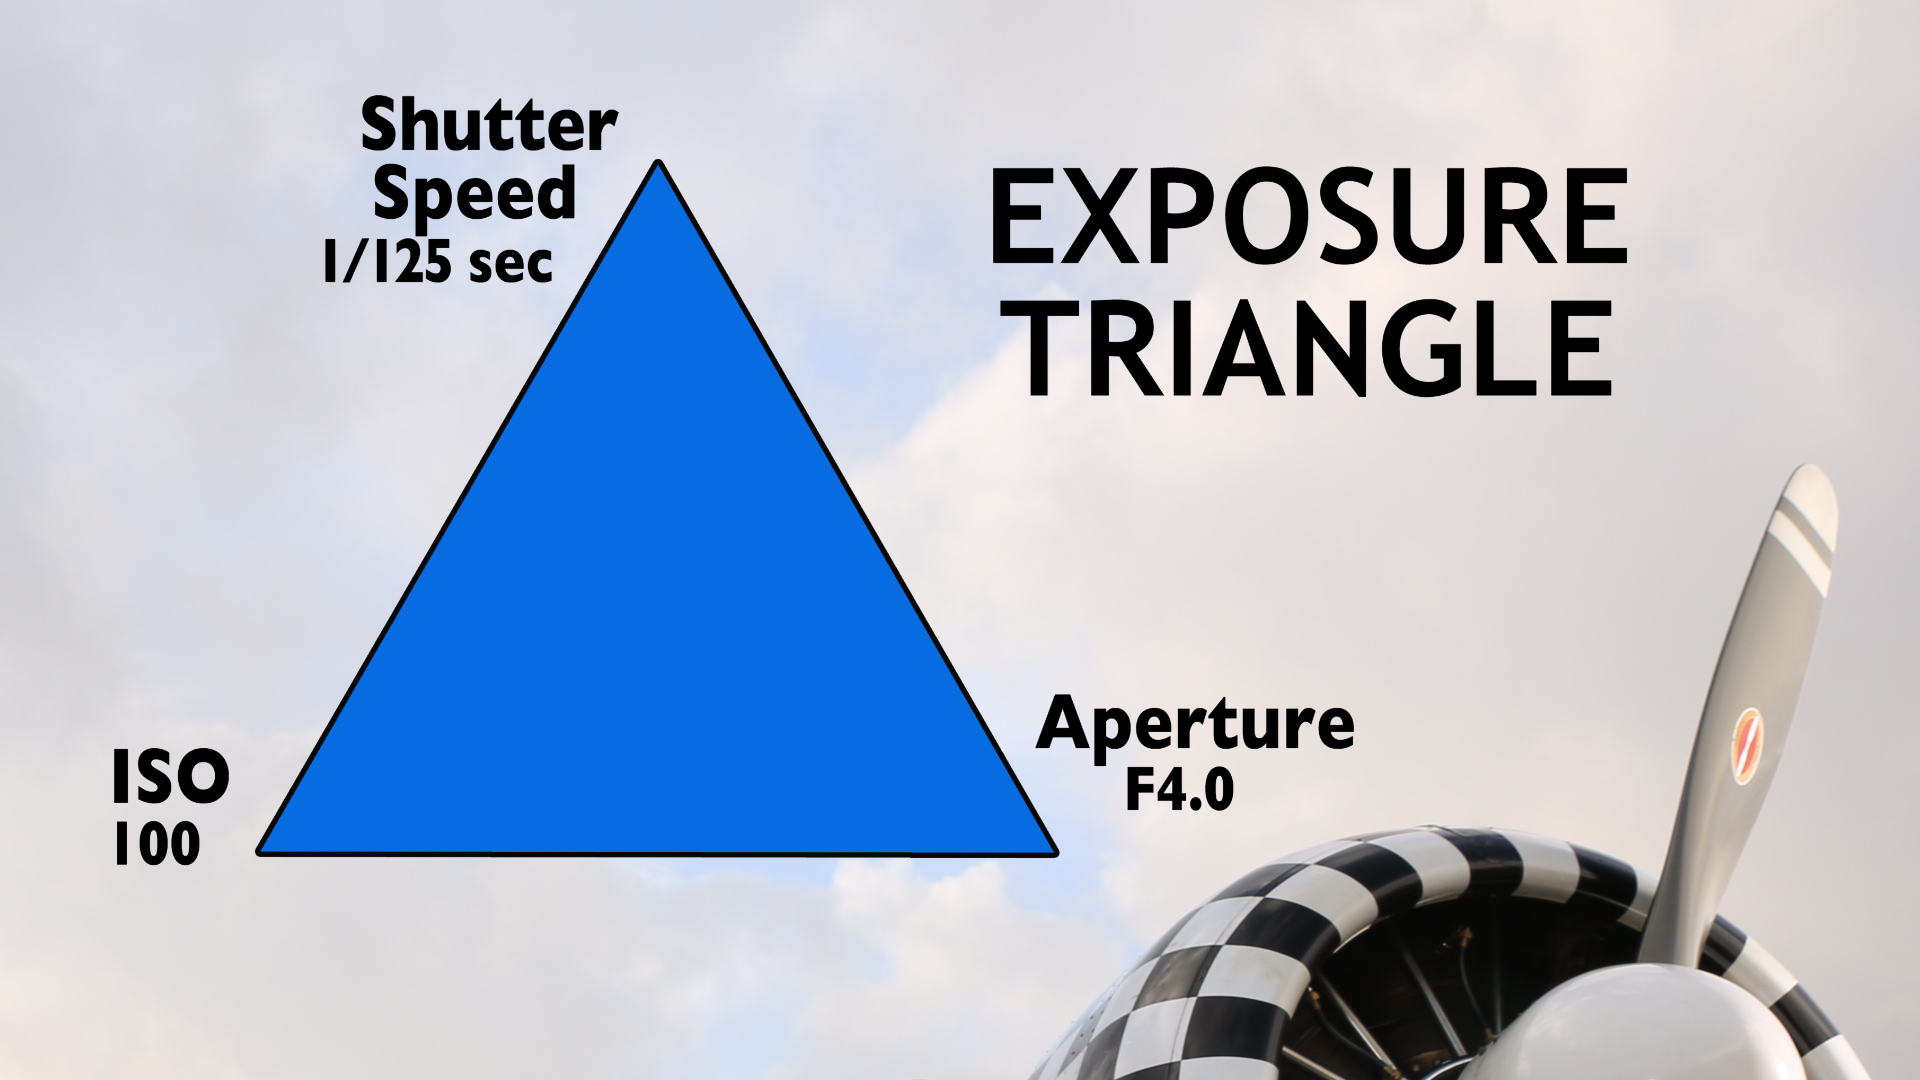
For today’s vintage portrait, we pulled the plane out onto the tarmac and placed it so I could see the mountains in the background and the sun would come in from camera left. I am shooting at f4.0 with a shutter speed of 1/125th and the ISO set to 100.
I get a good ambient reading here and allow the airplane to fall out of focus a bit.
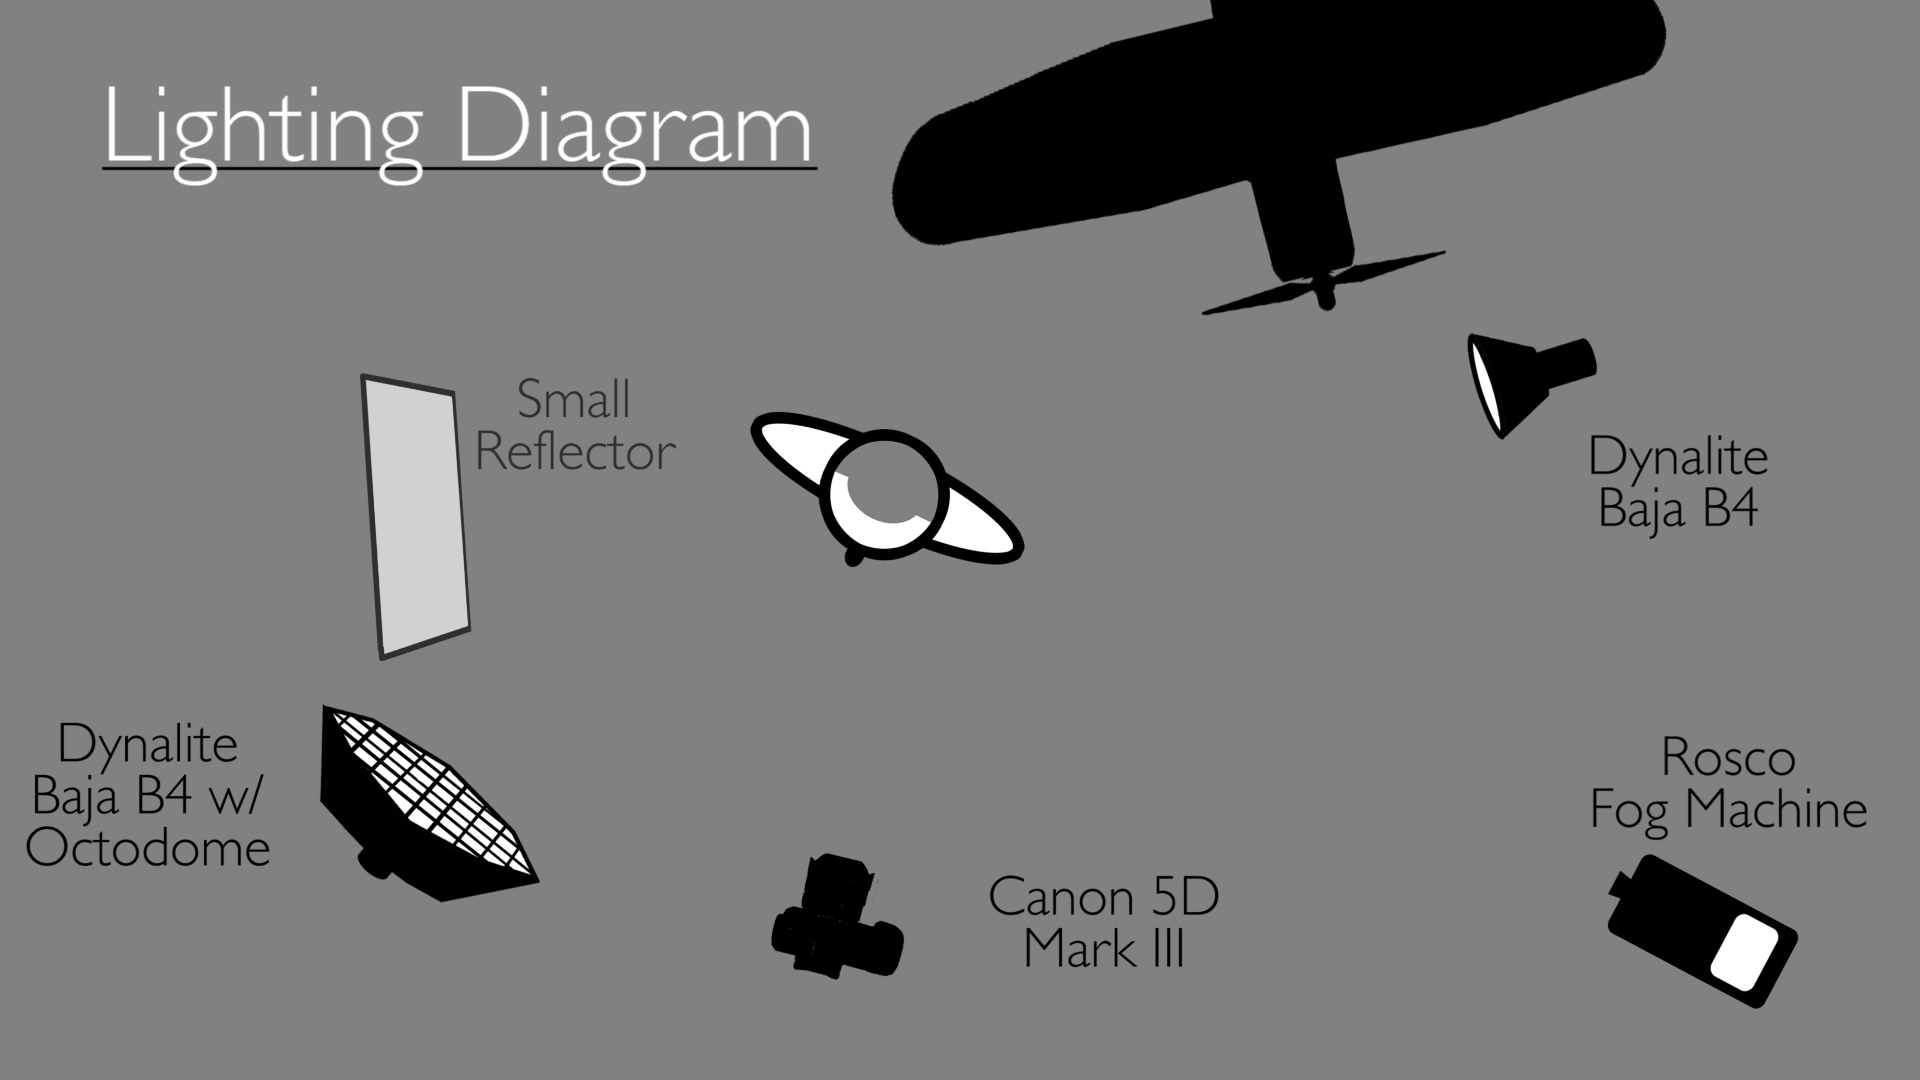
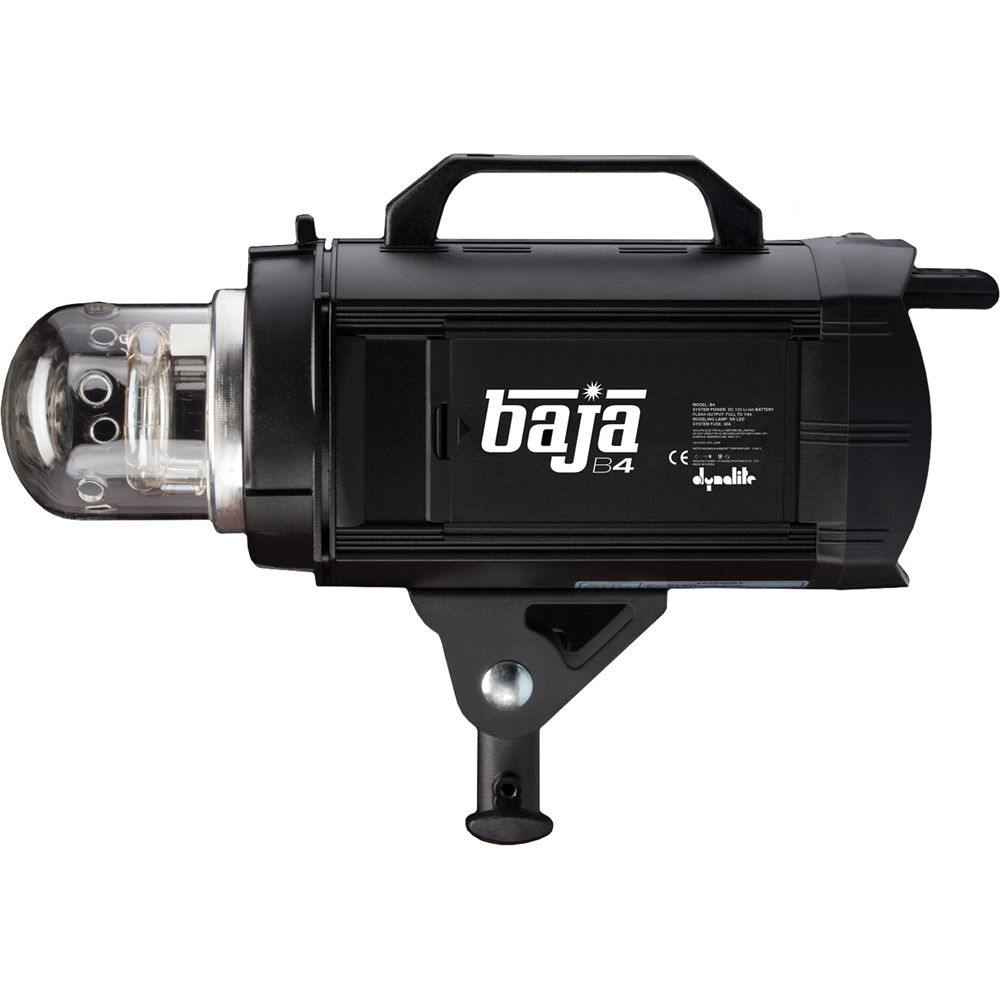
For the key light, I will use a Dynalite Baja B4 and add an octodome with a grid on camera left. I am loving these lights. The battery portability makes them so easy to use on location.
I then add a second Baja B4 from camera right as a rim light.
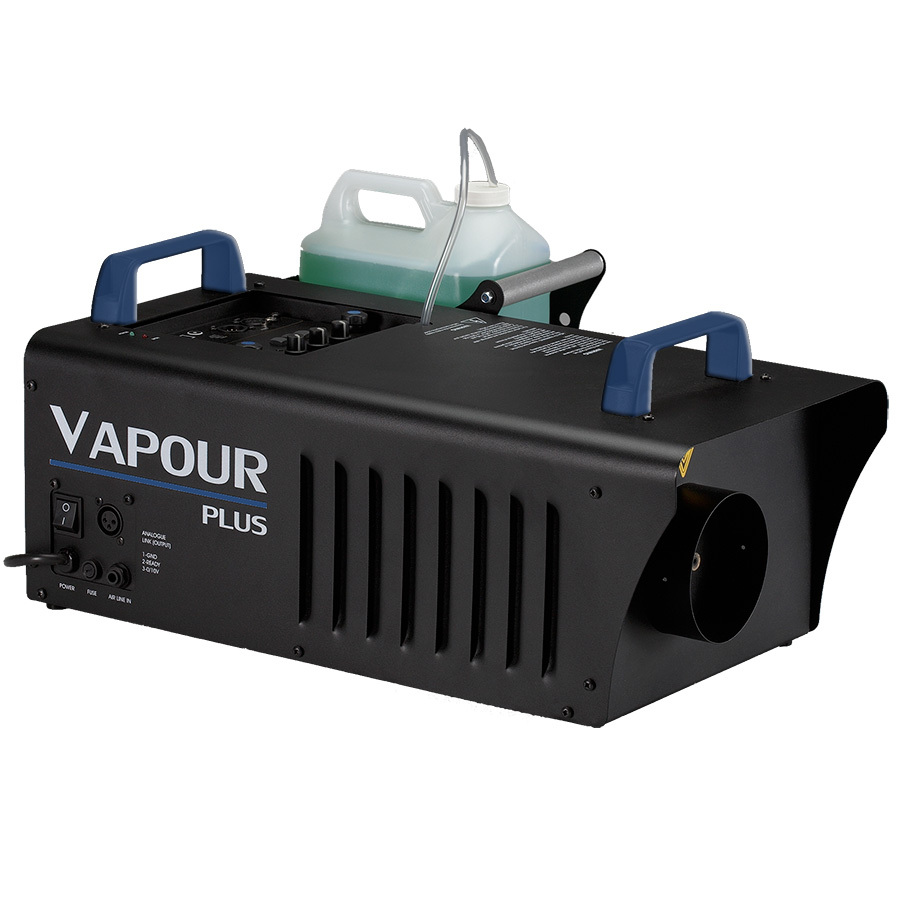
During the shoot we used a reflector to take some of the sun off his face. We also used a Rosco fog machine to add depth to the image and hide some of the tarmac. Here is the diagram of where everything was set for most of the day.
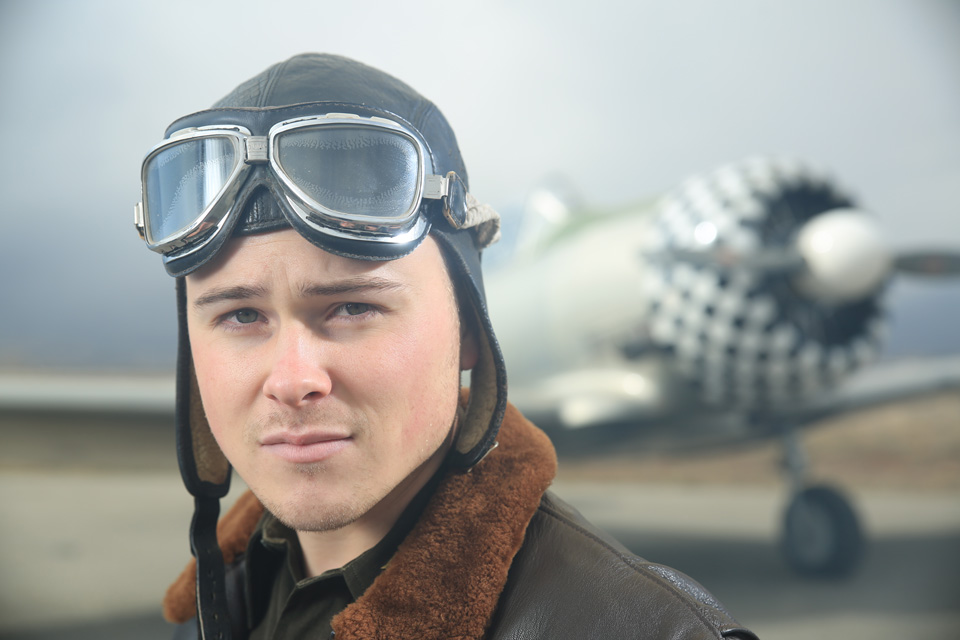
To finish the portrait, Julene cleaned up the image a bit and took out the building in the background. She added a curves adjustment to increase the contrast. Then she added a gradient map layer with the opacity at 50% to desaturate the color and give it a more vintage feel. Next, she added a sepia photo filter and finally a high pass layer to increase sharpness.
Edit Process
We also had a couple with us at the air museum. We had the woman done up in a 1940s hair style and got her dress from a local theatre. Here is a look at some of the final, edited images from this shoot.
Vintage Portrait Shoot Final Images
There is a look at the Time Period series I have been working on. I hope you enjoyed stepping back in time with us. Keep those cameras rollin’ and keep on clickin’.
Jay P Recommends for this Shoot

Video Transcription
Hi, this is JP Morgan, and today on the Slanted Lens, we’re shooting at a little airplane museum in Utah. We’re going to take a look at a cost-effective way to shoot vintage portraits.
I have been shooting a portrait series I call “Time Period” for a couple of years now. It’s an art series that allows me to look back and help people lived their lives in past times. I really love history and this gives me an opportunity to live in a different time period if it’s only just for a few hours.
I go in and research the time period and create portraits that I feel look like they were taken by me as if I was there with my camera in that time period. It’s really about the people and what they were feeling at that time. It’s really a fun process, but it can be a very expensive one.
Shooting different time periods mean that you need to have props, wardrobe, and locations that fit that time. This is gonna drive the cost way up if you’re not really careful. So here’s how I’ve been able to overcome that cost factor.
Number one, I look for museums that have props, whether they’re large props or small props. In this case, the air museums specialize in World War II and had two planes in their collection. They also had a great selection of clothing and hand props that people had donated to the museum. Some of that clothing, they allowed us to use. This solved the props and location problem.
It’s kind of a tricky process so when you’re shooting with a museum. Some are going to allow you to use things and some are not. It’s usually smaller museums that are funded by individuals that really give you this kind of access. A lot of times I do have or make a donation to the museum to help cover the cost, but try to keep that as reasonable as possible.
Number two, I look for re-enactor groups to bring into this process. You know, there’s groups all over this nation that recreate different time periods. They buy and they recreate, they sew the clothing so that they look period correct. I try to find these people and bring them in the shoot. This gives me great access to clothing that’s been recreated for the time period and looks a little more new than some of the old things that people have in the trunk for a long, long time.
Remember, this is not about old. This is about seeing people the way they were in that time period. So re-enactor and LARPer groups actually are a great source for this kind of work.
Number three, I do use wardrobe houses from LA at times. You know, when we shot on the USS Constitution Julene pulled all the master and commander wardrobes she could find in LA to take back with us. That really helped out, but it was pretty expensive. We try not to do that very often. But in a pinch, you can rent the wardrobe you need from wardrobe houses like Warner Bros here in Los Angeles. They’ll ship it to you.
Number four. For the location, I use a place where props are located. You know, I don’t have any choice when you have a plane or a ship. You kind of have to shoot at it where it’s at.
In the case of the pioneer shots, we did that shot out on their property. They had 360 acres of just virgin land. It looks just like the pioneers would have seen it as they came across on their wagons. So it was really great to shoot out to one of those grassy hillsides.
For the planes, I use a lot of smoke to cover up things I don’t want to see in the background. I also fill the frame with the plane or the wagon or the prop in the foreground, then I get slightly down so I’m looking up into the sky and that get rids of most of the stuff I don’t want to see.
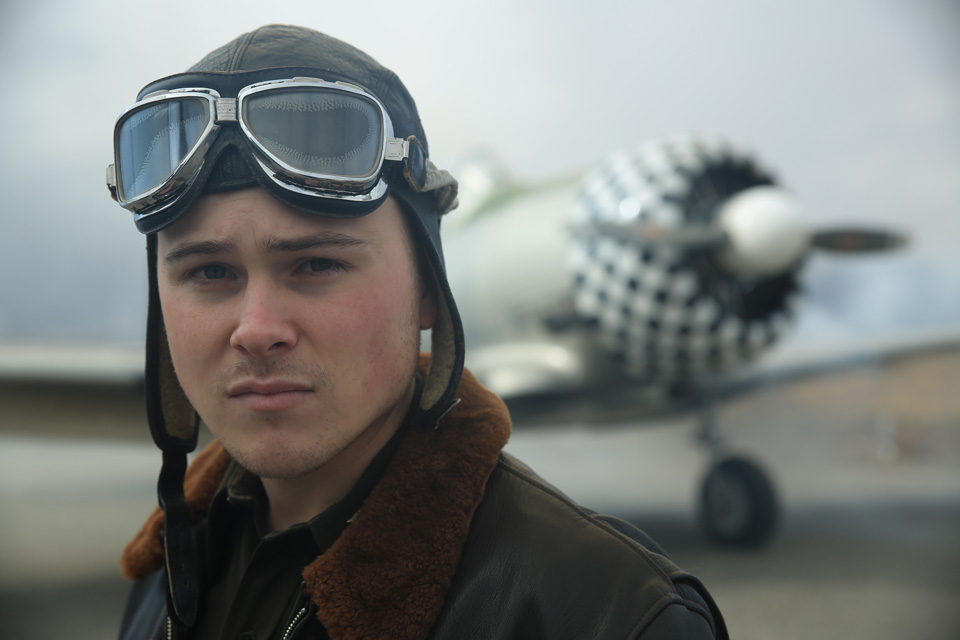
So there’s a very simple formula for shooting these kinds of vintage portraits. For today’s vintage portrait, I wanted to look at a World War II fighter pilot. The plane at the background is a Texas trainer, so he’s just learning how to fly.
In World War II, we lost more pilots in flight training than in combat. It was a sped up process, it was kind of fast and very dangerous, so I wanted to show the man who is feeling the courage to be able to get in that airplane and try to learn how to fly.
We pulled the airplane onto the tarmac outside the hanger and I placed it so the sun would come in from camera left. I wanted to see the mountains in the background. Well, you know what? It started to snow and we weren’t seeing anything in the background After a while, the snow kind of started to break up, the clouds started to break up. We could start to see the mountains and start to see the clouds.
Here’s our first shot after the snow stopped. This is just with the ambient light we had on set. I’m shooting at F4 and 125th of a second. The ISO is set at 100. I get a good ambient reading here, which allows the airplane to fall just out of focus a little bit in the background.
I like that look. Using the Baja B4, I’m going to add an octozone with the grid from camera left. I love these Bajas. Just the battery portability makes them so easy to use. I’m not carrying extra power around or having to run cords. It just makes them very easy to use on location.
I then added a second Baja B4 as a rim light on the camera right side. It’s little broad in this image on his face, but we pushed it around a little bit so it’s more of a rim and not so much on the front of his face. So that became our lighting setup for most of the things we did that day.
We did use a reflector occasionally when the sun was too harsh to take the sun off from his face and that allowed our key light and our rim to keep doing their job without too much fill on his face. Here’s some of the final shots before editing.
We also had a couple there. We did her up in some great vintage hair and clothing. These are shots of her with the airplane, a couple with the airplane, and then the guy alone.
In the editing process, Julene cleaned up their eyes and did a little bit of work on the faces, but then she added a nice curves adjustment to increase the contrast. Then she added a gradient map adjustment layer, turned the opacity down to 50% to desaturate the color just a little bit. That makes it look a little more vintage. The final step for the vintage color look was to add a sepia color filter. Then she did a high pass layer just to sharpen the image a bit.
Here are some of the final images with the editing. It was a lot of fun to be transported back to World War II for just a few hours, to be able to see the airplane, to feel the clothing of the people and be able to do some vintage portraits.
So there’s a quick look at a fine arts series we call “Time Period” and the process we used to get there. So keep those cameras rolling. Keep on clicking.