(If you want to watch the video go to The Slanted Lens on YouTube!)
Hey, this is Jay P. I’m here in Zion National Park. I’m going to show you where to shoot in Zion National Park to get spectacular images if you’ve only got 30 minutes to an hour. Sometimes I’m one of the group. I can’t take forever to shoot. Sometimes I can’t get up at 4:00 in the morning. Let me show you my two favorite places to shoot in Zion National Park if you don’t have much time.

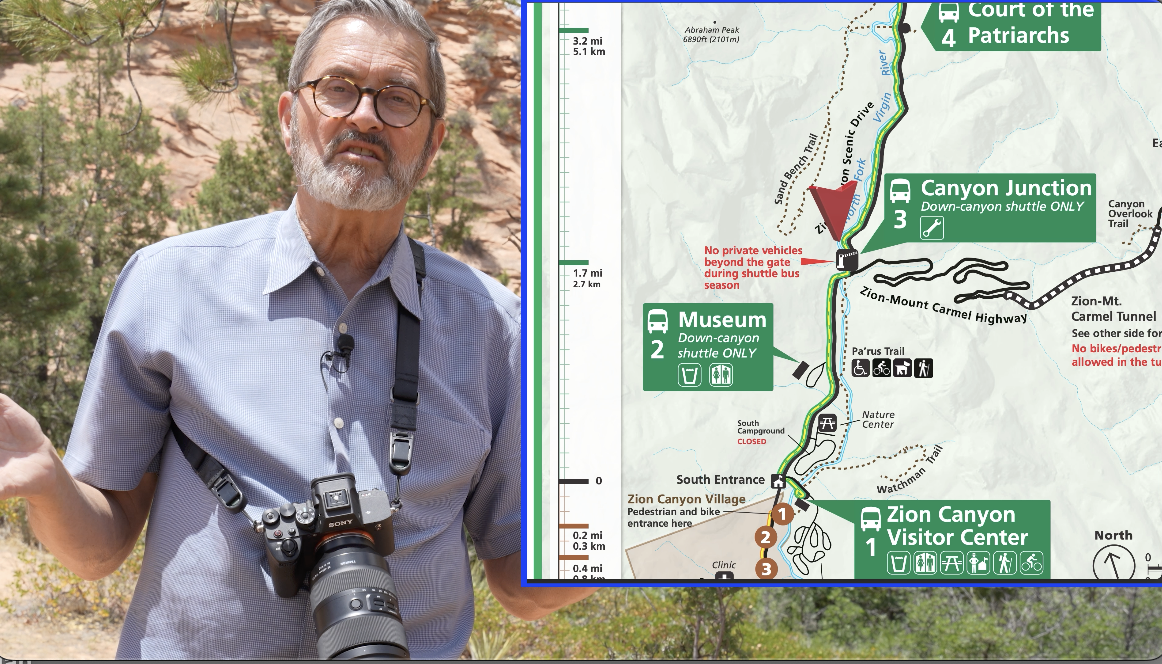
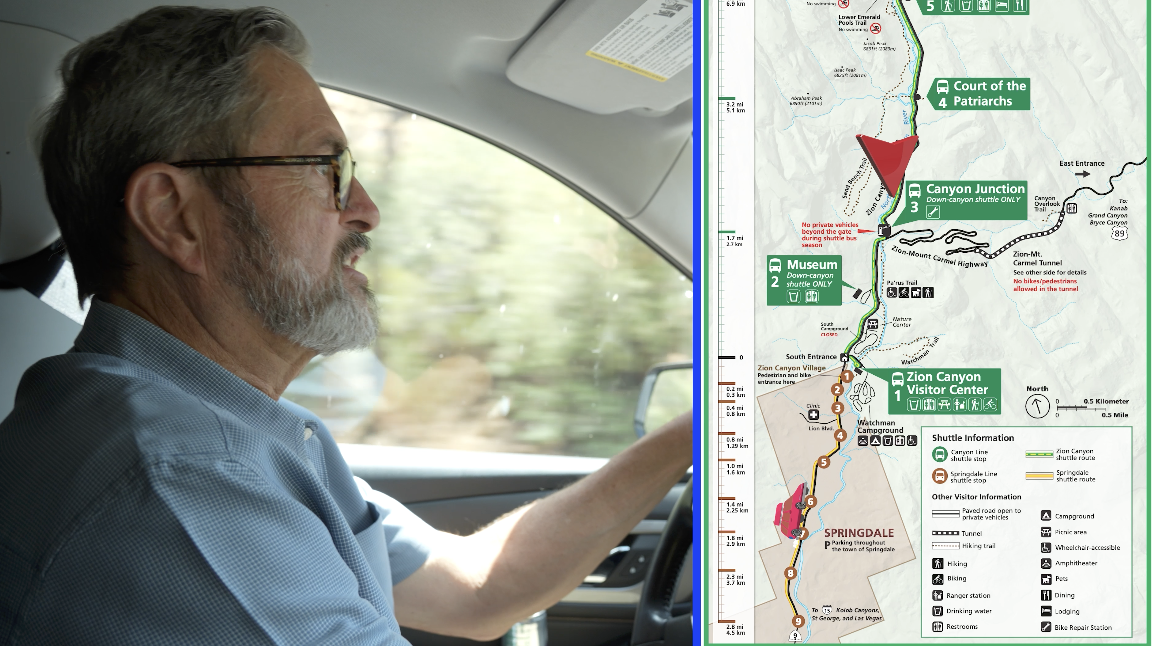
So, let me give you just a little bit of a layout of Zion National Park. Zion National Park has a through road that goes straight through the park. There’s an east entrance and a south entrance. Most people come in the south entrance. 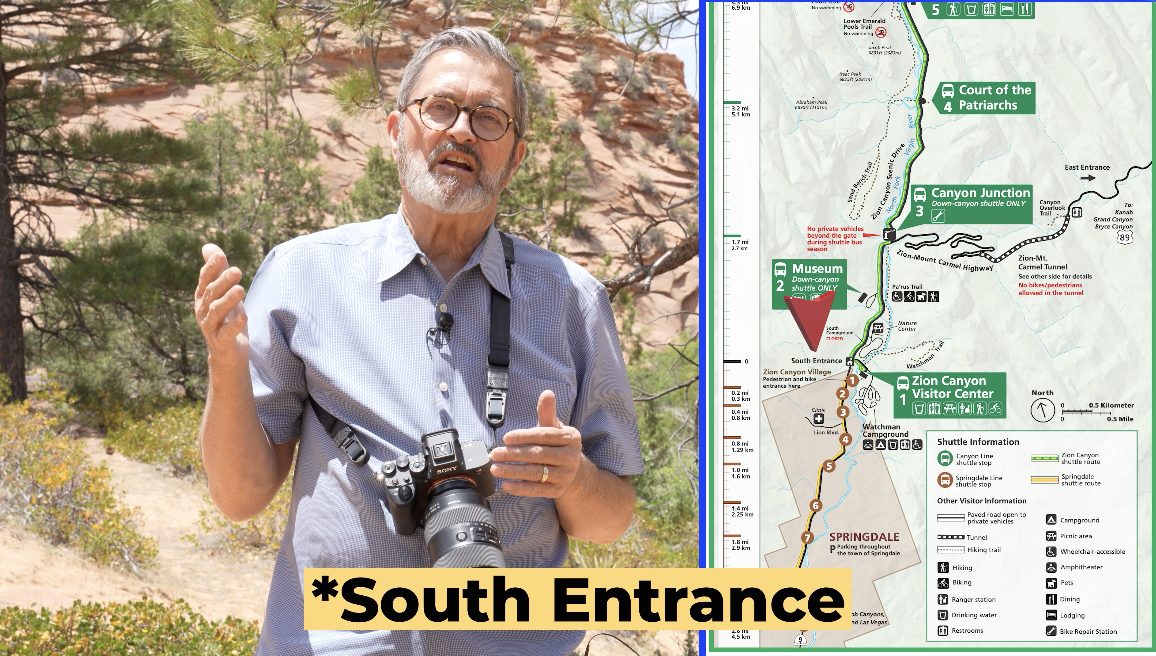


I mean, if you want an absolutely spectacular image, you’re going to want to get there in the morning and watch sunrise. Here’s a couple of images I shot there in the past. It’s just a spectacular place. Don’t be afraid of rain. A lot of times when the rain breaks or if it gives you just a moment or gives you a little lightning, it’s absolutely worth every second of being out there and hovering in the car waiting for the weather to clear. So, don’t be afraid of the rain. Get out there and shoot anyway. All right, on to Canyon Junction Bridge.
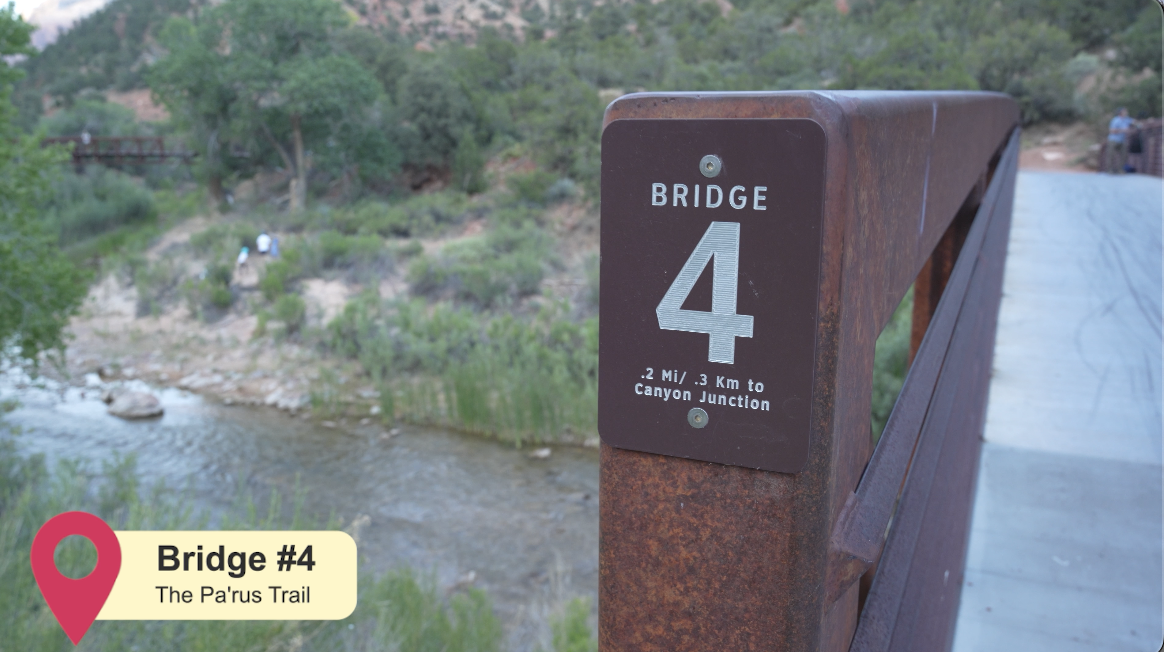

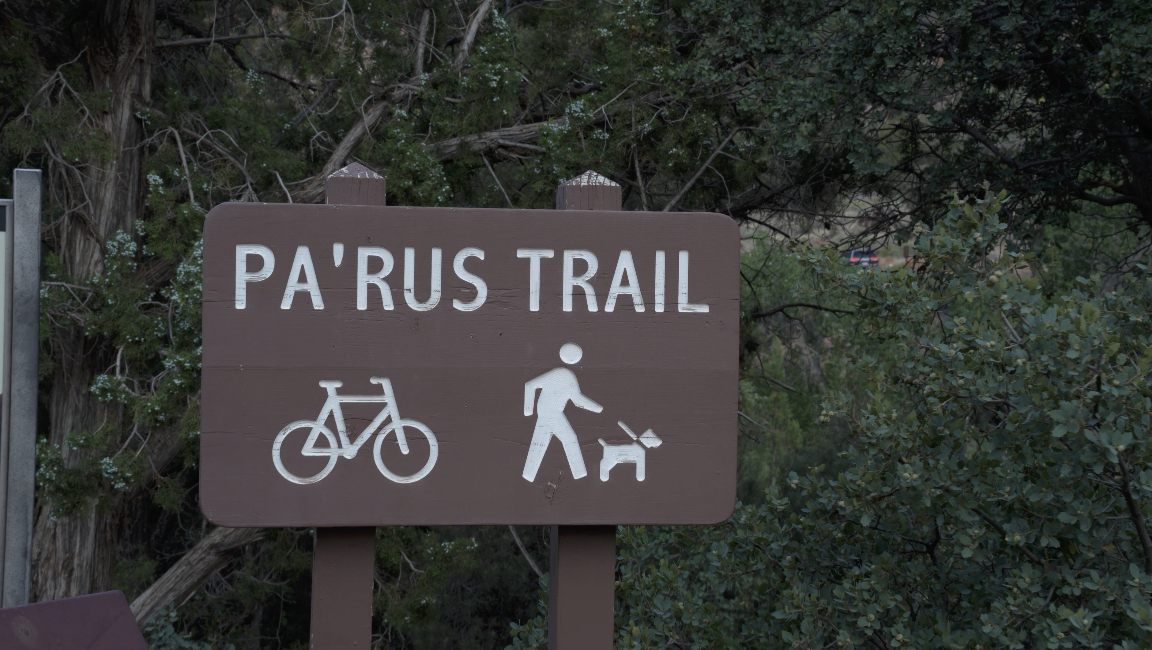
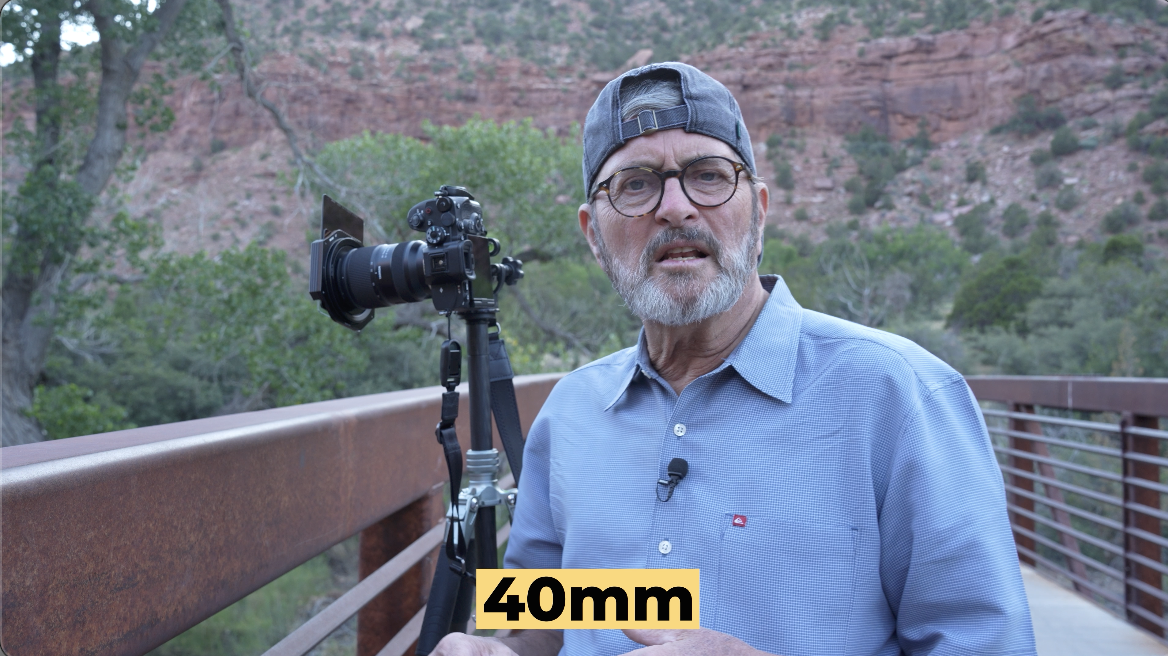
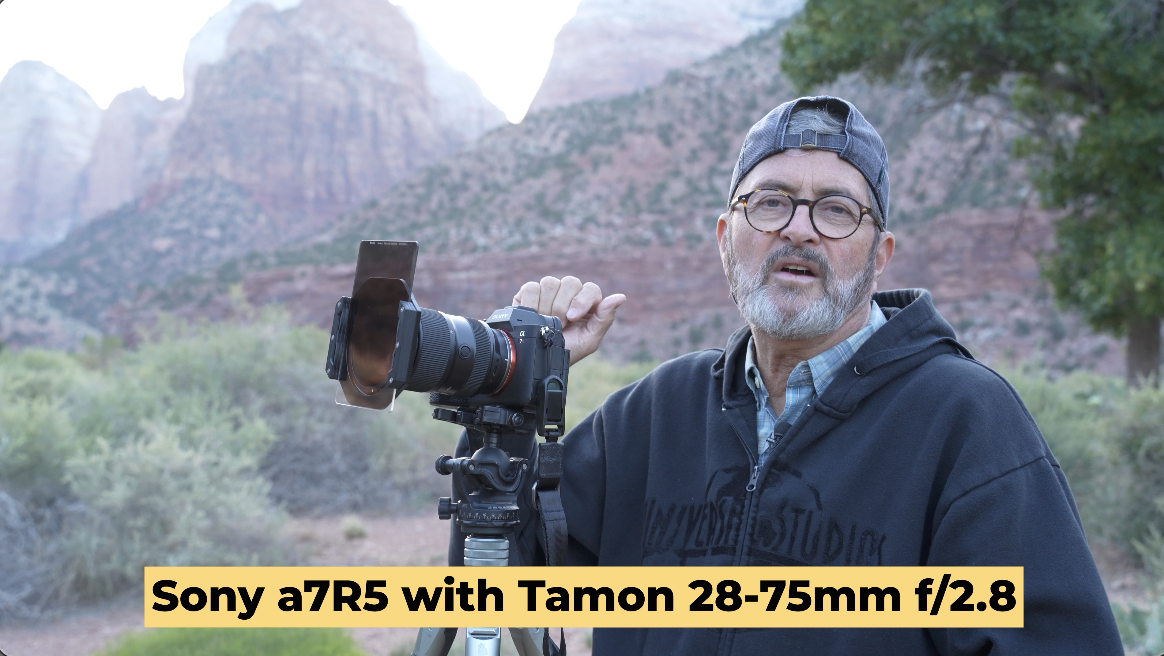
All right, so we’ve chosen bridge number four on the Pa‘rus Trail. It’s very close to the Canyon Junction Bridge. In fact, it’s about a seven-minute walk. 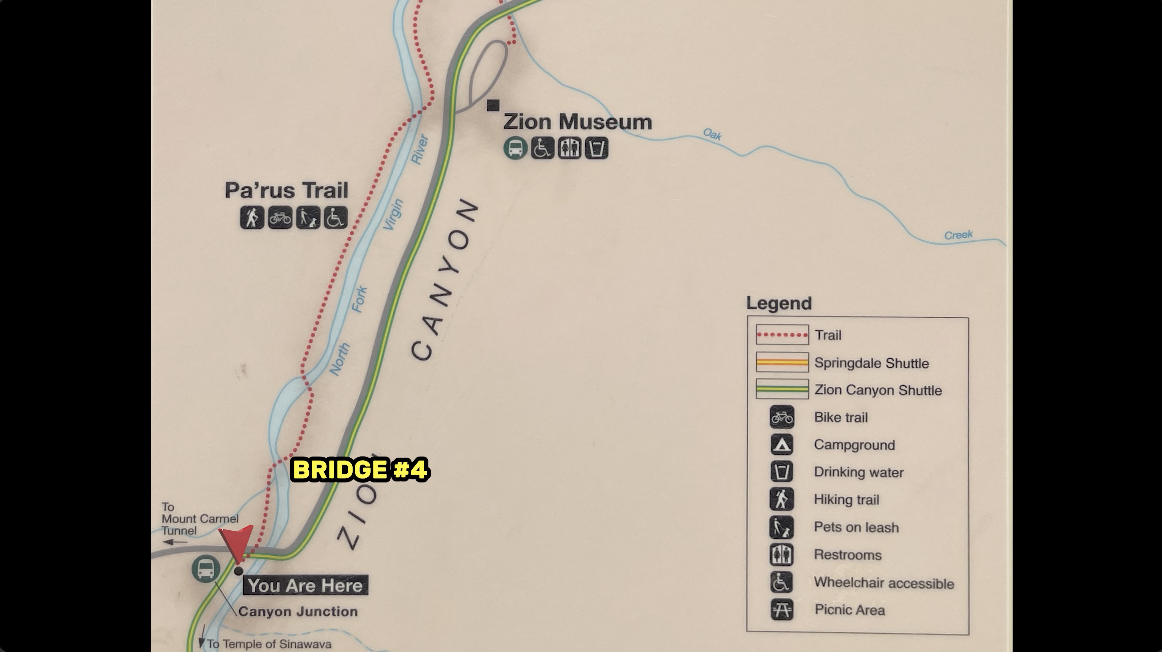


I mean, I’m an hour away from sunset. I’m going to try to shoot into that time when it just kind of, the sky opens up and there’s just a luminosity that is so beautiful. So, that’ll just be right at the very end. This time of year, the sun’s not going down till about 5 minutes to 9:00 pm, so it’s very late. So, we’ll just shoot here and watch the sun and just keep messing around and see what we got. 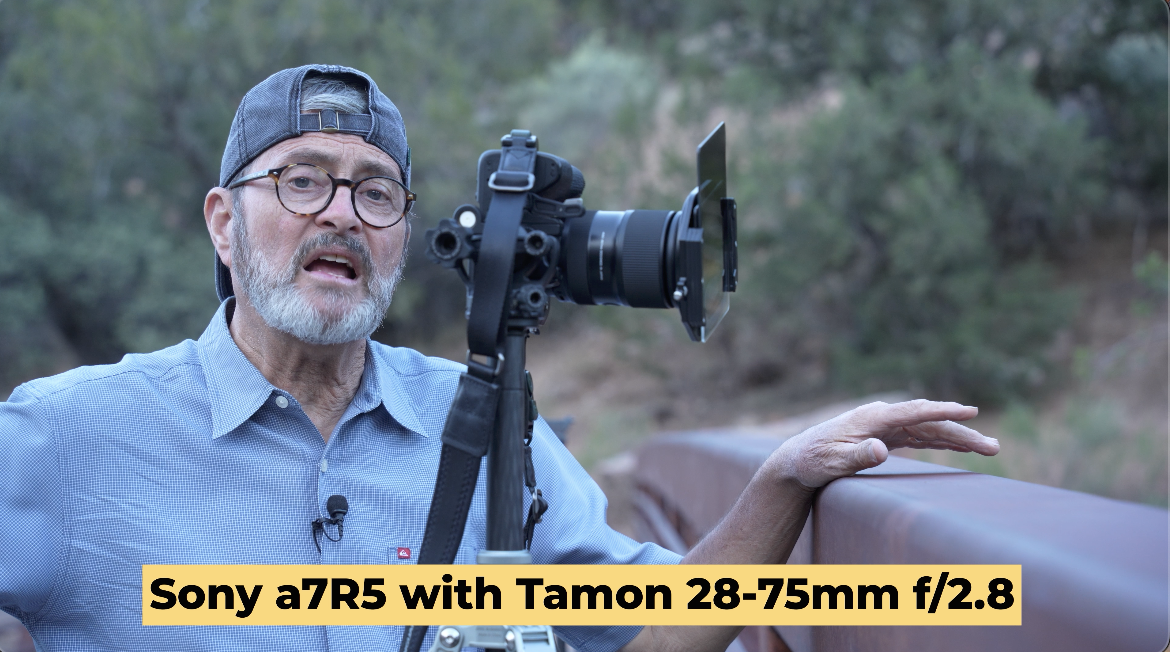
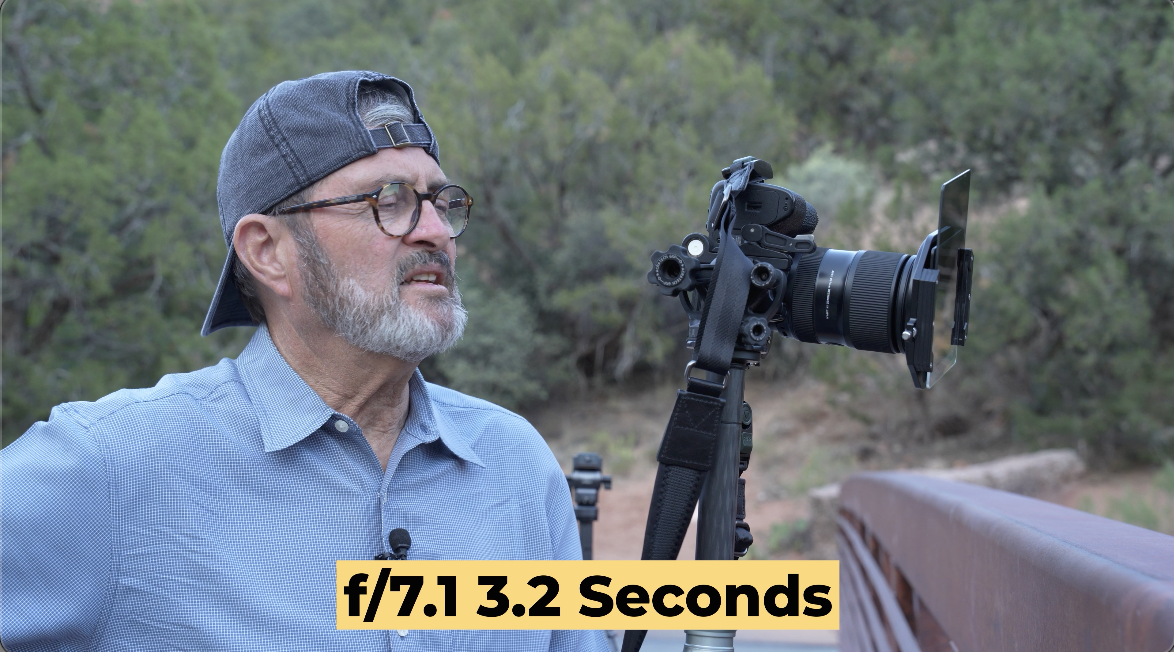


So, that 3.2 seconds gives me beautiful blurry water. The wind’s blowing a little bit, so a lot of the leaves or the trees are blurring a little bit. That looks really pretty. And so those are my camera settings.
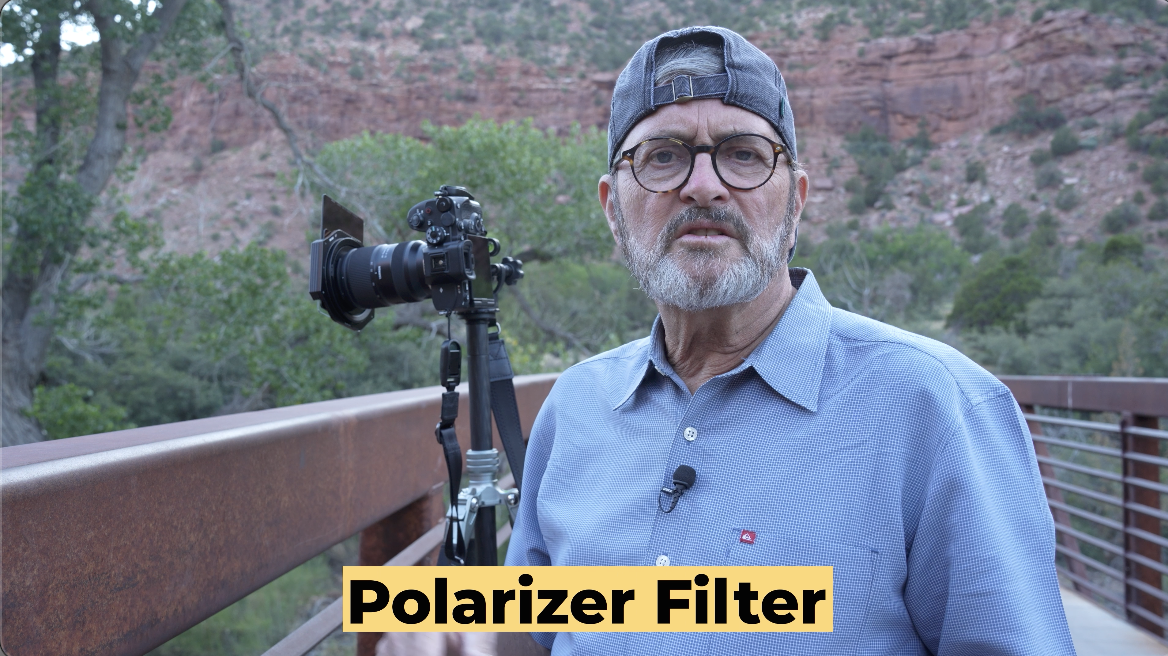
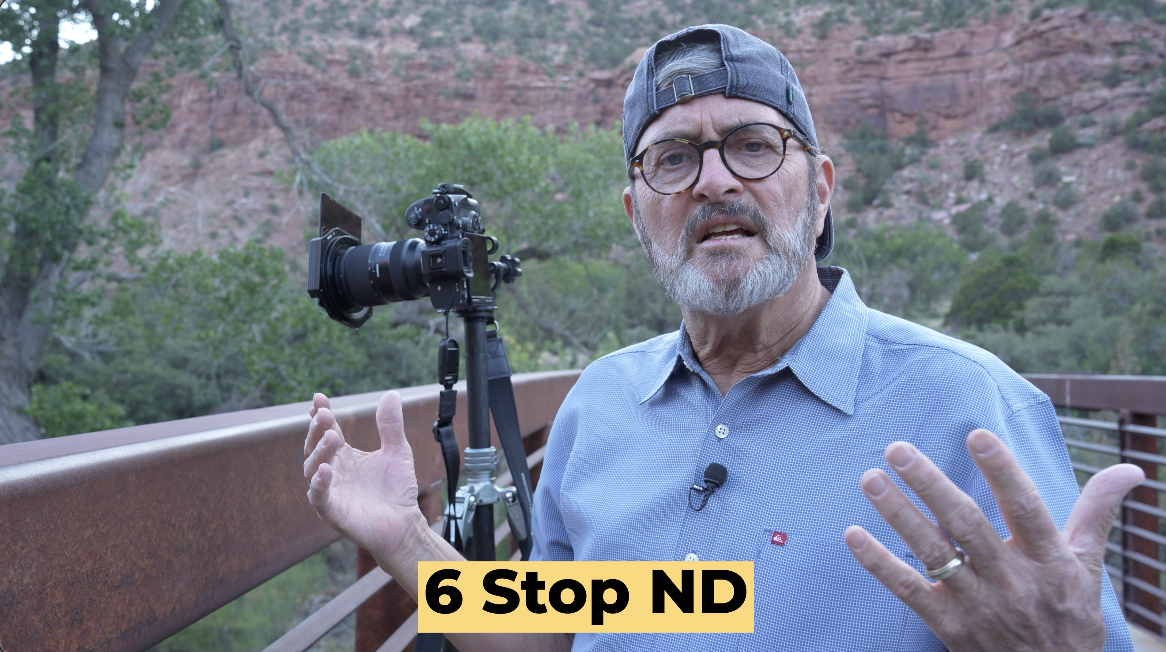
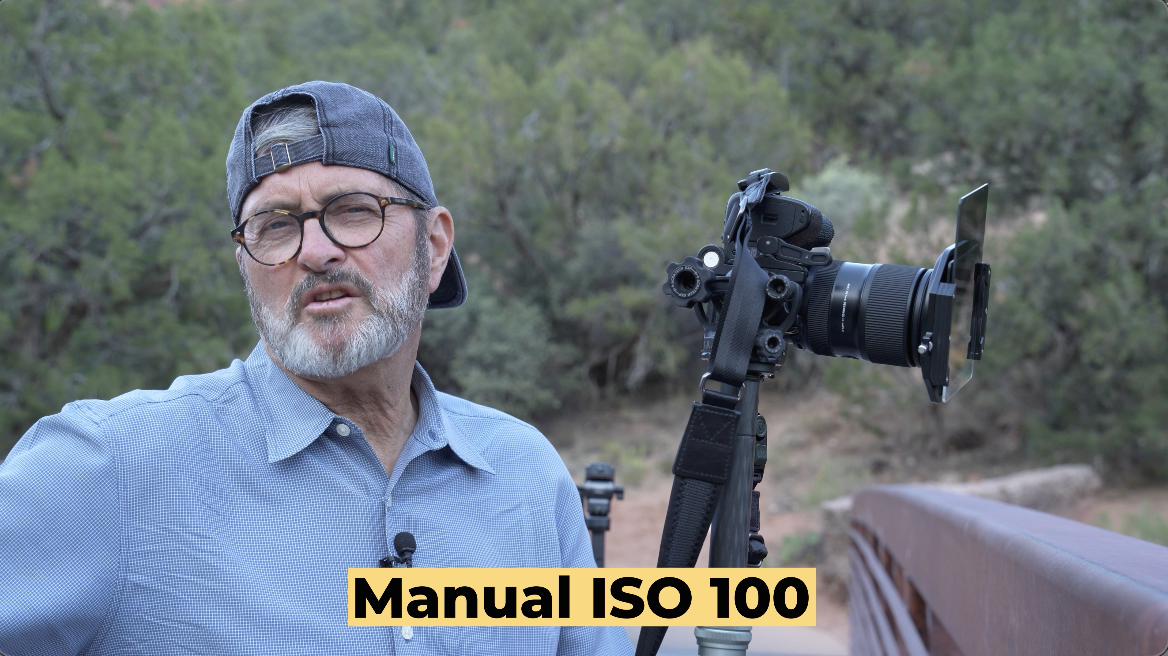
So this is if you have the time for this, this is a process. It’s going to take you an hour to an hour and a half to get this done. But if you don’t have the time for that, just get out here. If you put a polarizer on, if you put some ND on, you can get beautiful blurry water any time of day. So, as the light drops, I will eventually pull that six stops of ND because it’s just, it’s going to create too long an exposure to really work. And I don’t want to push my ISO above maybe 200. I may go to ISO 250, but after that, I’m going to, I’m just going to pull the ND, but I just still want that long exposure.
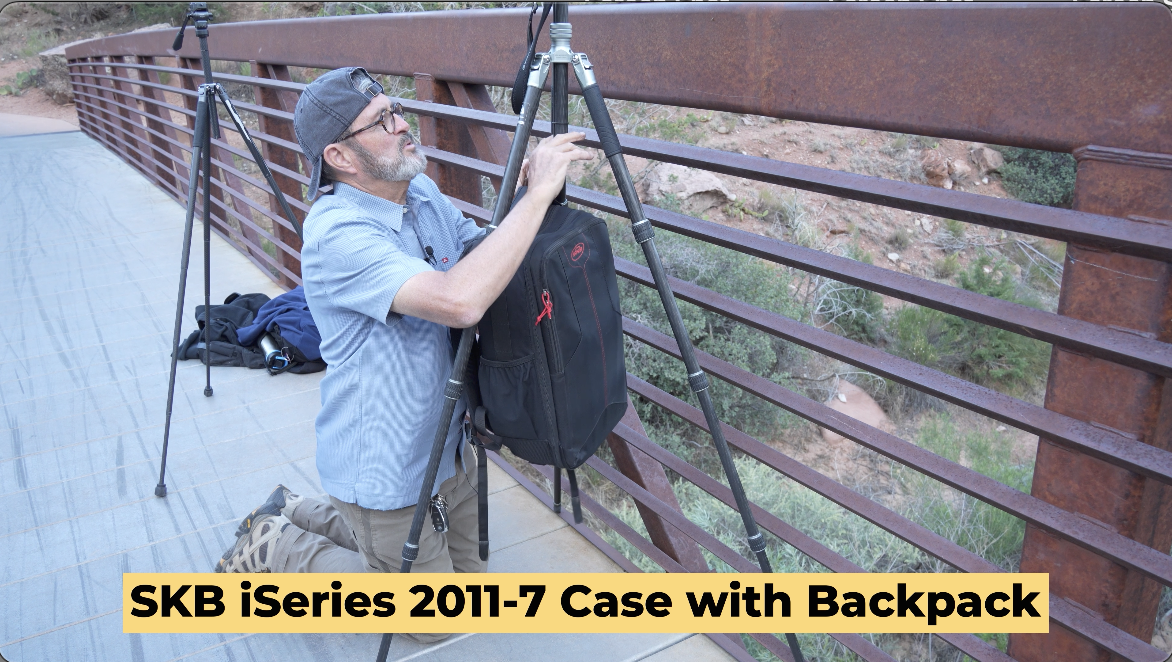

I am concerned this bridge shakes like crazy as people go by. The boards pop up, so I’m holding on to my camera as people drive by on their bikes and there’s a lot of people going by. So, I’m going to take my trusty SKB case because I’m shooting at 3 seconds and it is really bouncing here. So, I’m going to put it on the bottom of my tripod if I can get it up in there and hook that on there as a weight. That makes me feel a little more secure about this. Yeah, much better. Much better. So, I’m a half an hour from sunset, and it’s beautiful right now. Now’s the time. If you got here right now, you probably missed it by the time you got set up. So, be prepared to be ready and shooting by about 30 or 40 minutes before sunset and you’ll get a better shot here. So, I’m going to do some horizontal and some vertical and see what we got.

So, this really is hardcore landscape photography. My goal with these lessons is you can find a place and shoot it in 20 or 30 minutes, maybe an hour at the most. Because most people, they don’t have the time to do this. You can’t dedicate a trip to just go and shoot in the National Parks and just do photography. You got families, you got friends, you got a bunch of group of people you’re going out with. So, you just have to fit it into the time. But this spot right here, if you jump, park your car, came down here in 7 minutes, set up, and shot for about 20 or 30 minutes. 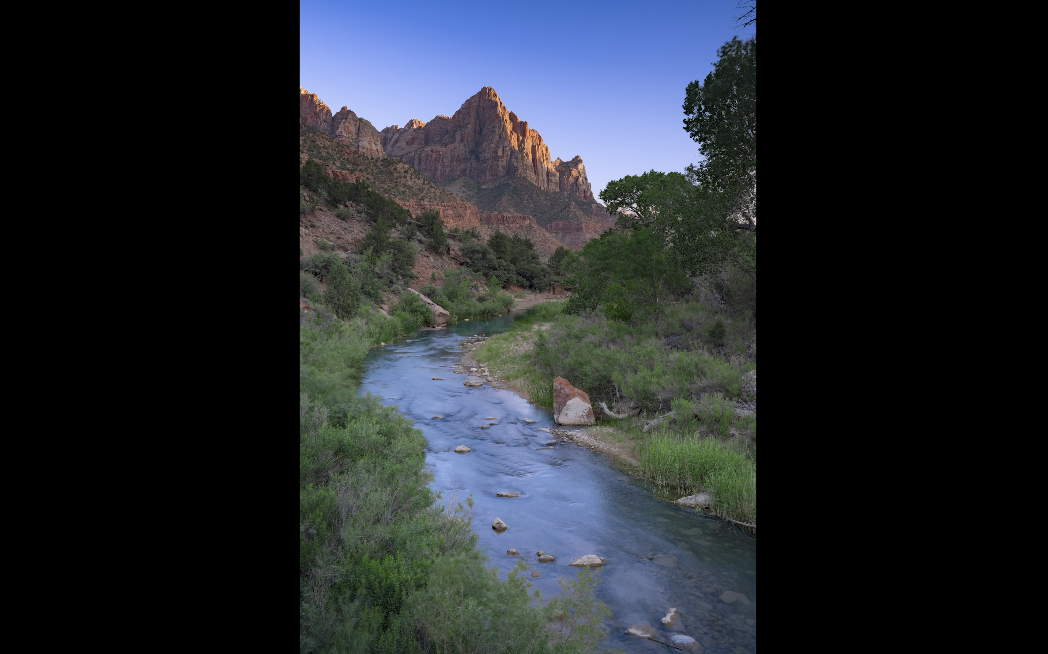

Ideally, closer to the beginning of the day, end of the day, and not high noon, will be a beautiful shot. So, really, what makes this work is that I’m looking south, which means the sun’s coming up, and it’s going down. As long as you don’t shoot it right at the middle of midday, it’s going to look pretty darn good. So, it’ll give you a nice shot. 

If I were to have other suggestions for young photographers, it would be to understand the craft, learn it about it as much as possible. And interestingly enough, start to teach it to other people. It’s amazing how quickly you learn things and how much better you understand them when you have to articulate them to somebody else. It’s a really powerful way to learn. So learn, know there’s somebody on your level. You know, there’s somebody for everybody. You know, you may not be the greatest photographer ever, but if you’re consistent, you’re going to get work. But then start teaching, giving back, doing seminars, doing things to help other people learn, and that’s going to get, make you better, much better. 
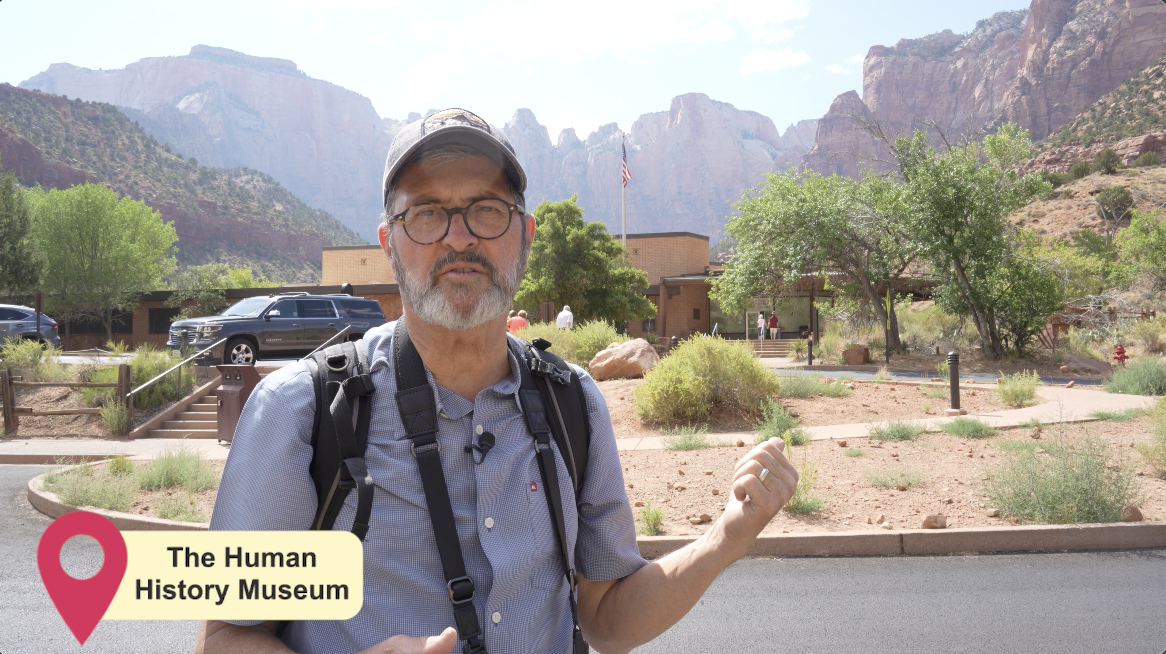
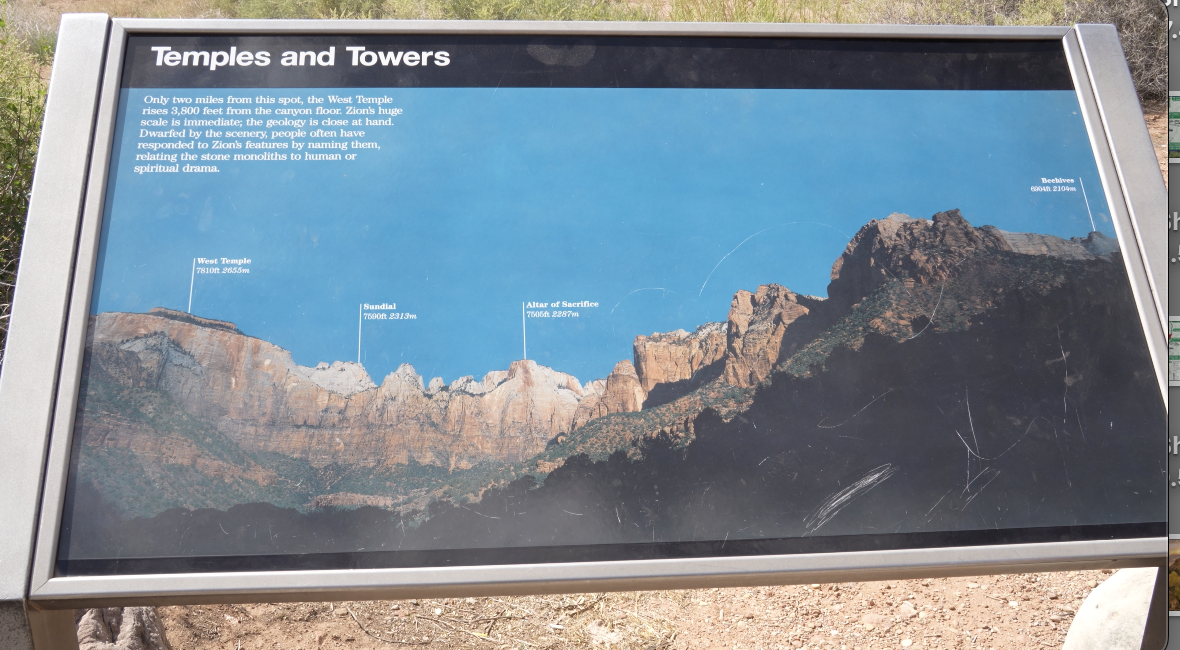
So, here’s my second favorite spot. It’s the Human History Museum. Right behind this is a beautiful look at this little valley with all these mountains. It’s a beautiful sunrise shot. You can shoot the cliffs in the background and you can move over and shoot these, the rock outcroppings on the right as well, as the sun comes up. So, it’s just a beautiful location and you can drive right here. 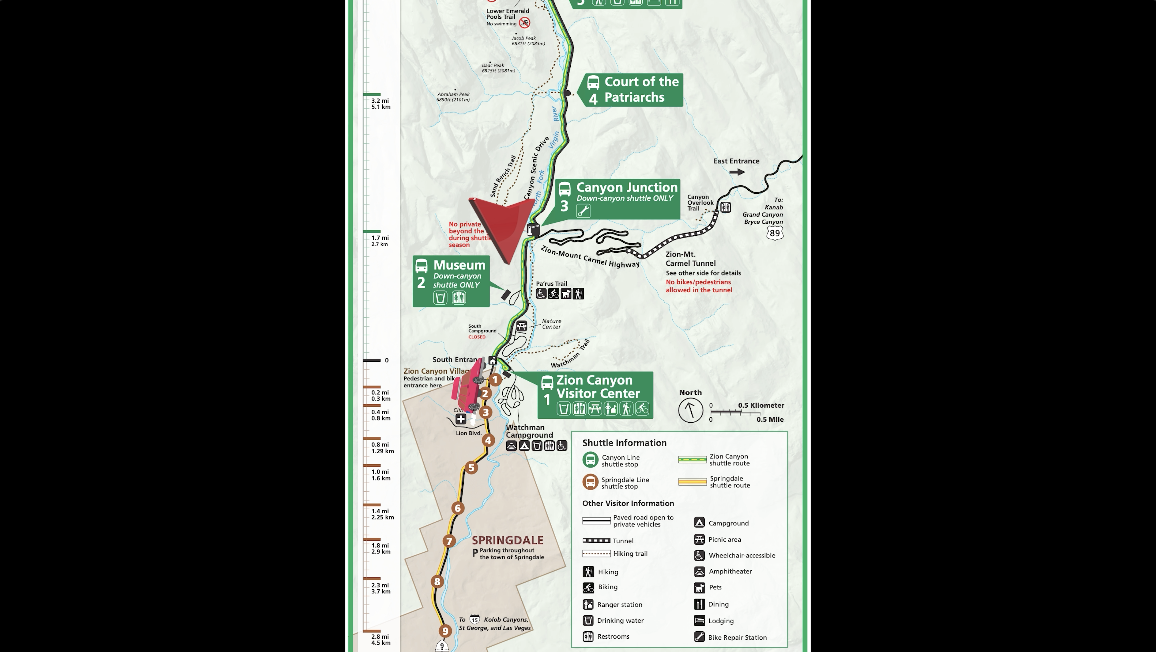
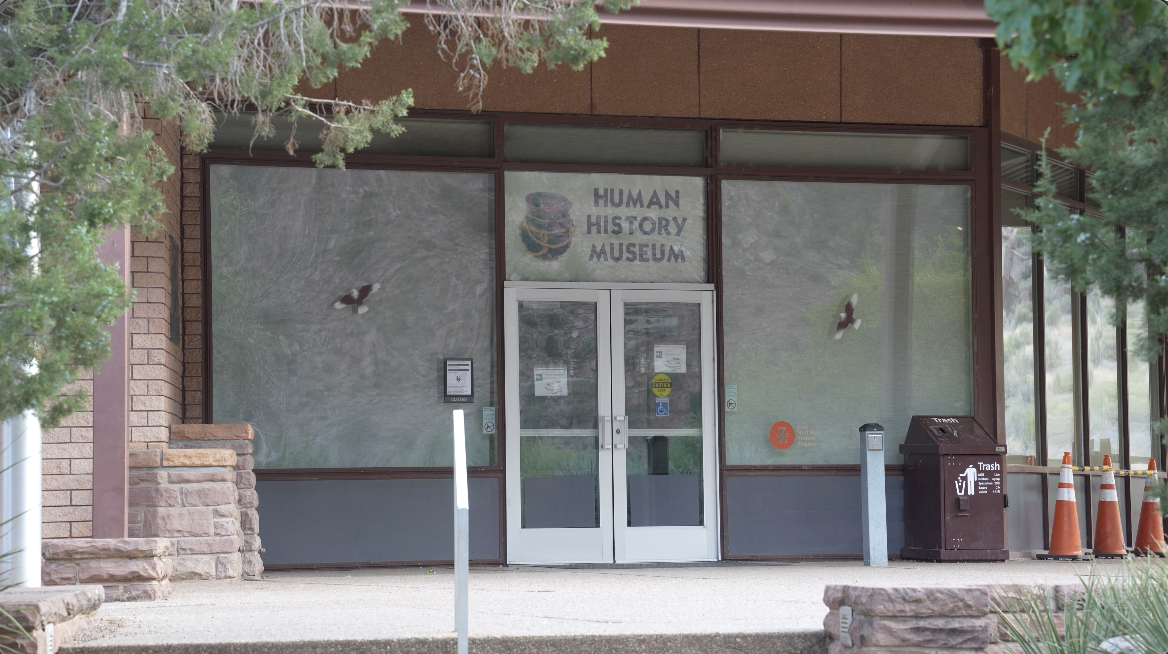
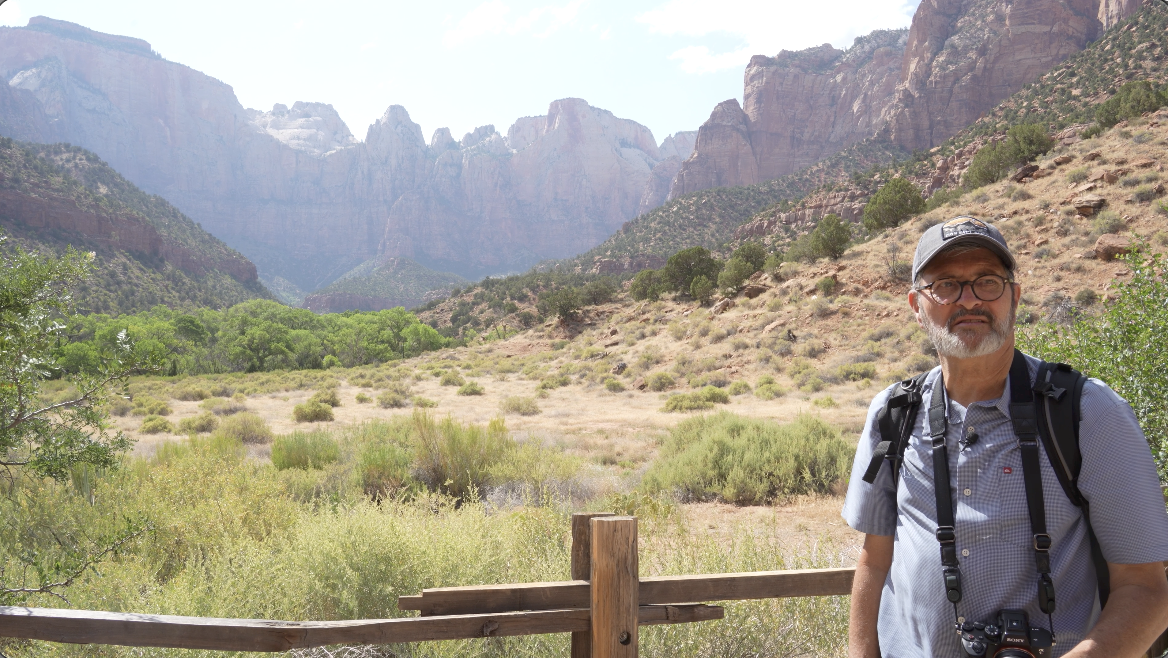


All right. This morning we got up early. We’re now here behind the Human History Museum. The goal here with this process is that sometimes we don’t have the time to get up super early in the morning or sometimes we do. I’ve done this so many times with my family. I get up at 5:00 am, I slip out quietly, run out and get a shot and get back to the hotel and everyone’s just barely starting to stir and get up. So, it’s a great place and it’s so close. If you’re staying in Springdale, this is literally, you know, 3 minutes, 5 minutes at the most to get in here and to be able to get your shot and get back and you’ll be in and out of here in 30 minutes to an hour if you time it right. You’re looking at when the sun comes up and get a great shot. Or just stop here on your way in in the morning as you’re heading into the park and you can get a great shot.
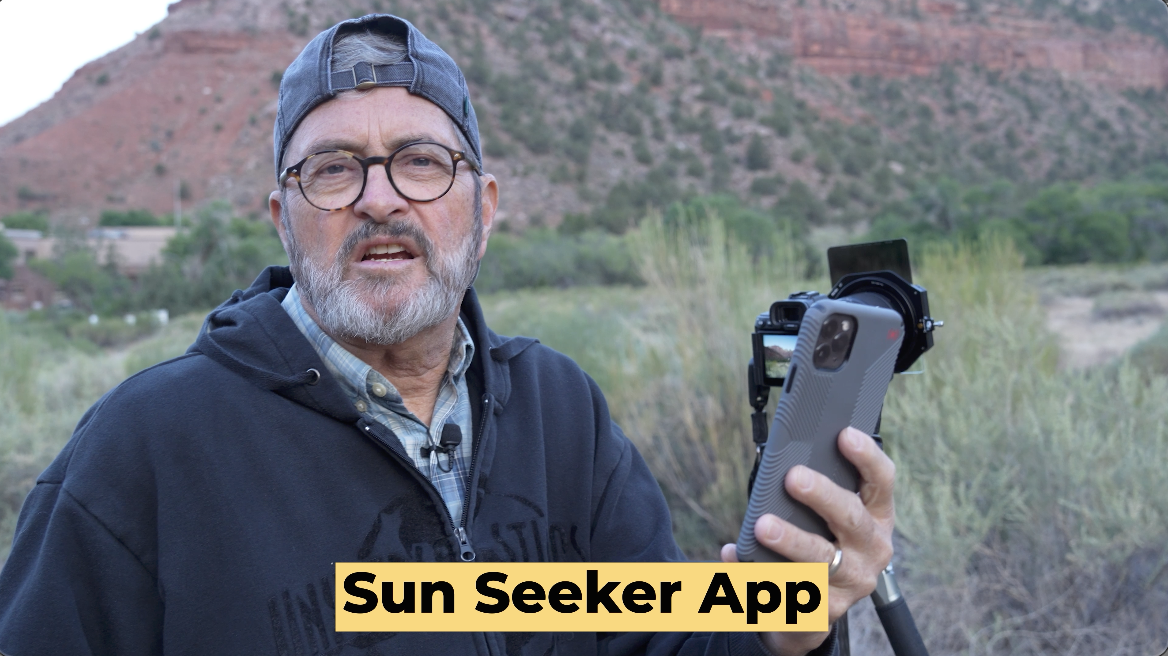
So, I use Sunseeker just to kind of tell me where the sun’s at. And the sun’s still pretty low over there on the horizon. It’s got to climb just a little bit. So, we’re down the valley here, and it’s probably going to take us till, I don’t know, it could be a little while before we get sun on the mountains here. 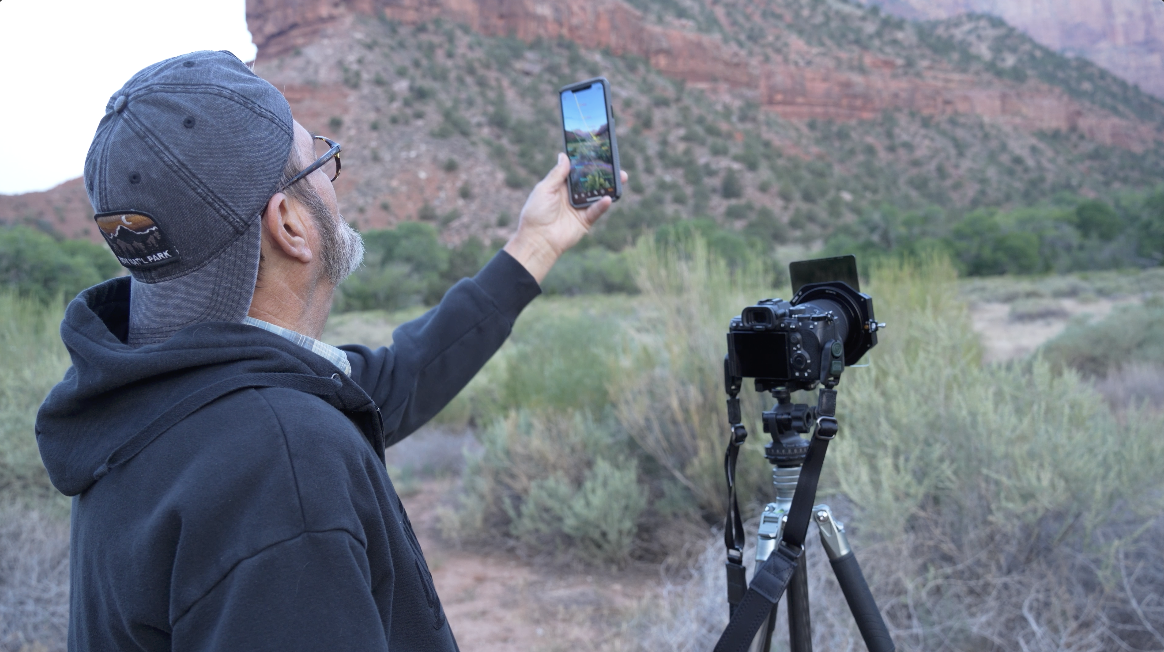
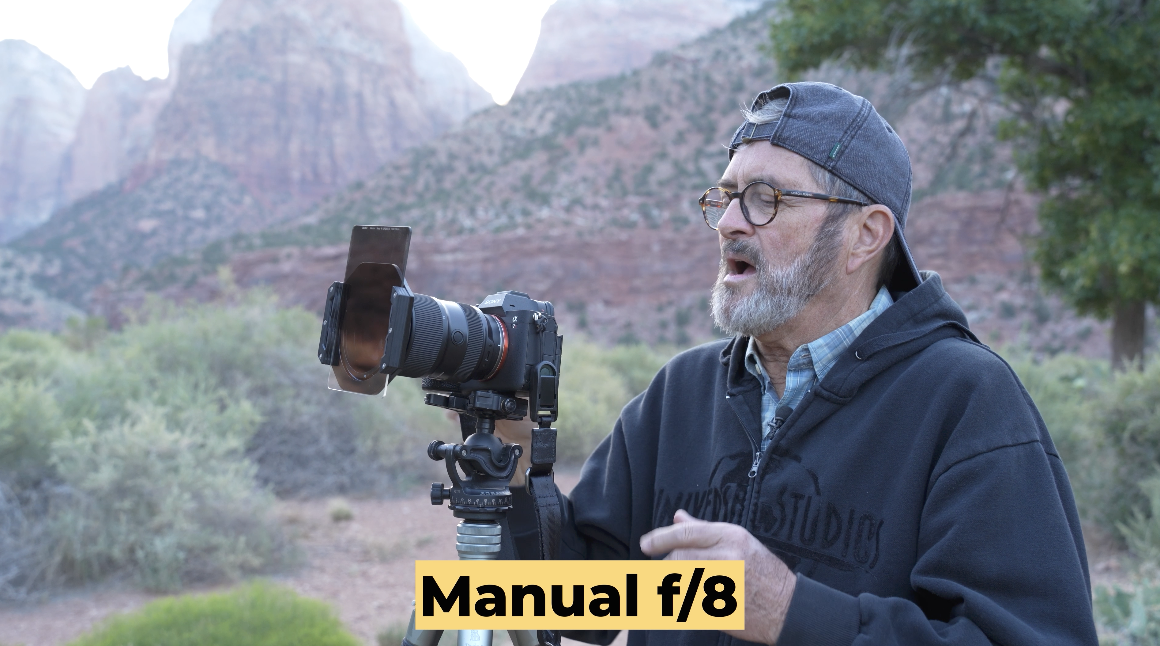

So, here’s my camera setup. I’m shooting on manual. I’m at f/8. I’m allowing myself a little bit of depth of field so I can keep some of the foreground and definitely go into that deep background. My exposure, my shutter is going to change. As the sun comes up, it’s going to get shorter and shorter. I’m not trying to blur water here, so I don’t have NDs on. 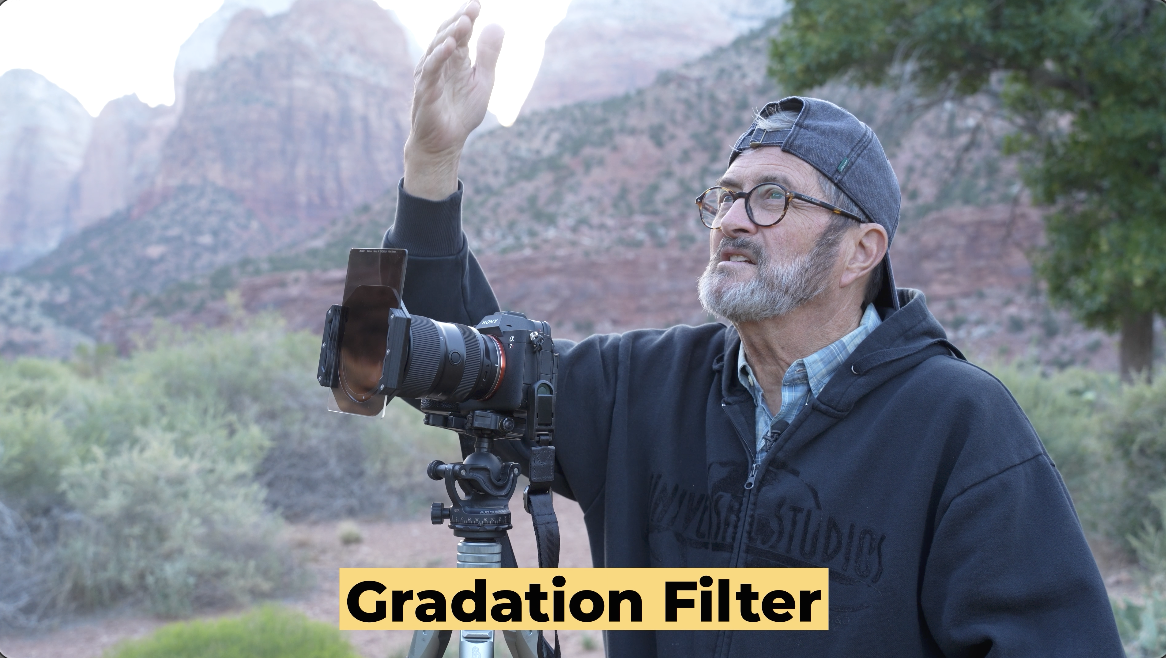


So, even though the sunrise came up at 6:15 or 6:10 today, we’re not really getting any really nice light on the mountains back there until almost 6:40. Part of that is because you’ve got clouds in the, you know, on the horizon. You got the mountains in the way, but mostly it’s clouds today. So, these things are unpredictable. Sometimes you got a window of light and a window of time you can get here. Just get the best shot you can and you’re going to go on. That’s the way life is.
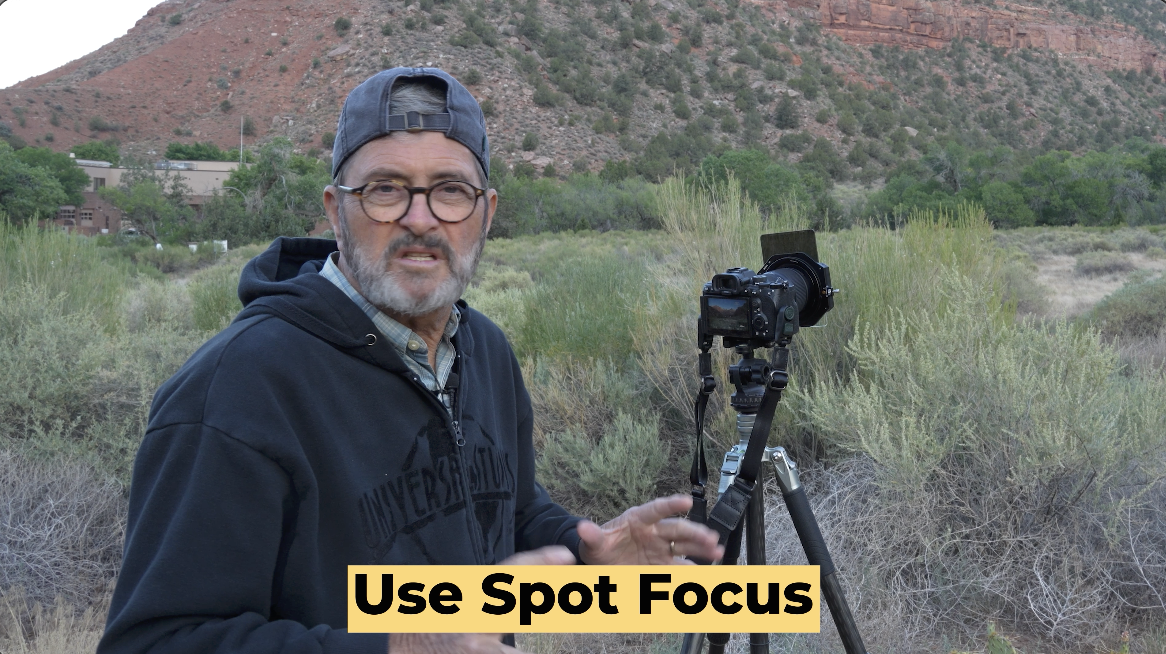
One thing that I want to mention is that I always use a spot focus. I’ll put it on a large spot, a large square that I can move around the frame because I want to decide exactly where I want my critical focus to be. So, I don’t let the camera choose. I put it on spot focus on the back of the Sony A7RV. I can move that box around to the point that I want to be in focus. And I’ve got it right now set right at the bottom of the valley onto those mountains. So I really, my focus is in pretty deep and that’s where I want my critical focus to be. So you have the ability to move that around. So I’m definitely using spot focus.


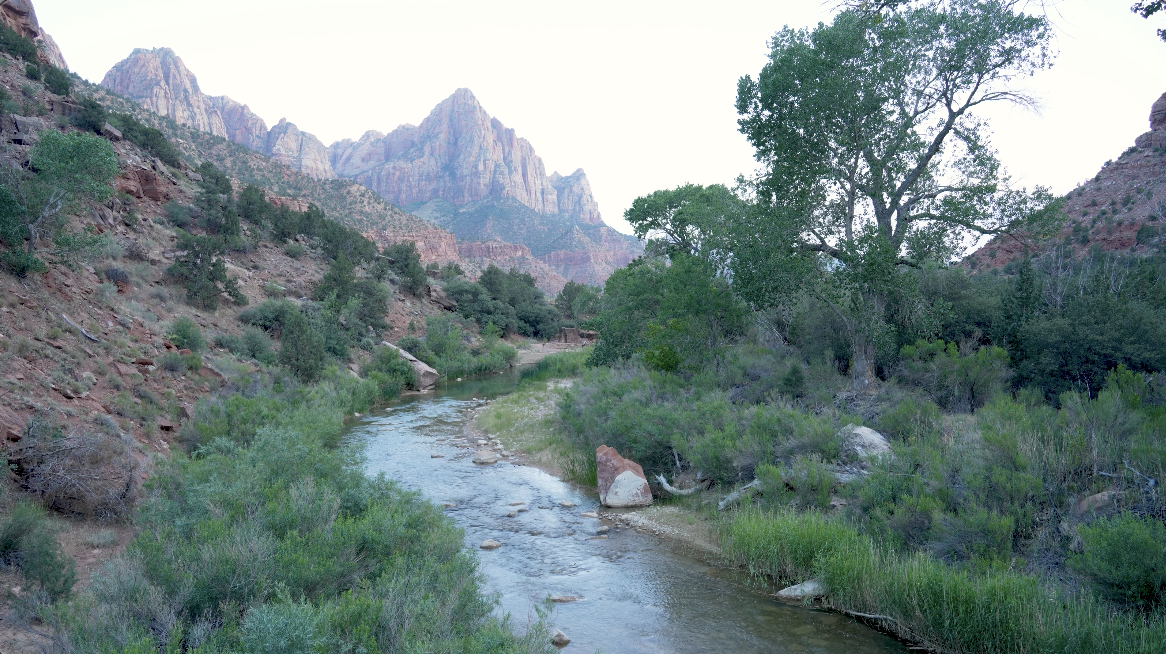
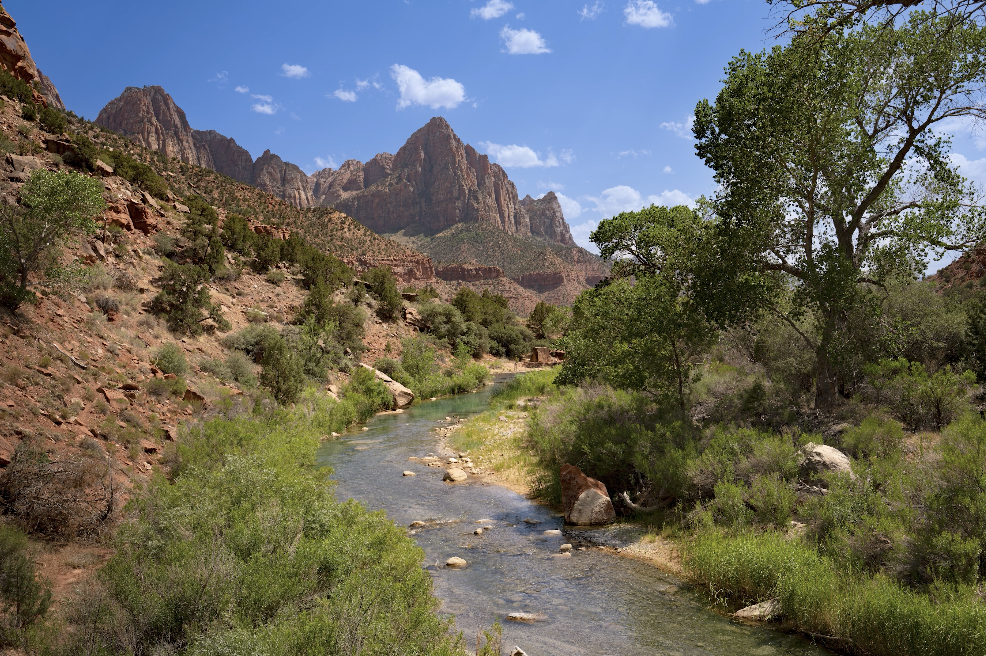
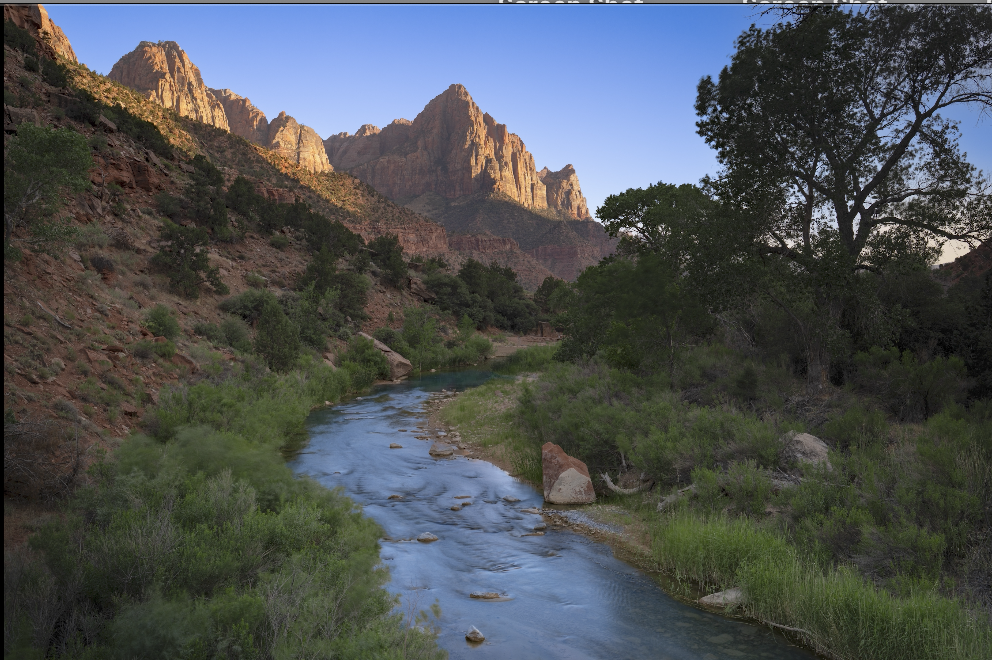
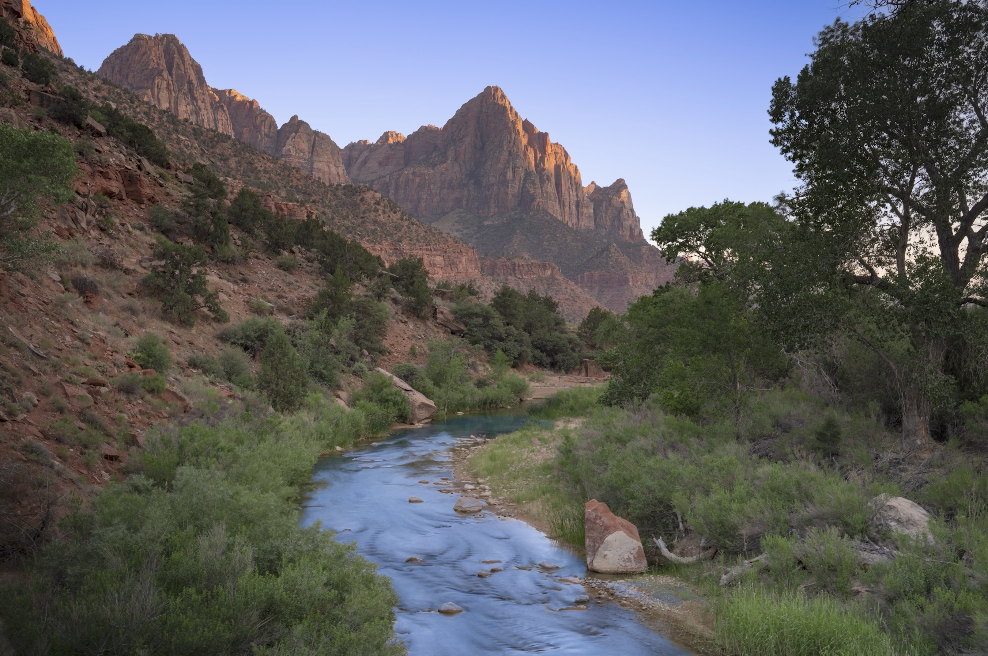
So let me wrap this up. If I only had 30 minutes to an hour to get a great photograph in Zion, I would go directly to the Canyon Junction Bridge area, get on the Pa’rus Trail, walk in about four or five minutes to bridge number four, look down that river, and shoot that beautiful spire that just really represents Zion. You can do that any time of the day, morning to night. It’s going to be great light in there and have that river flowing into it. 

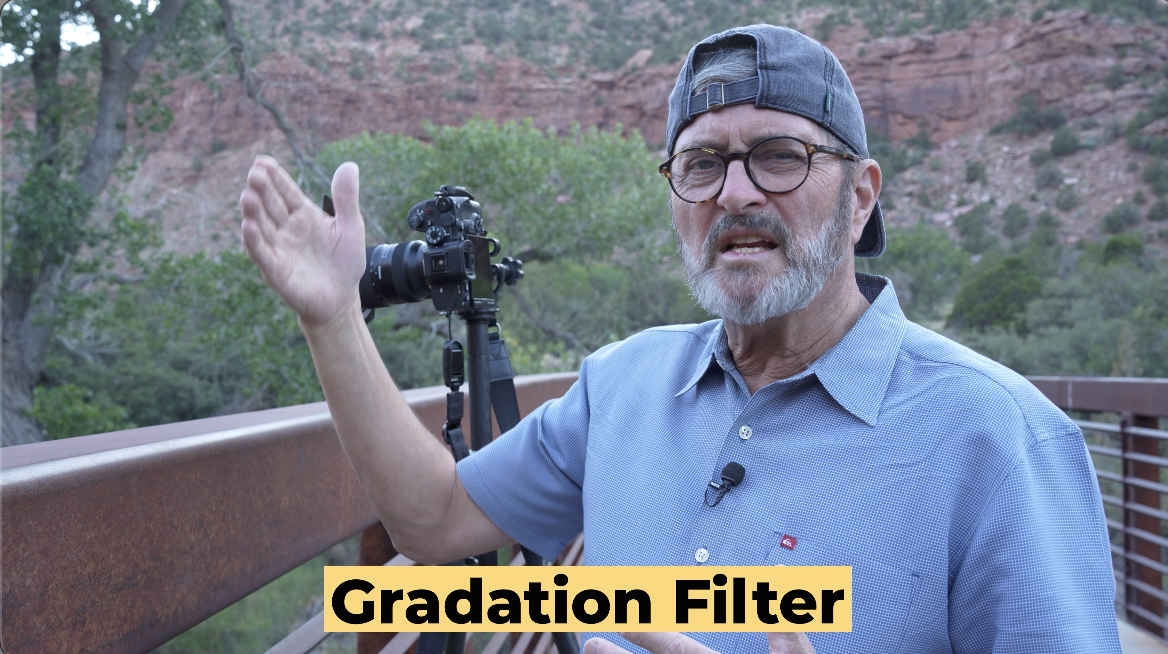
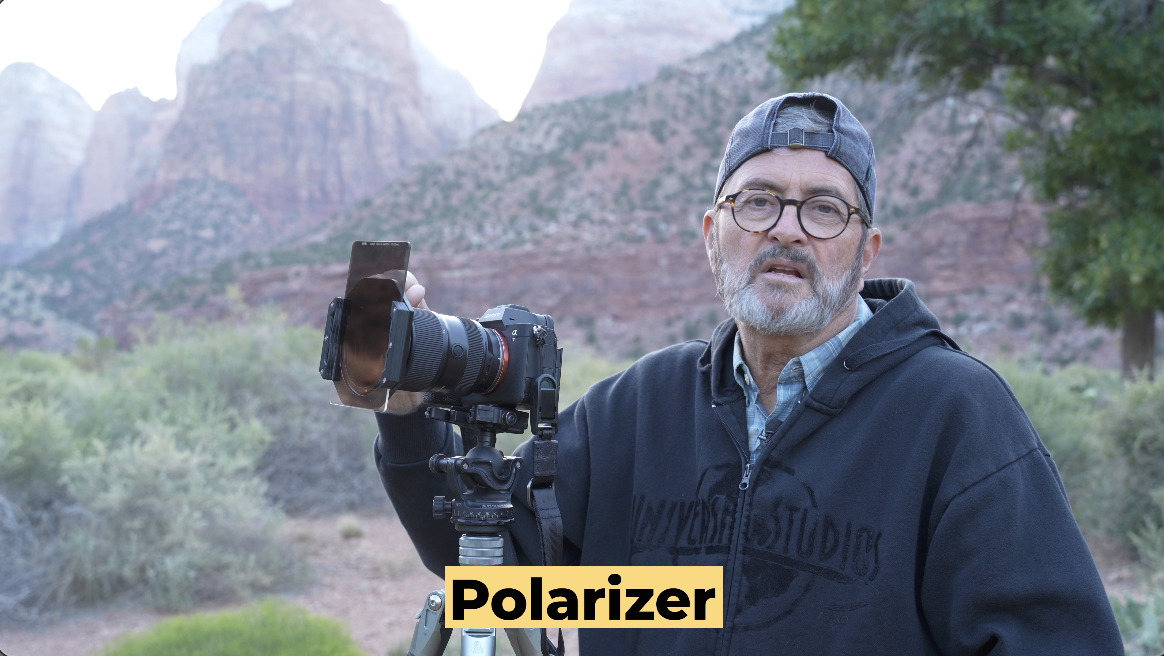
It’s going to just be absolutely fabulous. The thing that will make the image better if you can’t be out there when it’s just right at the perfect time in the morning or evening is to use a polarizer, is to then use maybe a gradation filter to knock down the sky. If you can make a commitment to those two things and then six stops of ND, more if you’re shooting it during the daytime, 10 stops if you’re shooting in the direct sun during the day, so you can get just a lot of beautiful flowing water. 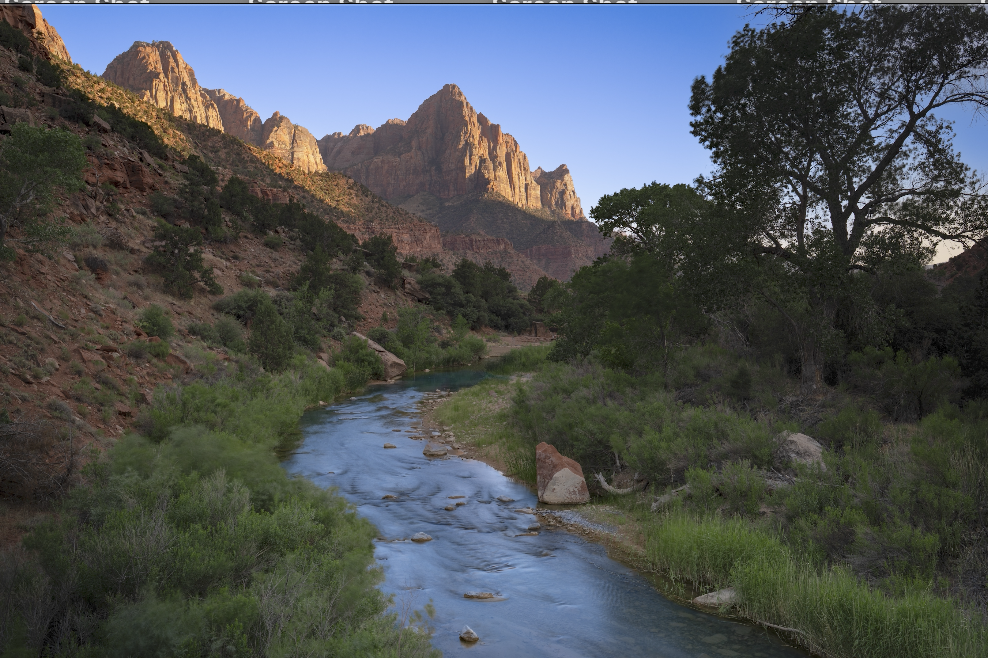

That’s going to give you a beautiful shot. So, your commitment to this is a bit of equipment you’re going to carry with you in each of the National Parks as you photograph them. But the commitment is to get there at the best time you can light wise. But take whatever you can get.