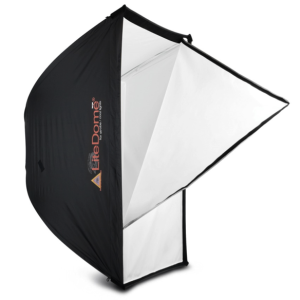
Today we have a soft box lighting tutorial. There are many misconceptions about what Soft Boxes do and how to use them. This is the scientific look at the area of coverage and light quality of the different sizes of Soft Boxes. Using this knowledge you will find it easier to decide which size Box to use to achieve your desired lighting result. After this lesson you should know what size of Soft Box to buy and the basics of how to use it. Thanks to Photoflex www.photoflex.com/ for providing the Boxes for this test. There is much to learn on this subject so we will visit it again. Keep on click’n!
Jay P. Morgan

Jay P Recommends for this Shoot


Video Transcript
J.P. Morgan: Hi, I’m J.P. Morgan, and today’s Slanted Lens lighting lesson is all about soft boxes. We’re going to teach you two fundamental principles about soft boxes that everyone needs to know to effectively use them when you’re doing portraits and different lighting setups. So let’s get started on the science. What is it that a soft box does? There are two things you need to understand about soft boxes to use them effectively. One is the area covered in the different sizes of soft boxes. The second is, what is the quality of light that comes in the different sizes? How do I apply that to a portrait or a person I want to photograph?
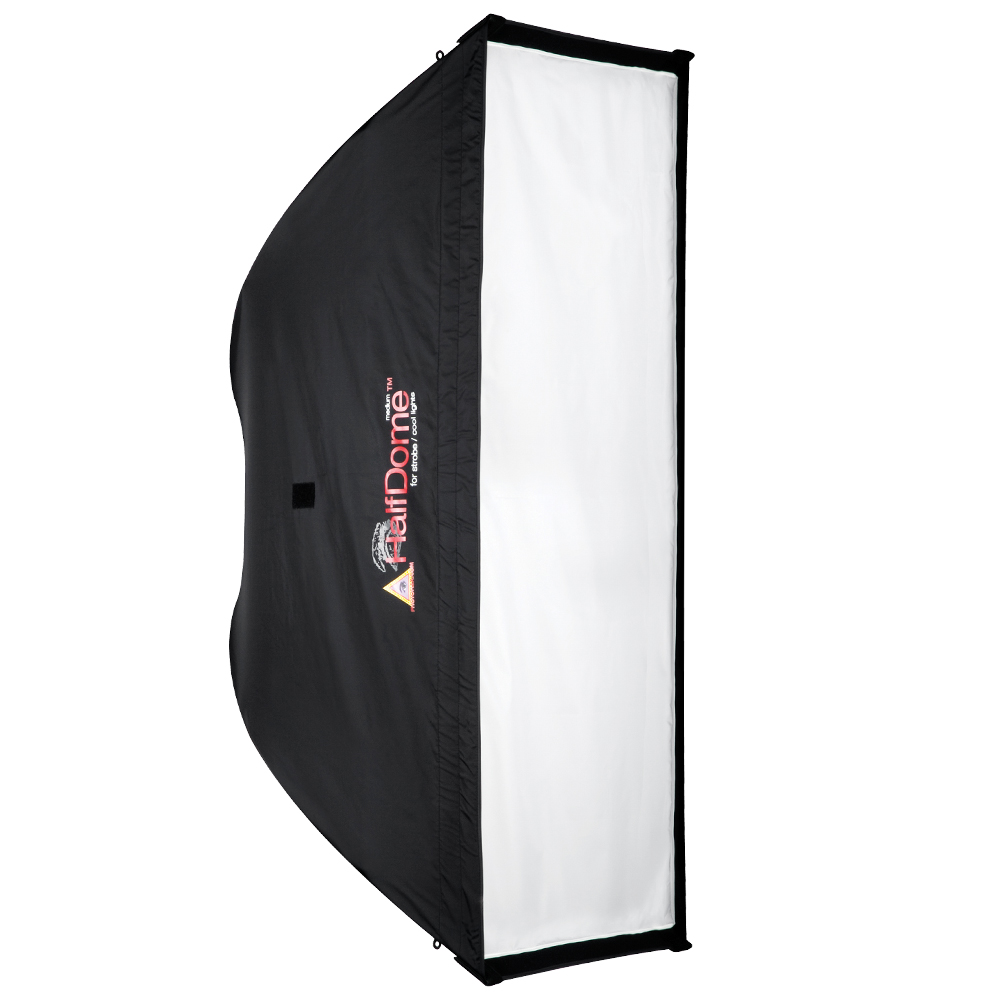
First, let’s talk about our area of coverage. We take a 12 foot x 12 foot grid on the wall, and then put our soft boxes six feet from the wall. Six feet is about an average distance of where you’re going to use your soft box from an individual. Now, once we’ve put it six feet from the wall, we’re going to look at our different sizes: small, medium, and large, and just see what the different area of coverage is. Here is a still image of our large soft box. You can see it covers about a 12 foot by 12 foot area. There’s about a stop to a stop and a half falloff from side to side. Now we see the medium soft box, it also covers about a 12 foot x 12 foot area, the falloff is about the same. Here’s something very interesting, as we put up our small soft box, it again covers the 12 foot by 12 foot area, there’s a light falloff of about a stop to a stop and a half.
By now, you’re probably thinking to yourself now wait a minute, couldn’t a larger soft box cover a larger area? Shouldn’t a smaller soft box cover a smaller area? The reality is soft boxes cover about the same area regardless of their size. So are why different sizes of soft boxes? What’s the purpose? Well, it’s about the quality of light that’s manifest within that 12 foot area that makes the difference between each of the different soft boxes.
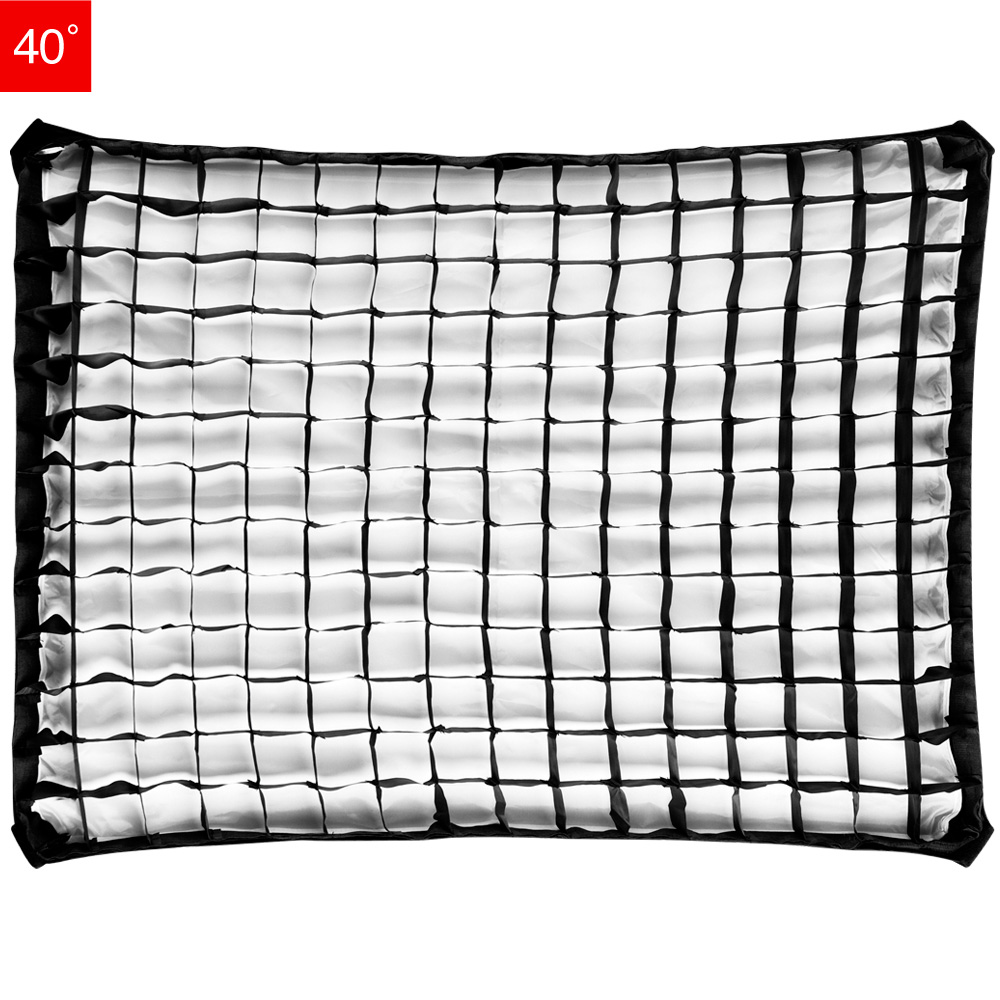
Here’s our first image. We’ve taken a large soft box and taken a photograph of our talent. You can see that the light wraps around her, it’s very soft. The shadow on the wall is undefined. Now let’s look at a medium soft box. The medium soft box, we’re seeing a little more defined shadow now. The light is not wrapping quite as much. The quality of light is a little harder. It’s a little more easy to see shadow building on the shadow side of the face and on the background. Now the small soft box. This is much harder. You see a deeper shadow on the shadow side of the face, you see a very defined shadow on the wall. You start to see the shape of our person. When I use soft boxes, I think one of the most useful tools that there is in the grid. When you place a grid on a soft box, it cuts down the area coverage. Let’s look at what that does on a 12 foot by 12 foot wall again. Here’s our area of coverage. You can see it’s cut it by one-third. Our boxes are now covering an eight foot area, not a 12 foot area. The reality is, on our talent, it’s a much more restricted area that it covers. It shows a vignette on the wall, it’s a harder light on our talent, but it’s very controllable, that’s why I love these. On the Slanted Lens Facebook page, you can see all the technical data that we’ve talked about here today. I feel we have gained some great information and insight, we’ve learned that the area coverage of the different sizes of soft boxes are very similar, but the quality of light is why you choose them.. So take that information, use it in your own work. Send us in your images so we can see them and we can post them on our Facebook page. Just keep those cameras clicking.
Leave a Reply