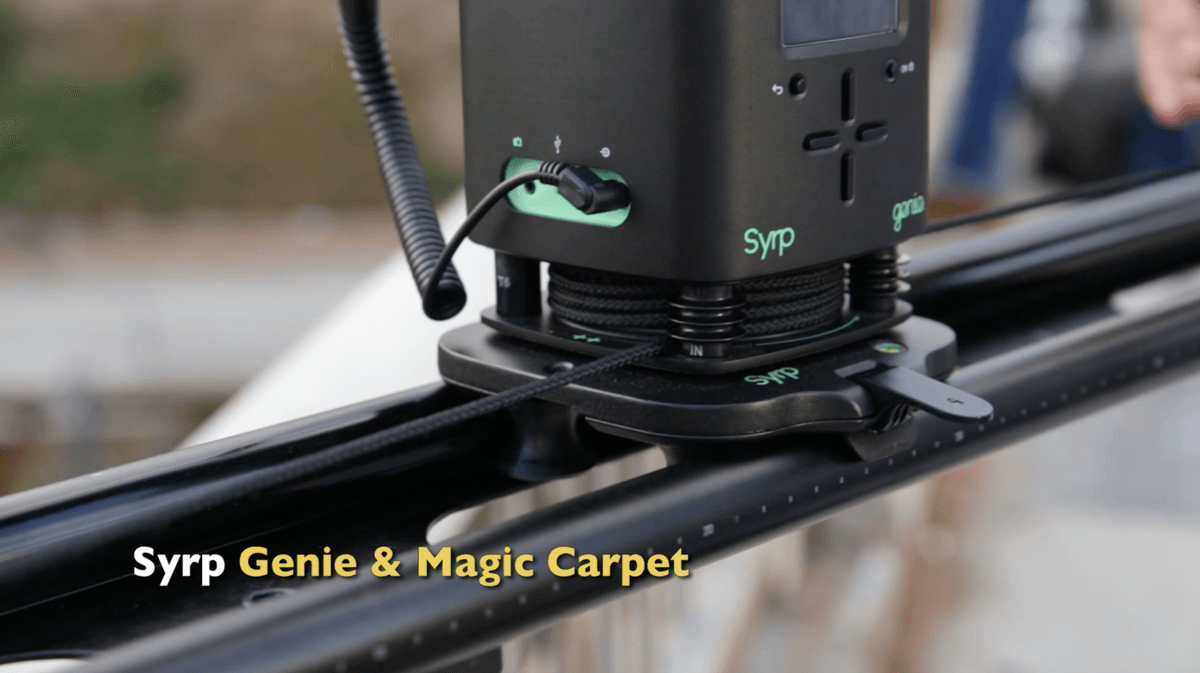
Hi, this is Jay P. Morgan. Today on The Slanted Lens we’re looking at combining three things: two axis motion, time-lapse, and live action footage to give us a unique shot. We’re shooting on the 3rd Street bridge in Los Angeles, using our Genie, Genie Mini and Magic Carpet from Syrp. This is the first of a series that I am calling “Lost in America.” This first one is a young musician lost in the hustle and bustle of L.A.
I built a small window set that we can take onto location. Using our Syrp Magic Carpet slider we set up a shot to move from inside the “room” to outside. I want it to be a two axis move on the slider, so I set up my Genie and Genie Mini to work together.
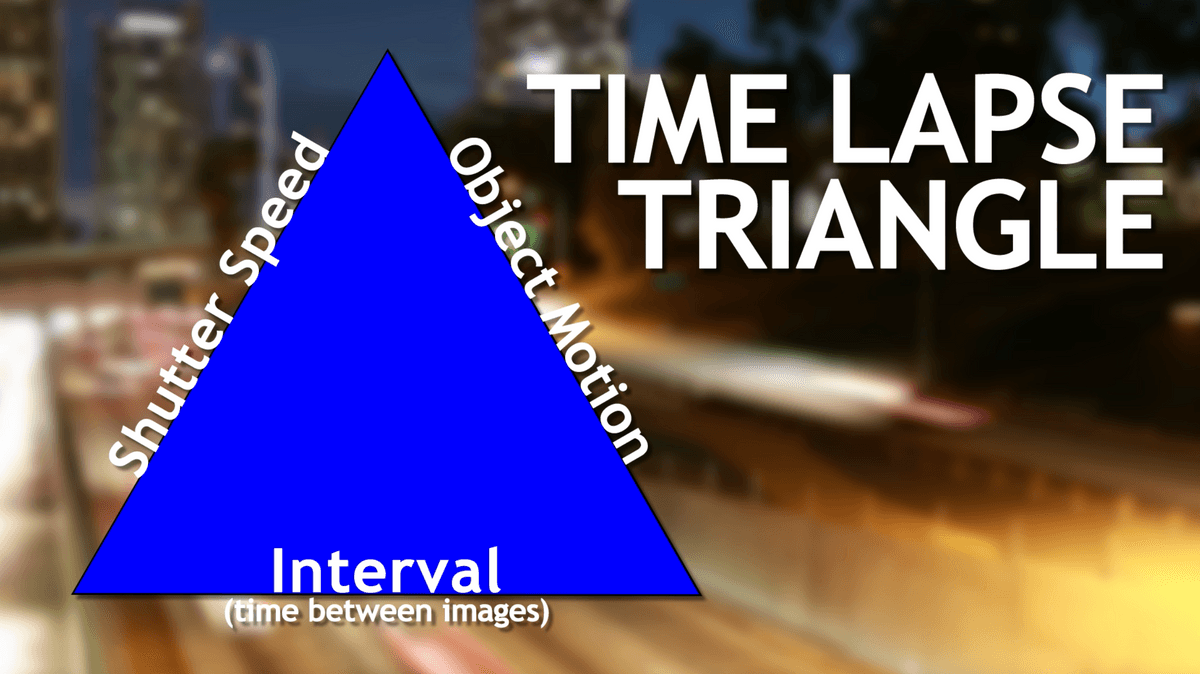
For the test, I shot on aperture priority at f/4.5. The first time-lapse in my test was a two second interval and because the sun was setting, the shutter varied from 1/80s at the beginning to 1/20 near the end. The cars do not look like they are moving very fast, they’re very staccato – bink, bink, bink. As it got darker, the shutter started to drag, from 1/4 at the beginning to 0.3. Now the cars are blurring together and that 2 second interval looks fabulous. So the shutter speed makes a huge difference in the amount of motion blur. It adds to that effect of moving down the street as the cars blur from one position to the other, almost like frames in a video piece.
I came out a few days ago and did an interval test- two seconds vs four seconds vs eight seconds. The longer the interval, the faster the cars move. If you get a shot every eight seconds the car moves further before the next shot. Intervals depends on two things: how often you take a shot, and how fast the object is moving. A car moves fast and needs a quick interval to catch it and see it move in the frame. Clouds on the horizon that are a long way away will need a much slower interval to catch motion. They are not moving very fast so you need to lengthen the interval. Slow moving objects need a longer interval. Faster moving objects need a quicker interval.
When I shoot time-lapse at sunset I set my white balance to auto, and the camera to aperture priority. It’s dark enough that the shutter will drag and create motion. If I’m shooting time-lapse during the day I set the camera to either manual or shutter priority, and choose the shutter speed. Today I’m using two seconds for the interval.
I set up my camera move and program it into the Syrp Genie. They really make this so easy. I set it on preview and click OK. It shows me the camera move in real time. I make adjustments to get the dolly move and the pan just right. I want to combine the move out of the window with a pan to the street.
Once I like what I see I hit record, and record the live action portion of our shot using the preview. I do this several times. Now I set the time-lapse and start the move.
There is our final live action and our time-lapse. We will use a garbage mat to cut the two together using the line created by the window.
What I learned: well we did not get kicked out, for that I’m happy. I really enjoyed the shoot using the Syrp equipment, the Genie, Genie Mini and Magic Carpet. Let’s take a look at the final video.
Thanks for watching. Keep those cameras rollin’ and keep on clickin’.
Leave a Reply