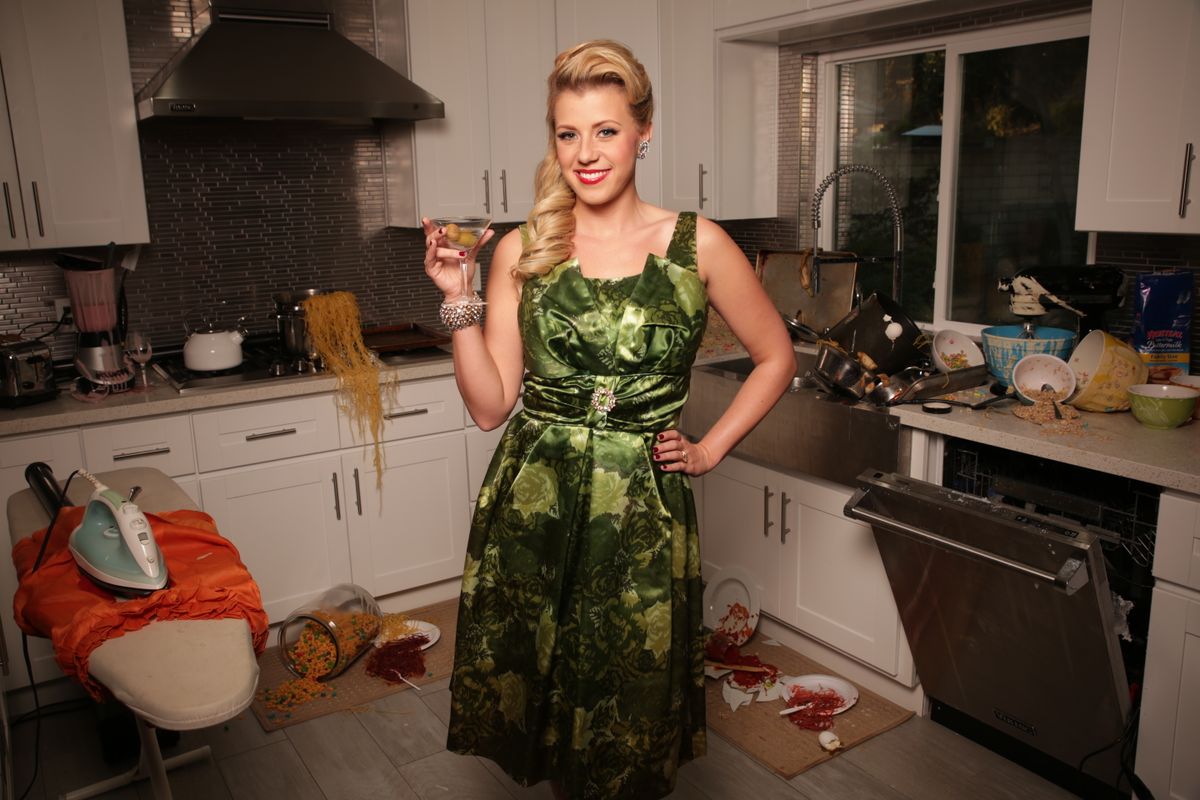
Hi this is Jay P. Morgan, and today on The Slanted Lens we’re lighting a kitchen disaster on set, with Jodie Sweetin. Jodie’s getting ready for the premiere of her new show, Fuller House. Jodie enjoys photographs with opposition, so we went with the ‘glamorous girl upfront with a kitchen disaster behind her’. This was not one of the simpler lighting setups we’ve done in the past. We’ve got seven lights, and lots of special effects going on. We’ll break down the lighting and show you how we set up those effects.
Let’s talk a little bit about the effects we have going on here. We stuck our snow machine in the dishwasher. That’s kind of an odd use for the snow machine but it turned out great. It looked like suds coming out of the dishwasher. For the smoking spaghetti pot and iron we used two Rosco fog machines. We cut a hole in the pot and ran pipe from it to the fog machine, and then also ran pipe from another machine to the iron. We cut a hole in the dress, so we got smoke coming out from underneath the dress and it gives us a sense that the dress and iron are on fire. We’ll retouch all the pipes out from the final shot.
Our lighting setup was not simple. I’m about at 30mm on the 24-70 Tamron lens.
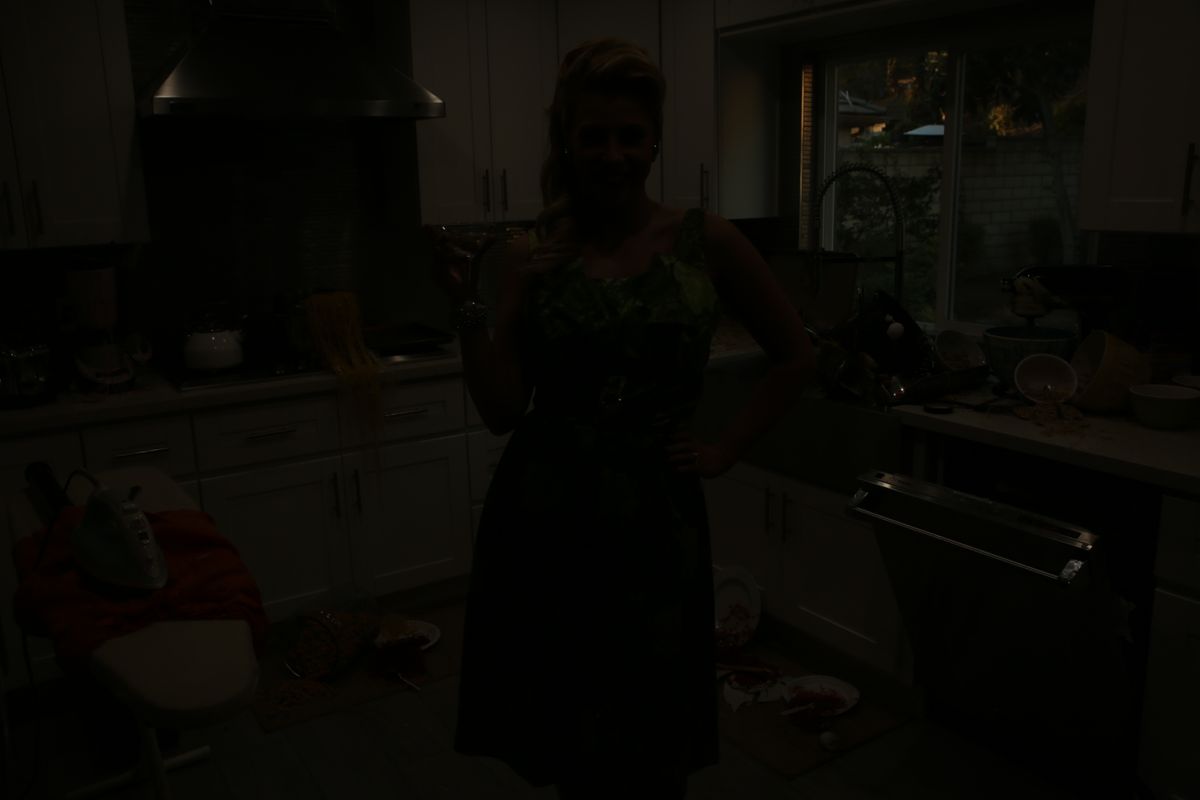
This is the ambient exposure that’s in the room. There’s not much there. We have the kitchen lights on to be able to work in the room and a bit of light outside because it’s afternoon. But for the most part it’s, it’s pretty dark.
I’ve got that wonderful small Octodome by Photoflex. I love that light because it’s very much like a beauty dish. We’ve put a grid on it which is my favorite light because it pools a little bit of light around the face in the upper tor– torso. But then it lets the light fall off onto the lower dress on the legs. I put the NCR6Rosco, kind of rosy color, gel on that main key light to give a little bit of kind of warmth in her face. We can dial that back out if we want to in post. But I think it’ll look very nice.
Then in the setup here we started adding lights.
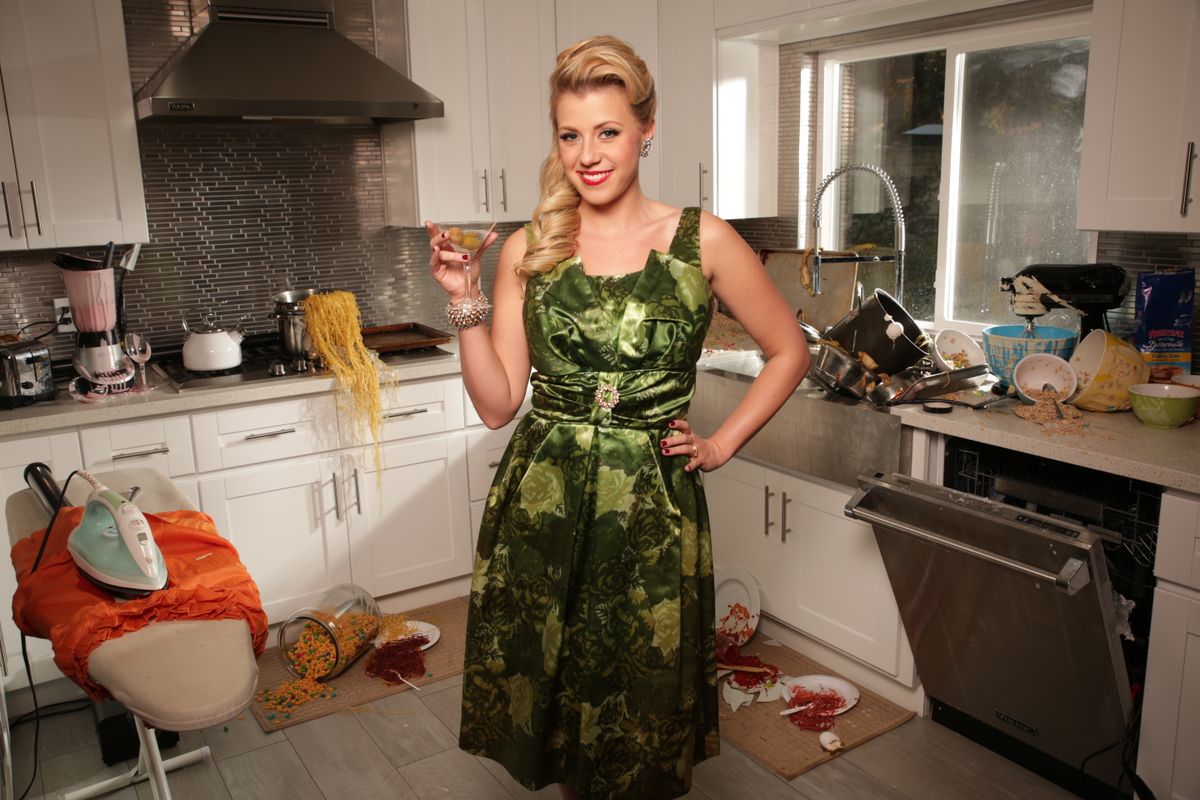
This is actually two lights that we added outside. We added a Dynalite Baja B4 up high, that comes in across the cabinets. Gives us a nice light in the background. And then below it we’ve got a pack and head set up with a grid that adds rim light on the pots and on the water that’s spraying up in the sink.
We’ve put a Dynalite pencil light up into the stove to give us a nice light on our spaghetti pot and everything going on there. We’ve got the diffusion underneath the hood. We then put a nice grid on the camera left side that’s going to open up our iron. Give us a little bit of backlight on the smoke that’s coming off the iron.

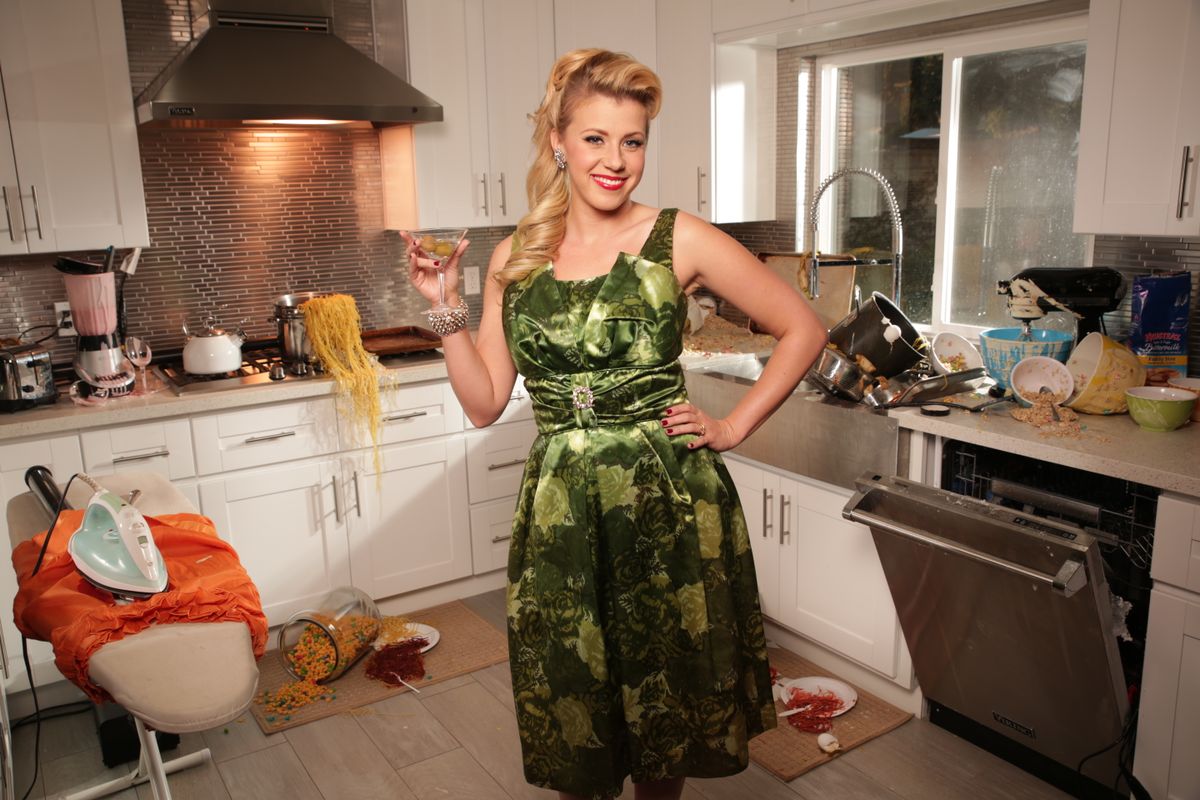
For our next set of lights we’ve got a pencil light inside the dishwasher and on the top we put another grid on the bowls and the mixer over there. If you go back and forth you see that bowls and mixture and the dishwasher are pretty dead without that light on them.
So that’s our lighting setup. Key light, strong backlight, light for the water, light for the dishwasher; light for the spaghetti pot; and a light on the iron. Seven lights.
One thing that is really important to know when you’re doing something like this is to make sure you shoot background plates. We did this several different ways. We did shots of the whole scene with no chaos in it. And then we had the snow and the things going in the smoke. We did several plates like that. We also did some plates of curtains in the window. I’m not sure if I like the dark window. I’m not sure if I want to see all that stuff out there. Plates that we can use to composite together in all the different shots to be able to give us our final image make things a lot easier.
So you can have a great lighting setup, you can have great special effects like this. But without great talent, without great wardrobe and hair and makeup, it just won’t be as good. That really is what moves it to a level that makes it look professional, makes it work. So if you don’t have people like that you’re working with, you really need to find them. A support group like that. It’ll help your images look so much better.
I hope you learned something today with this advanced lighting tutorial; ask questions or let me know your thoughts in the comments. And be sure to check out Jodie on Twitter and Instagram.
Thanks for watching.
Keep those cameras rollin’ and keep on clickin’.
-Jay P.