The Slanted Lens

Tutorials, Reviews and Tips for Photographers & Filmmakers

PHOTO & VIDEO TUTORIALS & REVIEWS

Check out our Online Courses, Giveaway, Mentoring and Photography and Video Gear For Sale.

  • Online Courses
  • Mentoring
  • Giveaway
  • About
  • Members
  • Buy Gear
Home / Laws of Light / Laws of Light: Creating Dimension and Texture

Laws of Light: Creating Dimension and Texture

March 23, 2017 By Morgan 4 Comments

Free Business Coaching Call


Hi, this is Jay P. Morgan. Today on The Slanted Lens we’re introducing our next Laws of Light- Creating Dimension and Texture.  As photographers and videographers we’re trying to take a one dimensional experience and turn it into a three dimensional experience. Light is our tool to create this dimension. It has to give us depth and texture in order to do that. So let’s get started and see how we can do that.

Camera View

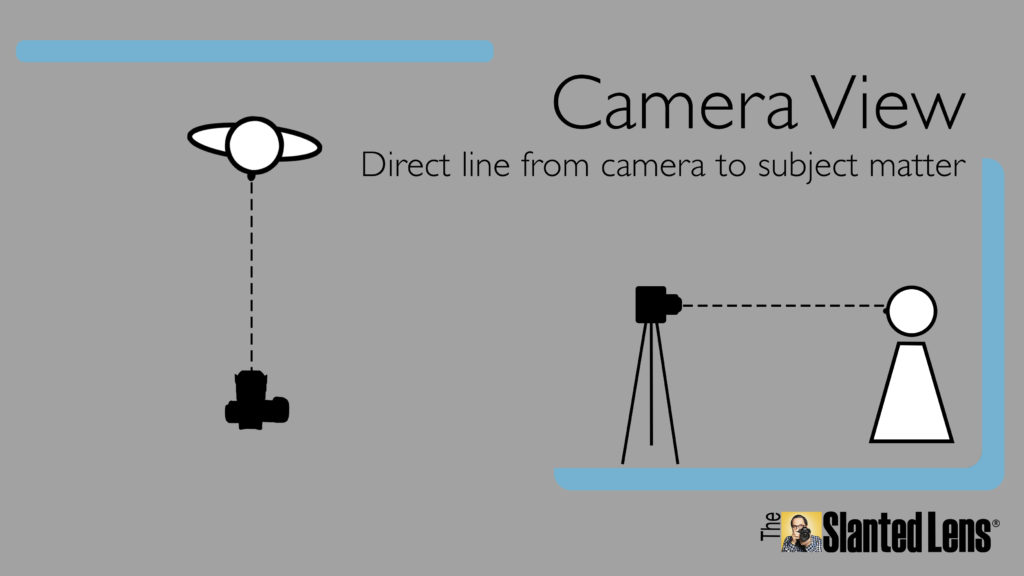
We have to understand camera view in order to create dimension and texture. Camera view is the line from the camera to your subject. The closer your light is to camera view, the less dimension and texture you’ll see. In other words, the closer the light is to your camera, the flatter it will be.

Laws of Light Creating Dimension and Texture The Slanted Lens Jay P Morgan As you move the light away from the camera view, it will create dimension and bring out texture on your subject.
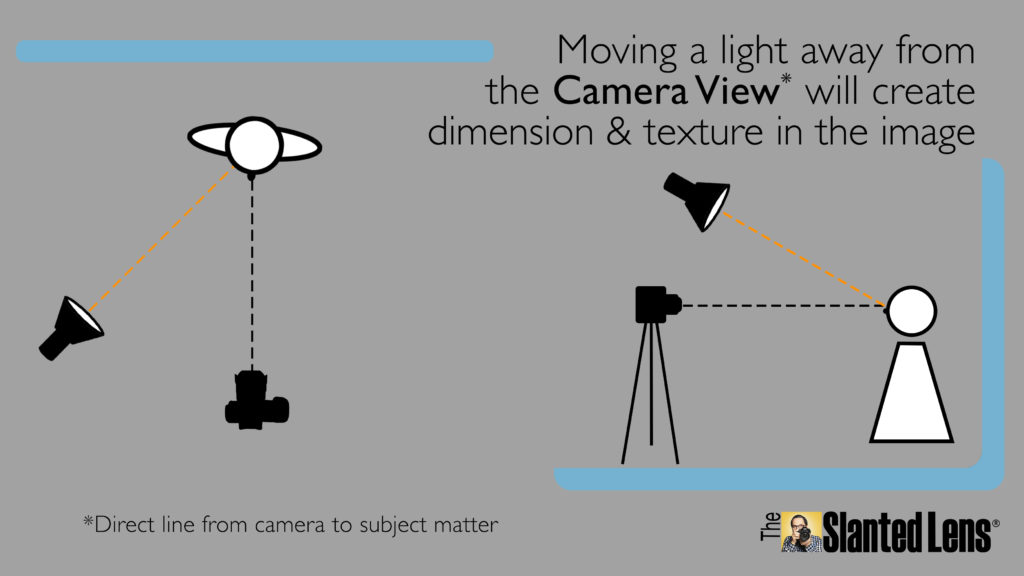
 Laws of Light Creating Dimension and Texture The Slanted Lens Jay P Morgan

Creating Dimension

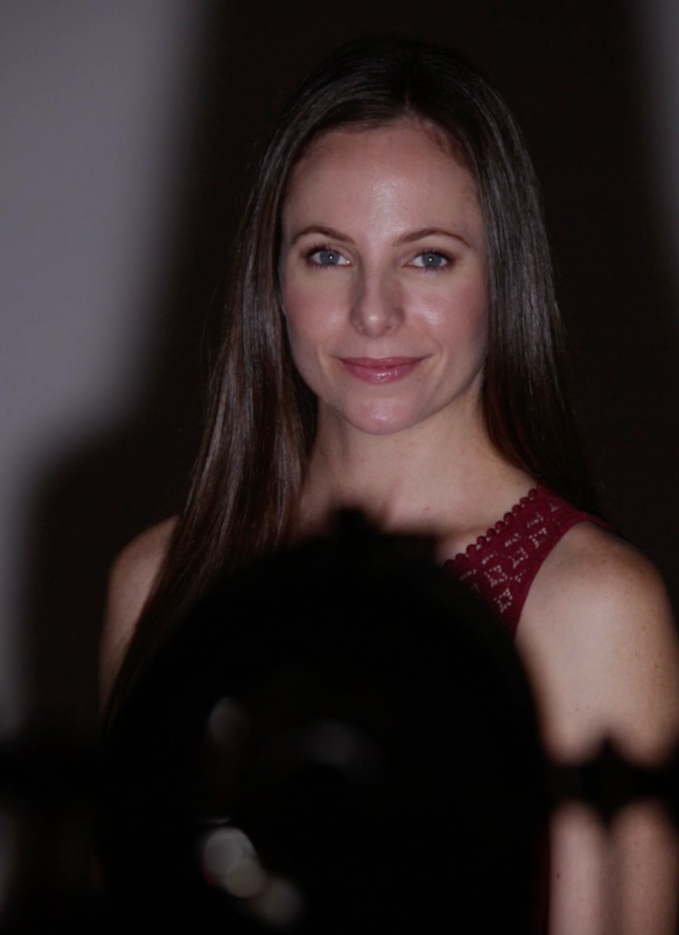
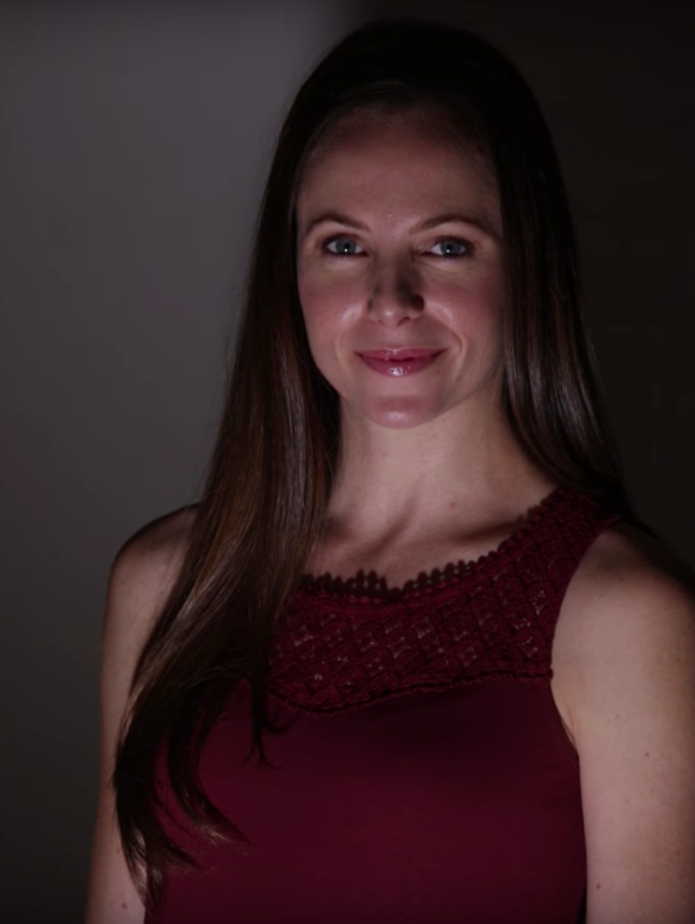
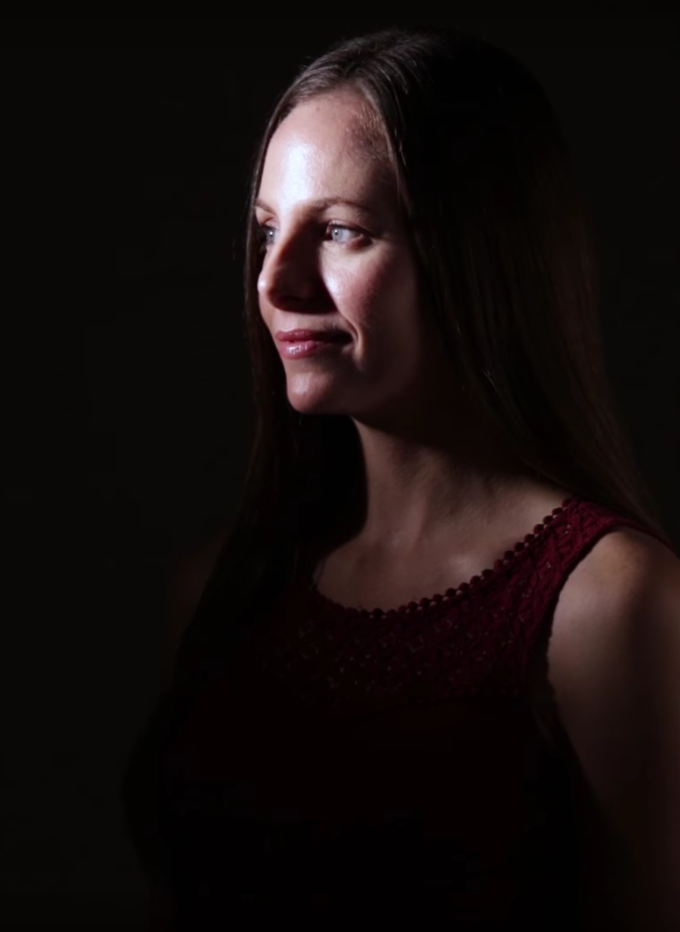
Let’s take a look at how this applies to faces with our model, Loree.

When we have the light as close to camera view as possible without blocking it, the light is very flat on Loree’s face.

Laws of Light Dimension Texture The Slanted Lens Jay P Morgan

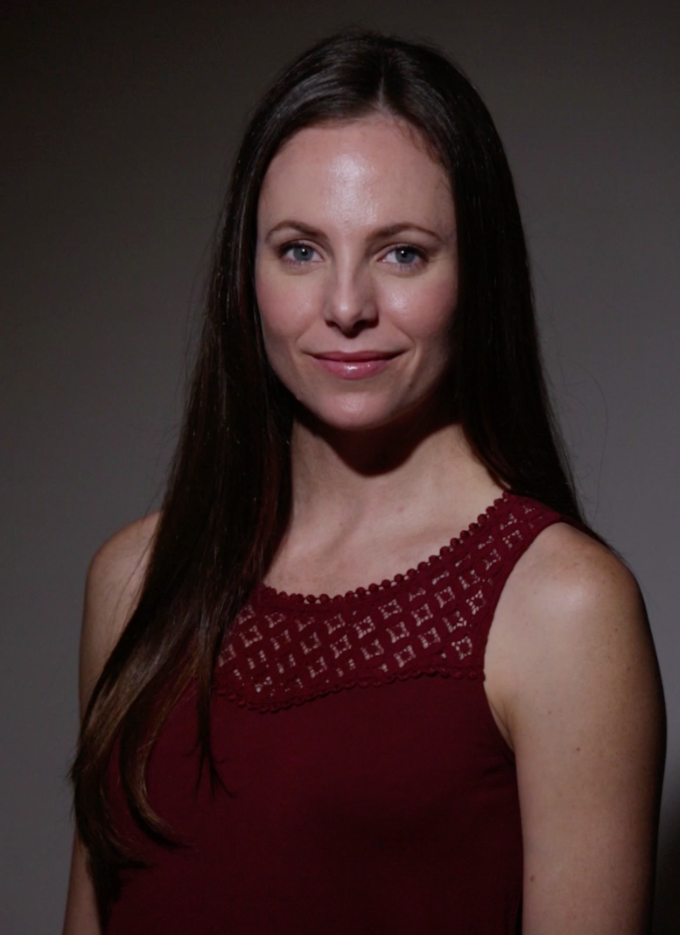
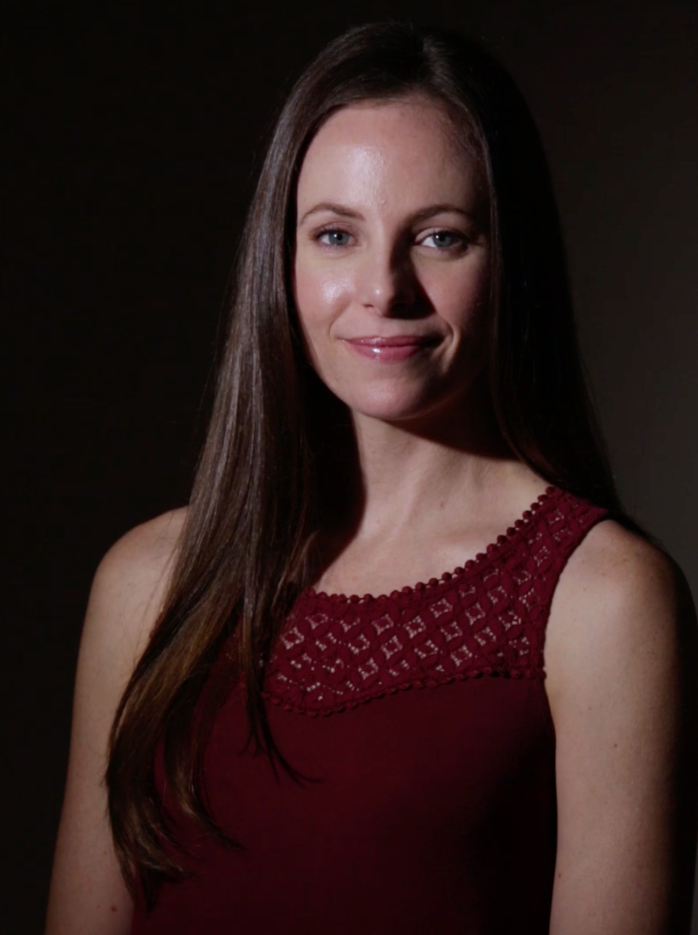
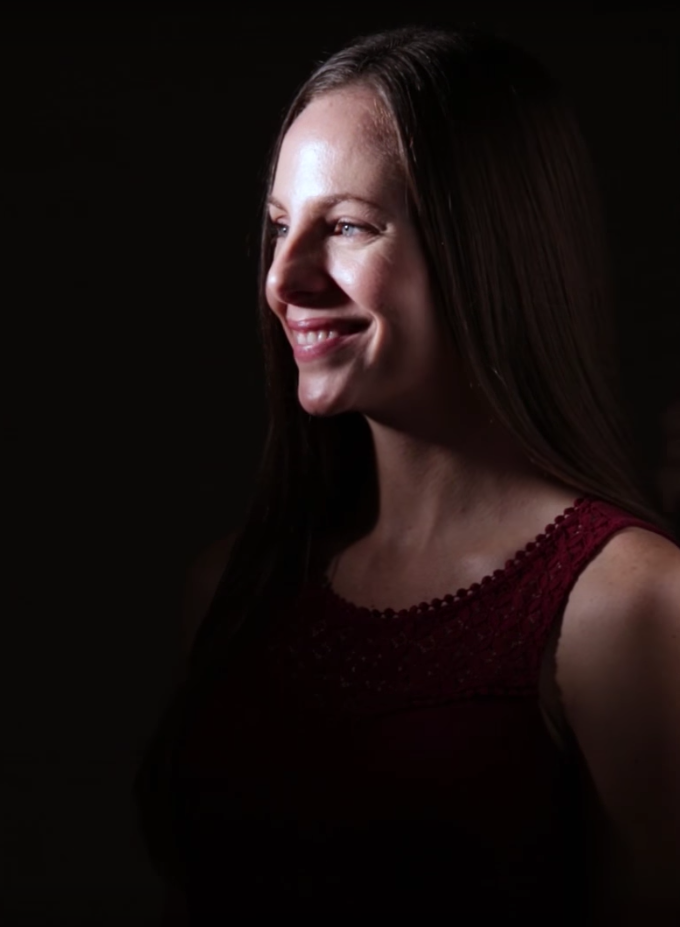
Moving the light about 35 degrees up and to the side will give you a nice butterfly light on her face. Her cheeks now have shadows and highlights. It’s a flattering, beautiful look.

Laws of Light Dimension Texture The Slanted Lens Jay P Morgan

Lighting from below creates dimension as well, but it’s not as flattering. That type of lighting is typically used to communicate horror or feelings of fear.

Laws of Light Dimension Texture The Slanted Lens Jay P Morgan

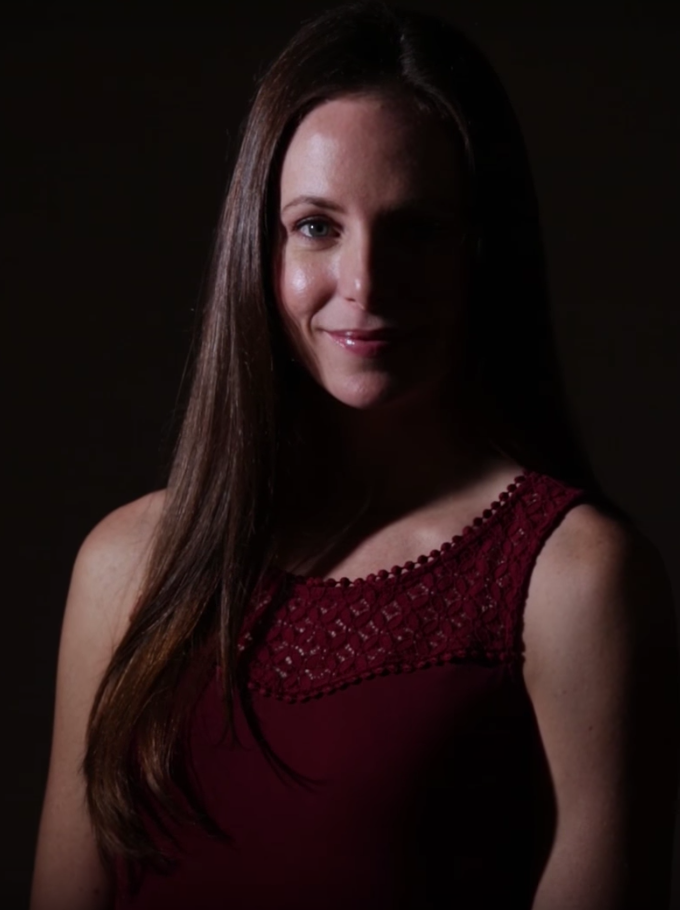
Many people place their light at 0-45 degrees from their model. This is a nice look as well.

Laws of Light Dimension Texture The Slanted Lens Jay P Morgan

Taking the light even further, closer to 90 degrees, creates major dimension in the lit side of her face, and you get a split light.

Laws of Light Dimension Texture The Slanted Lens Jay P Morgan

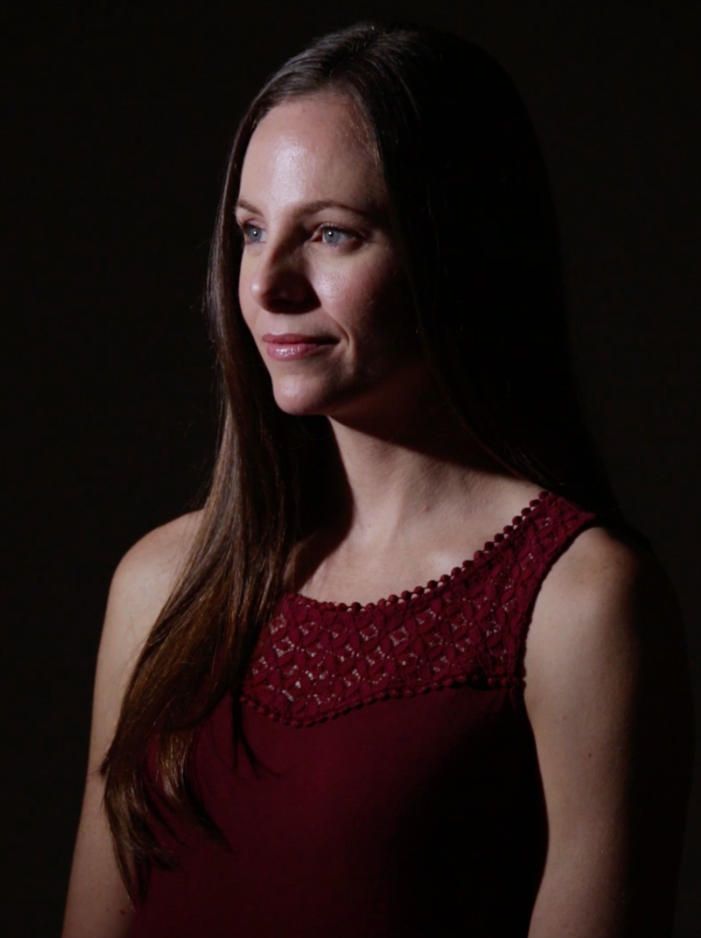
Turning your subject into the light will result in a really beautiful look.

Laws of Light Dimension Texture The Slanted Lens Jay P Morgan

Using Fill to Create Dimension

Lighting someone like this will result in a loss of dimension in the background and unlit side of your subject’s face.

Laws of Light Dimension Texture The Slanted Lens Jay P Morgan

To bring it back we’ll fill those shadows. You can use a reflector, or a second light.

Laws of Light Dimension Texture The Slanted Lens Jay P Morgan

Laws of Light Dimension Texture The Slanted Lens Jay P Morgan

Be careful when using two lights that you’re not pointing the second one directly at your subject. That will create two key lights and you’ll get two sets of shadows, which looks very unnatural. That’s why I’ve bounced my second light into the ceiling. But sometimes it’s better to just use a reflector and push the light back into your subject.

Creating Texture

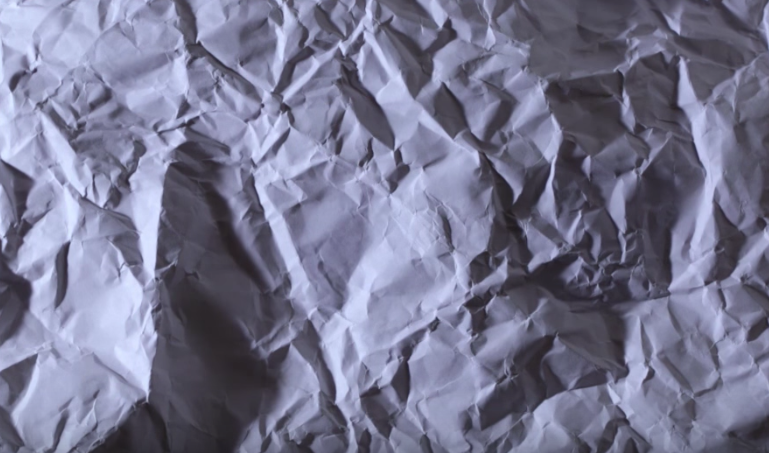
Now let’s take a look at texture doing the same thing with the light as it relates to camera view.

First we have the light at camera view, which results in a very flatly lit piece of paper. There’s not much texture there at all.

Laws of Light Dimension Texture The Slanted Lens Jay P Morgan

Moving the light above, below, or to the side of the camera will create texture in your subject. The closer to 90 degrees you get, the more texture you’ll see.

Laws of Light Dimension Texture The Slanted Lens Jay P Morgan

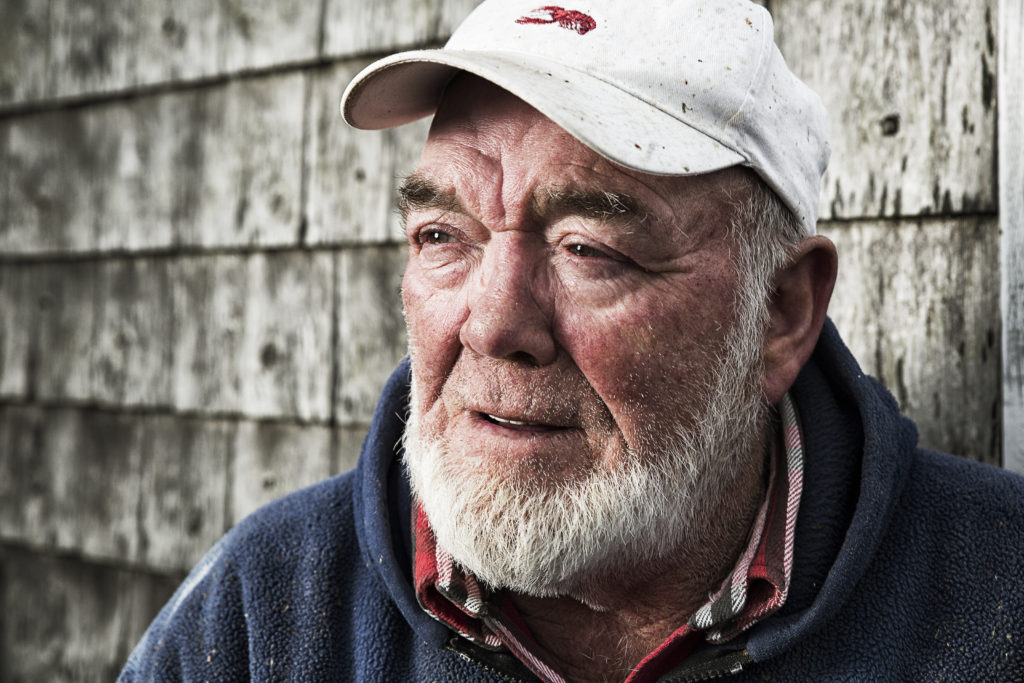
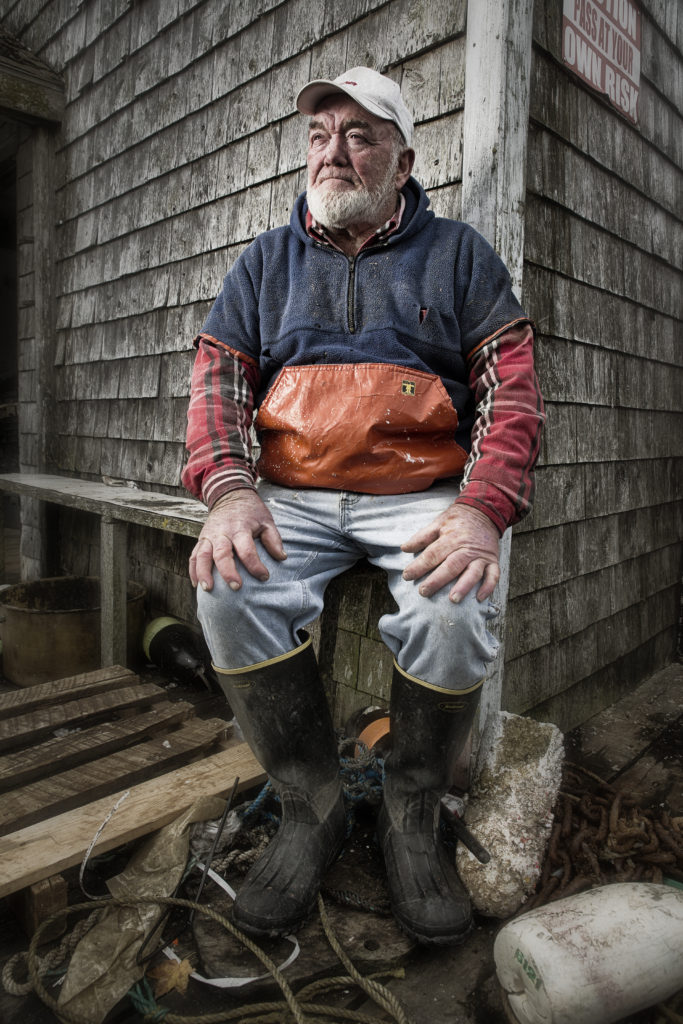
This comes into play when you’re shooting people. If someone has a lot of wrinkles and lines in their skin and you don’t want to show that, you’ll have the light closer to your camera view. But if you want to draw out that look, really showing off the age and and texture in that face or other subject, you’ll want to move the light further away.

Laws of Light Creating Dimension and Texture The Slanted Lens Jay P Morgan

Laws of Light Creating Dimension and Texture The Slanted Lens Jay P Morgan

I hope this help you understand a little better where you should place your lights and be brave. Get past that 90 degrees. Move your light to give your subject more dimension, more texture. That’s our goal- three-dimensional experience in a one-dimensional world. Keep those cameras rolling, keep on clicking.

-Jay P.

Share

Filed Under: Beginning Lighting Tutorials, Laws of Light, Uncategorized

About Morgan

With more than two decades of experience Jay P. Morgan brings to his commercial studio two special qualities: a keen appreciation of the bizarre and a knack for flawlessly executing elaborate shots. Through The Slanted Lens, Jay P. shares his knowledge about photography and videography.

Comments

  1. Raymond Eichelberger says

    March 24, 2017 at 4:12 am

    Very informative. Thank you for taking the time to share your knowledge with me. Keep up the great work!

    Reply
  2. Rick says

    March 25, 2017 at 5:48 am

    Thanks Jay, I have been subscribed to your news letter for over a year and the knowledge you share about keeps me one step ahead of getting it right. I use some of the same techniques in light painting with lights, keep them 45 degrees or more and use a sweeping motion bring out texture and depth.

    Reply
    • Jay P says

      March 27, 2017 at 1:31 pm

      Thanks Rick!

      Reply

Trackbacks

  1. Cinematic Videos, Preview Quality and Lighting Tips says:
    March 24, 2017 at 12:38 am

    […] The link to that post is HERE. […]

    Reply

Leave a Reply Cancel reply

Your email address will not be published. Required fields are marked *

Tamron Lenses

Learn more about the Tamron 70-180mm F2.8 Lens!

ENTER THE GIVEAWAY

ENTER THE GIVEAWAY


Shop Our Affiliate Links

Our Sponsors

SKB cases

Datacolor_logo


Platypod Logo
FotoproUSAtriple-scopp-music-125


Categories

  • Advanced Lighting Tutorials
  • Architectural Photography
  • Beginning Lighting Tutorials
  • Behind the Scenes
  • Business Tips
  • Camera News
  • Camera Review
  • Celebrity
  • DIY
  • Equipment
  • Film Photography
  • Foto of the Week
  • Funny photo
  • Gear Sweepstakes
  • Intermediate Lighting Tutorials
  • Intervention
  • Jay P's Shorts
  • Landscape
  • Laws of Light
  • lighting diagram
  • Lighting Tutorials
  • Meet the Photographer
  • Photography & Video Articles
  • Photography & Video Business Tips
  • Photography & Video Lighting Articles
  • Photography Tutorial
  • Portraits
  • Posts
  • Product Review
  • Quick Tip
  • Special Effects for Photo and Video
  • sponsor
  • Stop Motion Photography
  • test
  • Time-lapse
  • Travel Photography
  • Trends
  • Uncategorized
  • Videography
  • Wedding Photography
  • Workflow
  • Working with Talent

The Slanted Lens Copyright © 2021

Subscribe to our Newsletter!

Get Updates, Latest Trends, Specials and other goodies

x