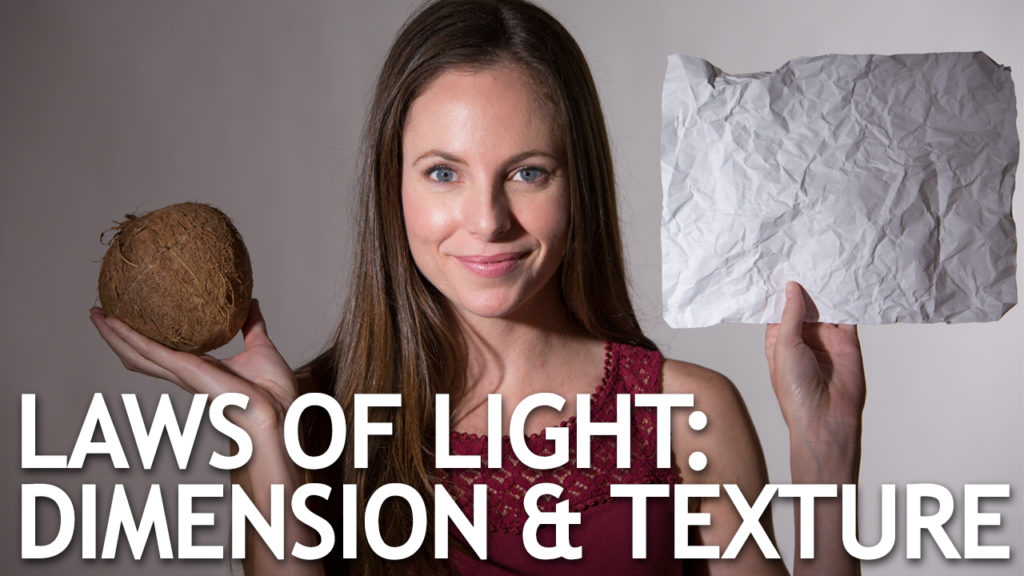
Hi, this is Jay P. Morgan. Today on The Slanted Lens we’re introducing our next Laws of Light- Creating Dimension and Texture. As photographers and videographers we’re trying to take a one dimensional experience and turn it into a three dimensional experience. Light is our tool to create this dimension. It has to give us depth and texture in order to do that. So let’s get started and see how we can do that.
Camera View
We have to understand camera view in order to create dimension and texture. Camera view is the line from the camera to your subject. The closer your light is to camera view, the less dimension and texture you’ll see. In other words, the closer the light is to your camera, the flatter it will be.
Creating Dimension
Let’s take a look at how this applies to faces with our model, Loree.
When we have the light as close to camera view as possible without blocking it, the light is very flat on Loree’s face.
Moving the light about 35 degrees up and to the side will give you a nice butterfly light on her face. Her cheeks now have shadows and highlights. It’s a flattering, beautiful look.
Lighting from below creates dimension as well, but it’s not as flattering. That type of lighting is typically used to communicate horror or feelings of fear.
Many people place their light at 0-45 degrees from their model. This is a nice look as well.
Taking the light even further, closer to 90 degrees, creates major dimension in the lit side of her face, and you get a split light.
Turning your subject into the light will result in a really beautiful look.
Using Fill to Create Dimension
Lighting someone like this will result in a loss of dimension in the background and unlit side of your subject’s face.
To bring it back we’ll fill those shadows. You can use a reflector, or a second light.
Be careful when using two lights that you’re not pointing the second one directly at your subject. That will create two key lights and you’ll get two sets of shadows, which looks very unnatural. That’s why I’ve bounced my second light into the ceiling. But sometimes it’s better to just use a reflector and push the light back into your subject.
Creating Texture
Now let’s take a look at texture doing the same thing with the light as it relates to camera view.
First we have the light at camera view, which results in a very flatly lit piece of paper. There’s not much texture there at all.
Moving the light above, below, or to the side of the camera will create texture in your subject. The closer to 90 degrees you get, the more texture you’ll see.
This comes into play when you’re shooting people. If someone has a lot of wrinkles and lines in their skin and you don’t want to show that, you’ll have the light closer to your camera view. But if you want to draw out that look, really showing off the age and and texture in that face or other subject, you’ll want to move the light further away.
I hope this help you understand a little better where you should place your lights and be brave. Get past that 90 degrees. Move your light to give your subject more dimension, more texture. That’s our goal- three-dimensional experience in a one-dimensional world. Keep those cameras rolling, keep on clicking.
-Jay P.


