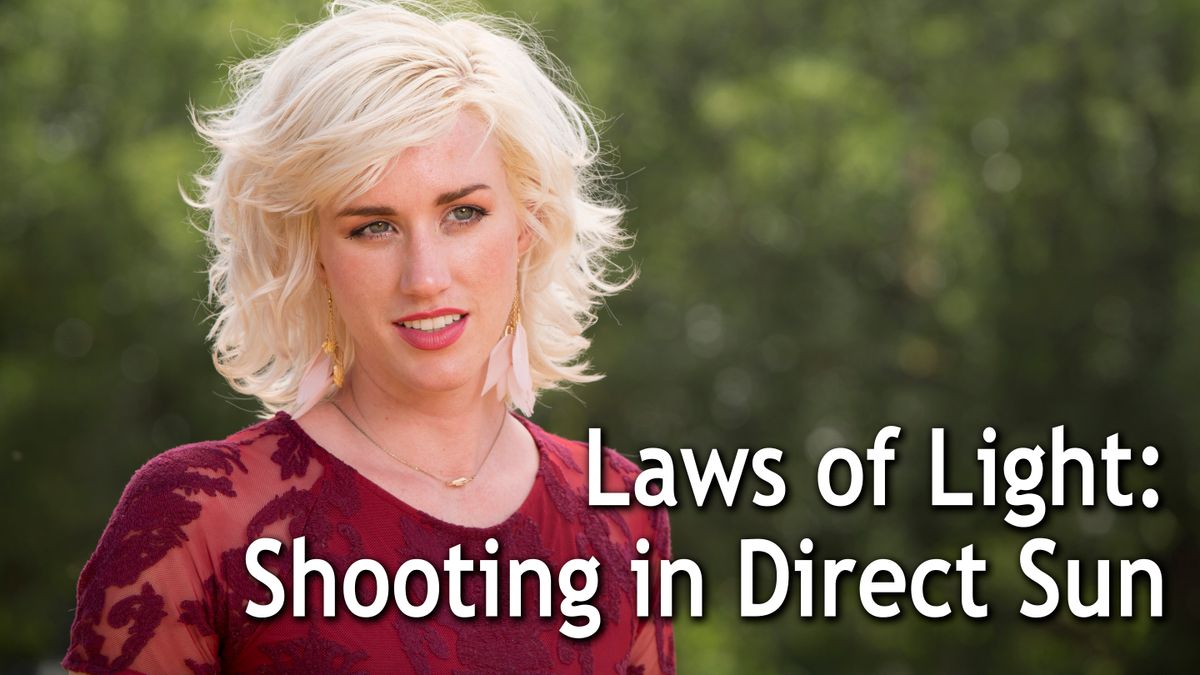
The Difficulty of Shooting in Direct Sun
A lot of the times when you’re shooting in direct sun, it’s very harsh on your subject’s face. Many people try not to put themselves in this situation because of it. Sometimes you have no choice, or maybe you like the location a lot so you have to put up with the challenge.
Without any equipment, the sun can create harsh shadows and an unflattering look on your talent.
Find Shade
One solution is to find shade. Somewhere that will cover you and so your exposure doesn’t have to be so blown out. This will also create a softer light and will look more pleasant.
However, sometimes you don’t have much shade to choose from like in an open field. Or you want to shoot in the specific location and moving into the shade would be pointless.
Win 2×2 Intellytech LiteCloth!
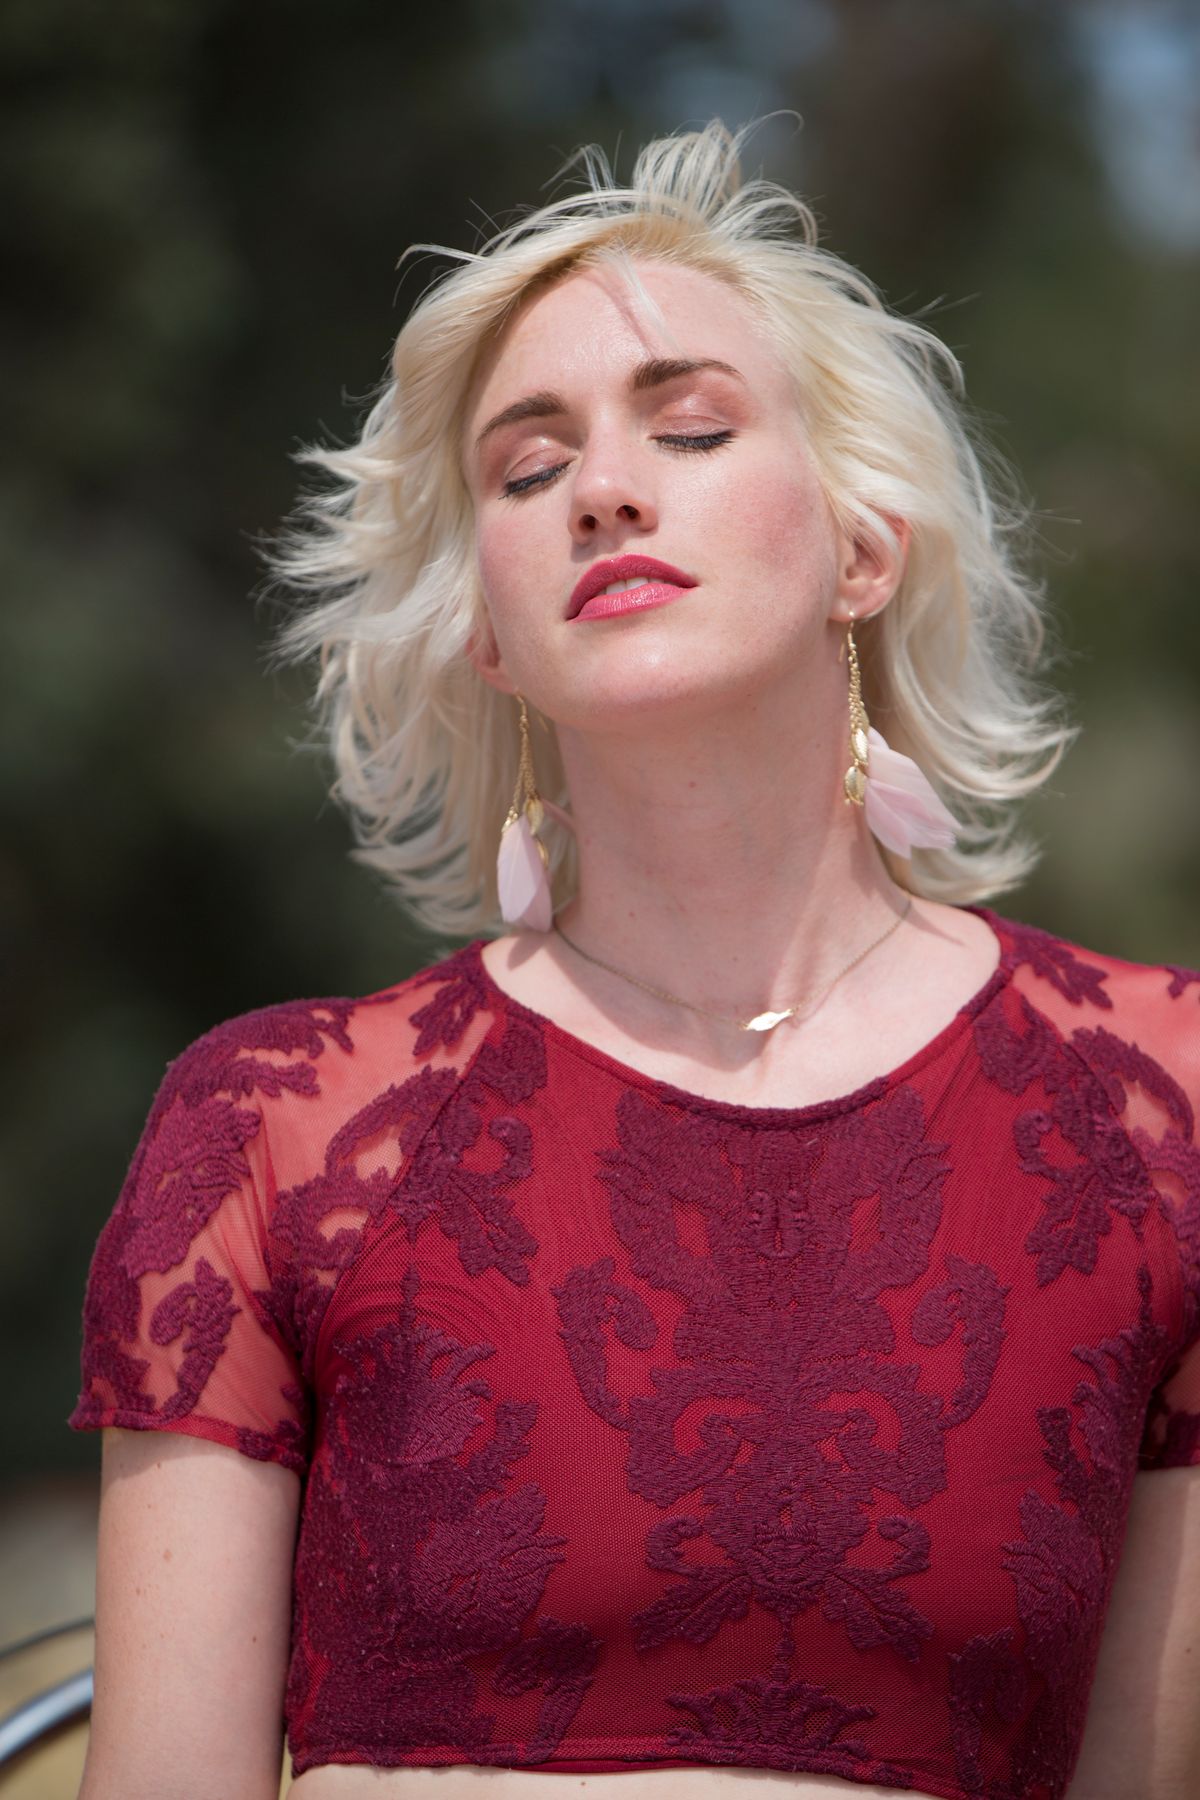
Use the Sun as a Key Light
The sun is the biggest key light there is. There won’t be anything around that is as bright as the sun. So why compete with it? Use the sun as a key light. You do this by positioning your subject in the sun’s rays. The sun as a key should light most of your subject’s face.
To make this really work, it’s good to use a reflector of some kind and bounce light back into your subject’s face. This will help even out the face and give you a smoother look.
 Pros
Pros
The huge advantage of this setup is minimal equipment. But you are at the mercy of where the sun is in the sky. And it doesn’t give you much flexibility in terms of background choice. You can’t pick up the sun and move it wherever.
Cons
This light is really harsh and will create hot spots on your subject’s skin. Because there’s so much light, you might have to do a lot of retouching to correct all the blemishes in your subject’s face.
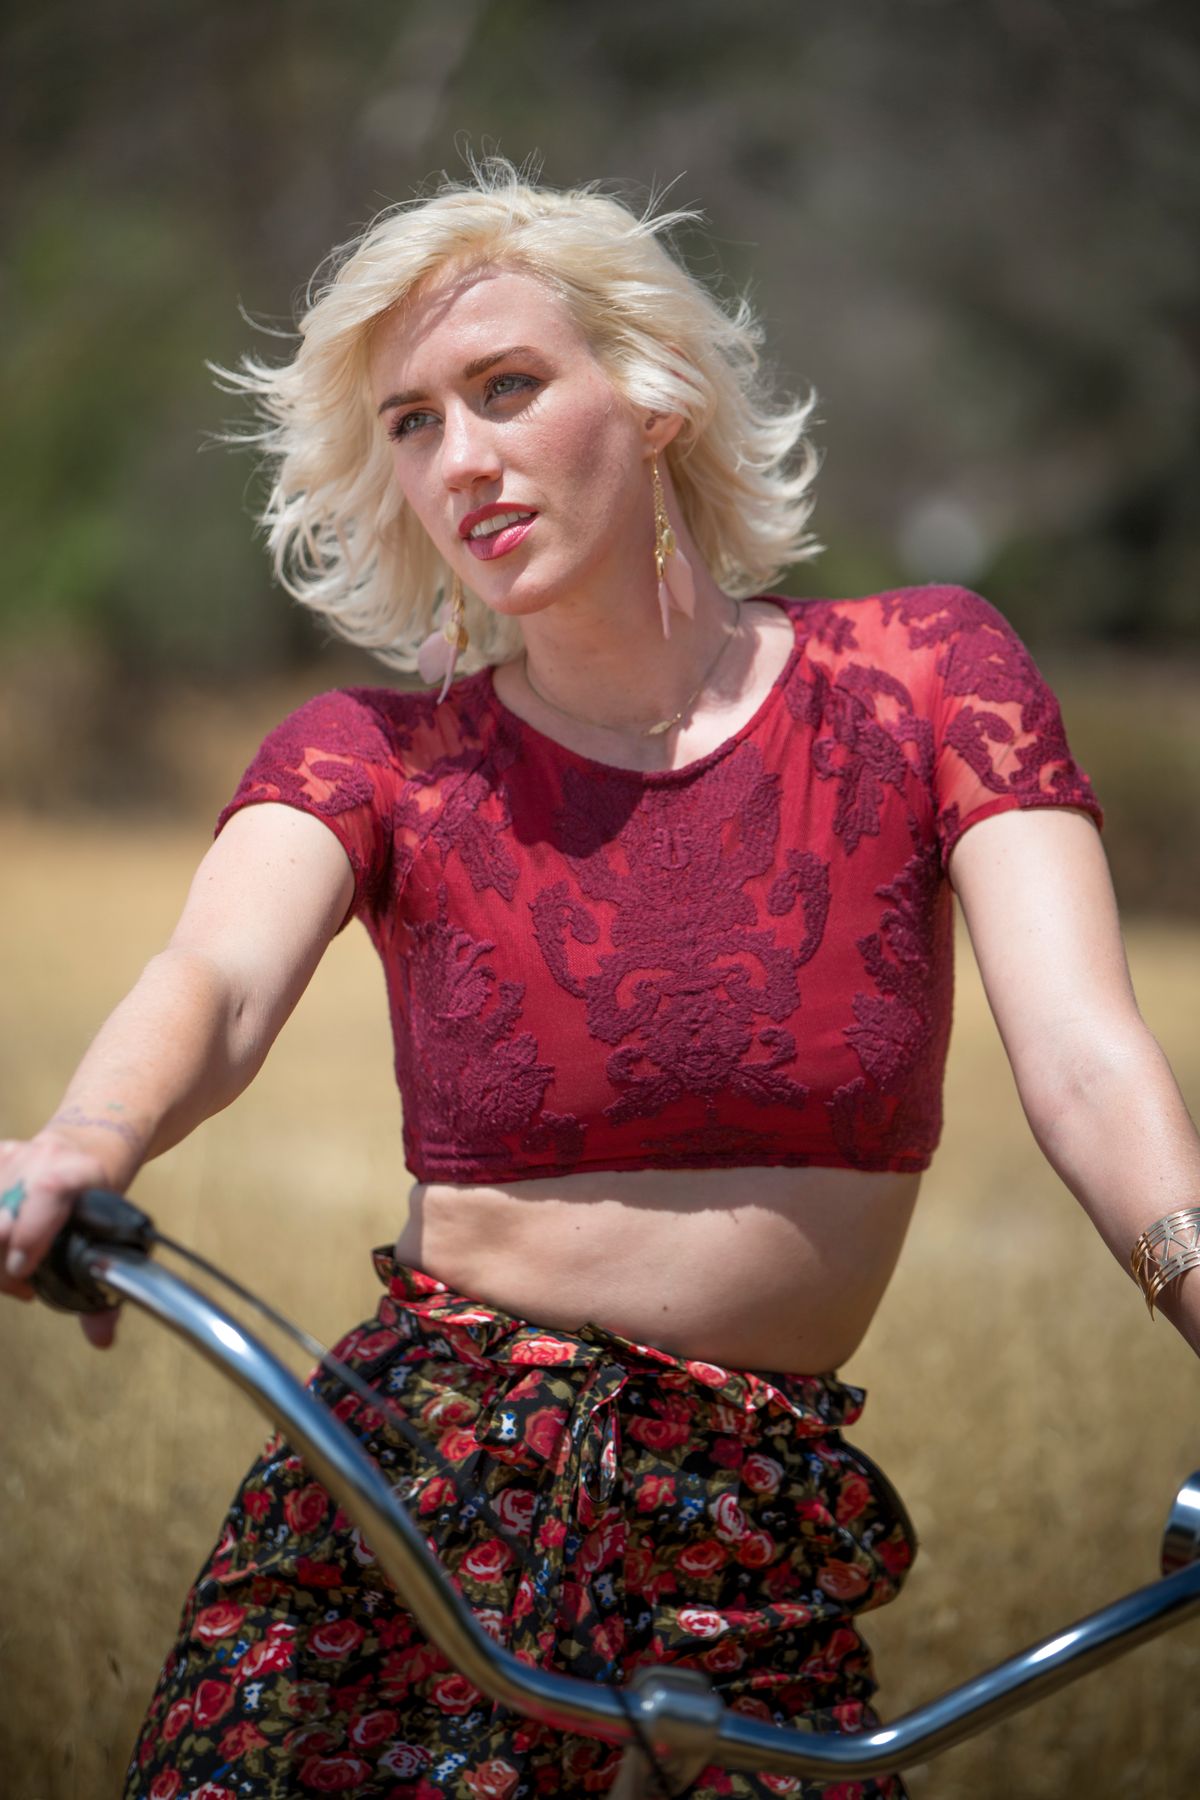
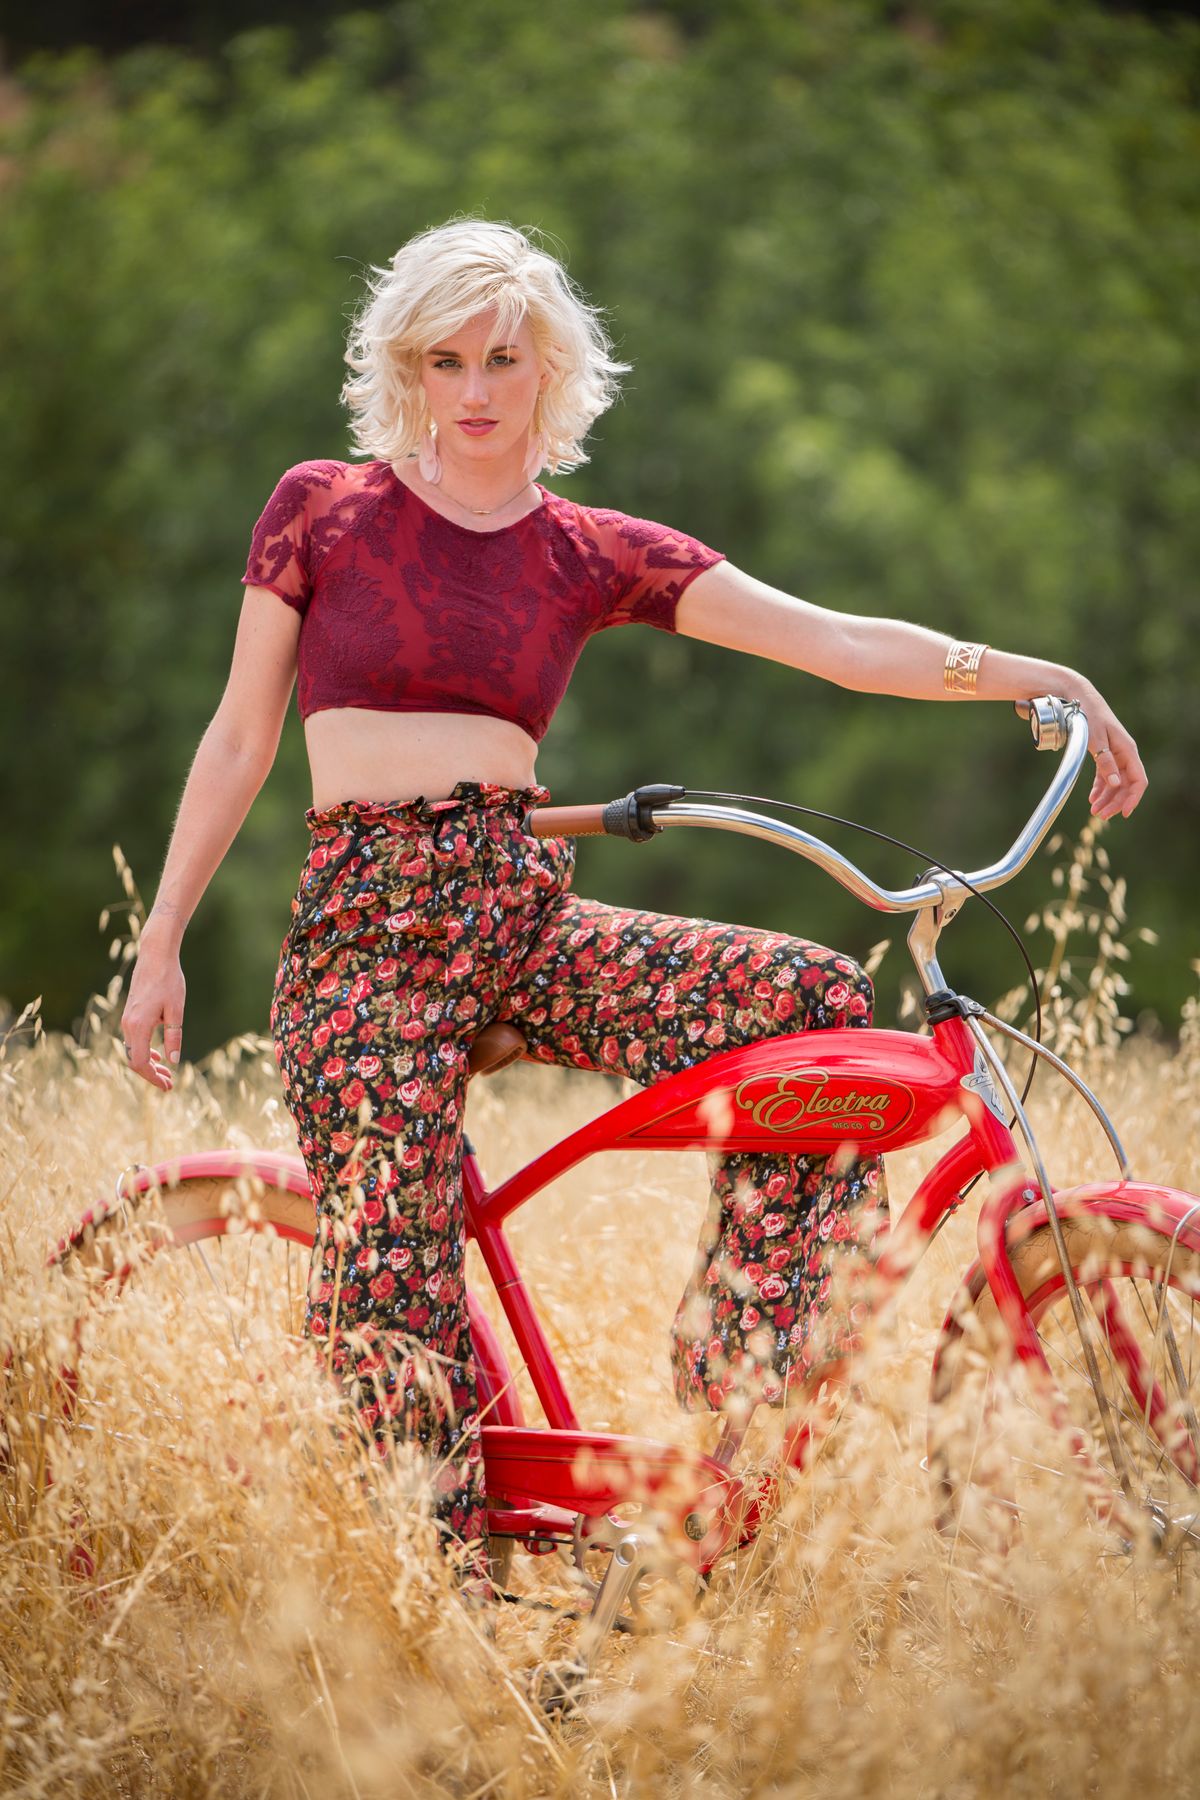
Use the Sun as a Back/Rim Light
This is a great option and my favorite option. Having the sun be behind the subject will create a natural separation of the subject to the background. It will also give a nice light to the subject’s hair and is an easier light to work with.
When the sun is high in the sky, this is an easy thing to pull off. Once the sun starts to get lower on the horizon, now you’re competing with the direct sun and it will create flares.
With this technique, you can just add a reflector on the bottom to brighten your subject’s face.
Puting the sun directly behind the person’s head will also give you an interesting look.

Pros
Great contrast from the background to create separation. An easy setup with great results.
Cons
More equipment is needed. A stand or an assistant needs to hold the reflector. Again, we can’t really choose our background. If the sun needs to be behind the subject, that will limit our options.
Use a Translucent Reflector
Putting a translucent overhead is a great way to control the light that falls on your subject. By doing this technique you can get softer shadows and have more of a softbox look. This is a cleaner look that works great.

 Pros
Pros
You get a beautiful soft light that is controllable.
Cons
Using this technique will leave a harsh shadow on the ground which means you’re limiting your shot selection to mids and close-ups. If you want a full-body shot, try to hide the line of the shadow with the end of your frame. Or get a huge reflector that will cover more area!
Use a Strobe and Translucent
In this setup, we will still be using the sun as a rim light and the translucent reflector to create a softbox. But now we are adding a strobe to open up the shadows and have more control over the image.

 Pros
Pros
Complete and total control for world domination! You’ll be able to control the amount of shadow and the harshness of it on your subject’s face.
Cons
Lots more equipment!
In order for this to work, you really need a strobe that has high-speed sync. If not, you’ll have to compensate by lowering your aperture since you’re in direct sun. This might not be a look you’re going for. So it’s something to consider.
Gear Used
Sunbounce Swatter: B&H / Amazon
Sunbounce Reflector: B&H / Amazon
Canon 5D Mark III: B&H / Amazon
Leave a Reply