
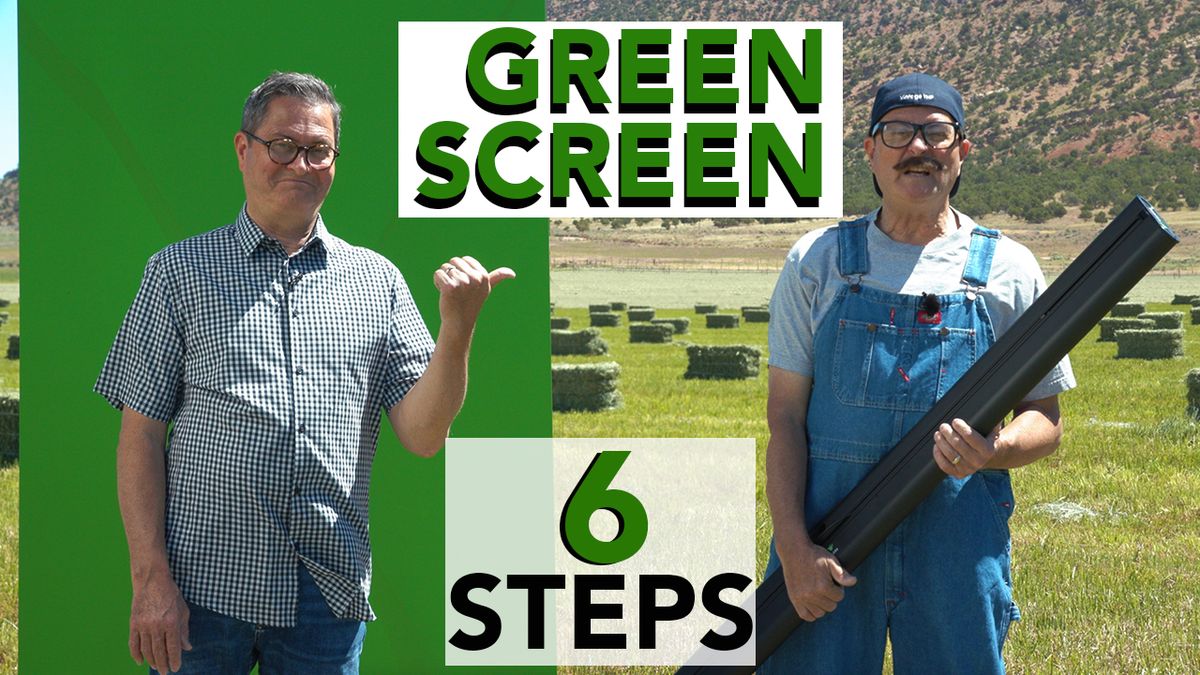

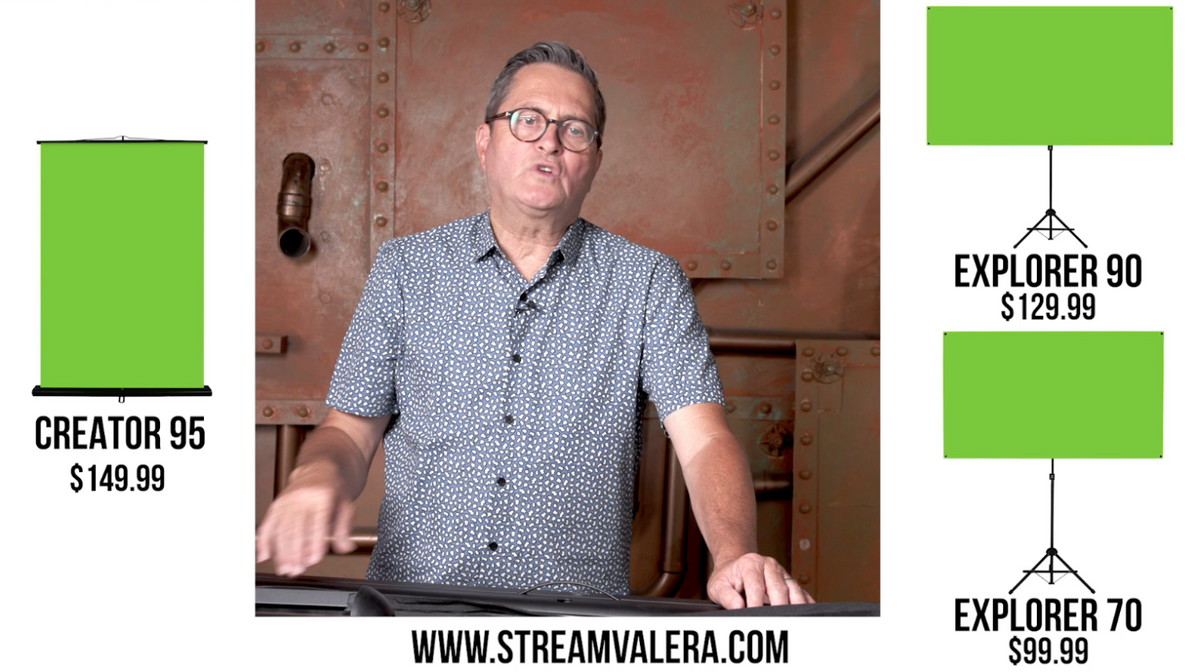
Today on The Slanted Lens we’re going to talk about 2 effective green screens, and then how to light them. But first, I’m going to be joined by my brother Kay P! He’s going to help us look at the Valera Creator 95 and the Valera Explorer 90.

Kay P – Hi, this is Kay P from Idaho. We’re looking at Valera green screens. Some of my favorite green screens as they are portable, lightweight and they are great to have on set for videographers, photographers and content creators.

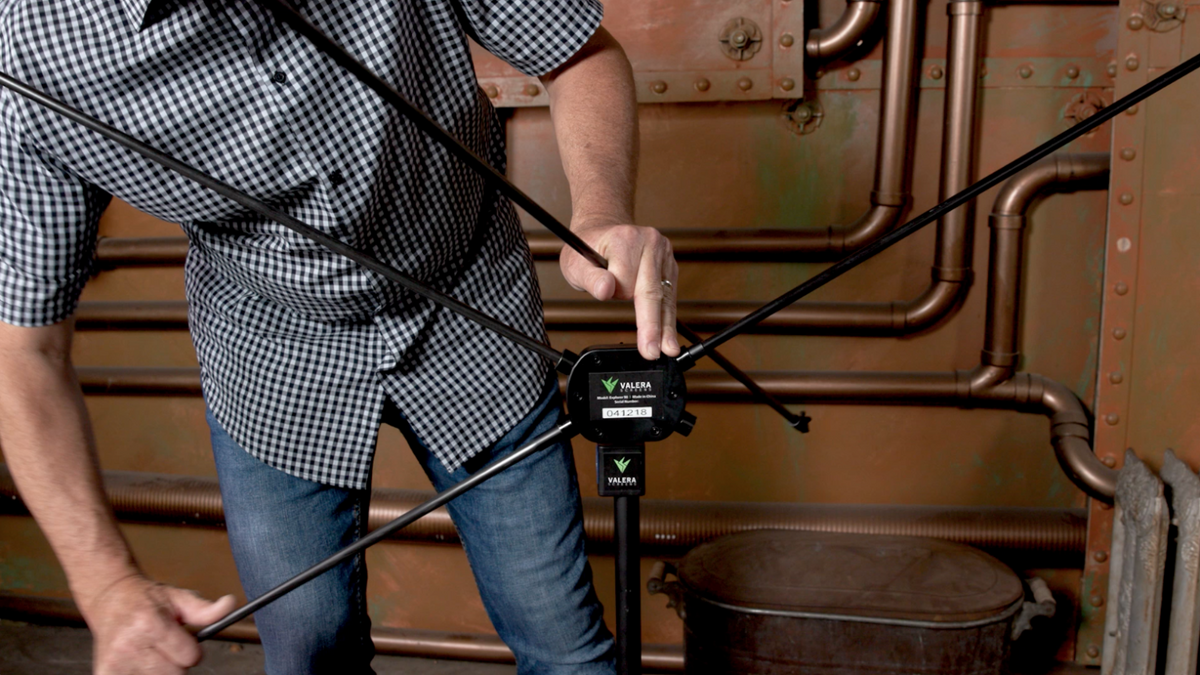
Valera Explorer 90
Jay P – This is the Explorer 90. This one is great for videographers an content creators, as it’s a 16×9 ratio that can be horizontal or vertical, comes with it’s own stand and it’s a light weight, compact green screen that you can take anywhere with you. It’s easy to set up, easy to use and perfect to take on location.
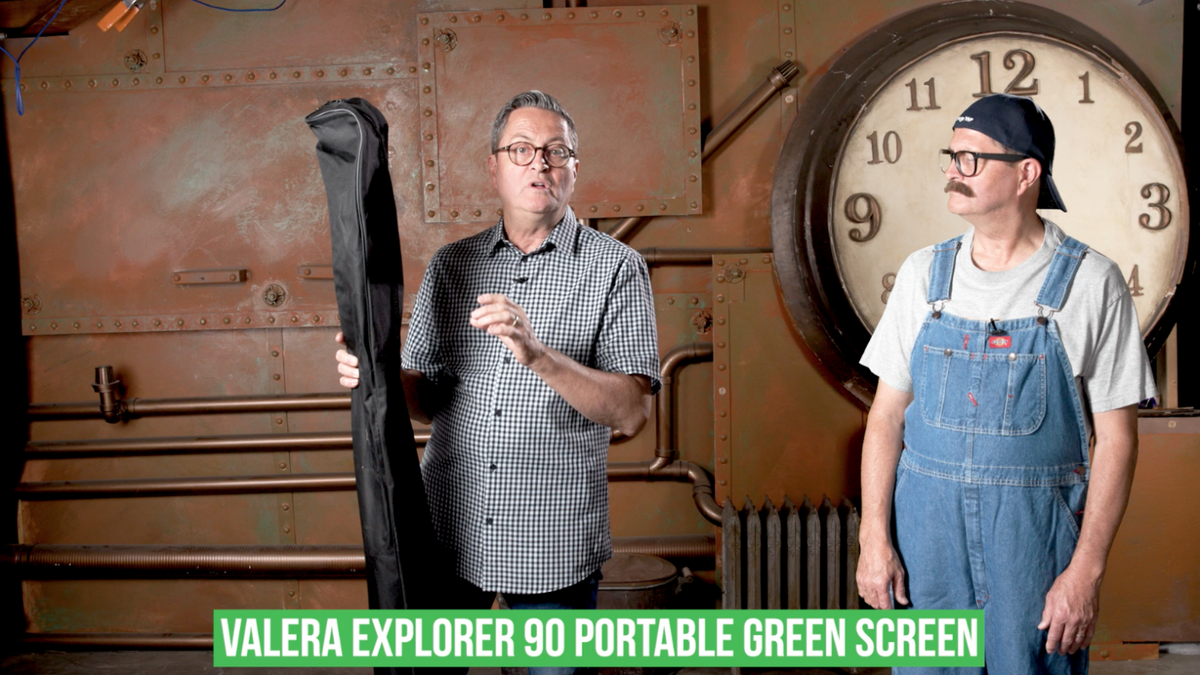

Kay P – Let’s see if you can set it up in just a few minutes. Why do we even have a portable green screen anyway? Well if you’re doing a vloging your bedroom, you can set up and green screen and then be anywhere in the world you want to be. Then when you’re done, fold it up and put it under your bed. If you go on location as a videographer or photographer, you can put it up behind the CEO and then his office can turn into whatever office or place you need it to be. If you want a nice setting or location outside the window, throw up a green screen and composite the setting that looks good for your scene.


Jay P – See! It took 2 minutes and now I’m heading out to the location.
The Valera Green Screens are made of croma boost, wrinkle resistant fabric that makes it really easy to key off them. You don’t have to out a lot of light on them and they give you great key, because they are outlined without a lot of light. I am in a situation right now where I don’t have a lot of light on it whatsoever, but in that shadow area it bounces back enough to be able to green screen and to key it out.
They are really fabulous in that way. They are matched with all the softwares out there, whether it’s iPhone or Android, Premiere or Final cut. it’s made to work on all those softwares.
Valera Creator 95
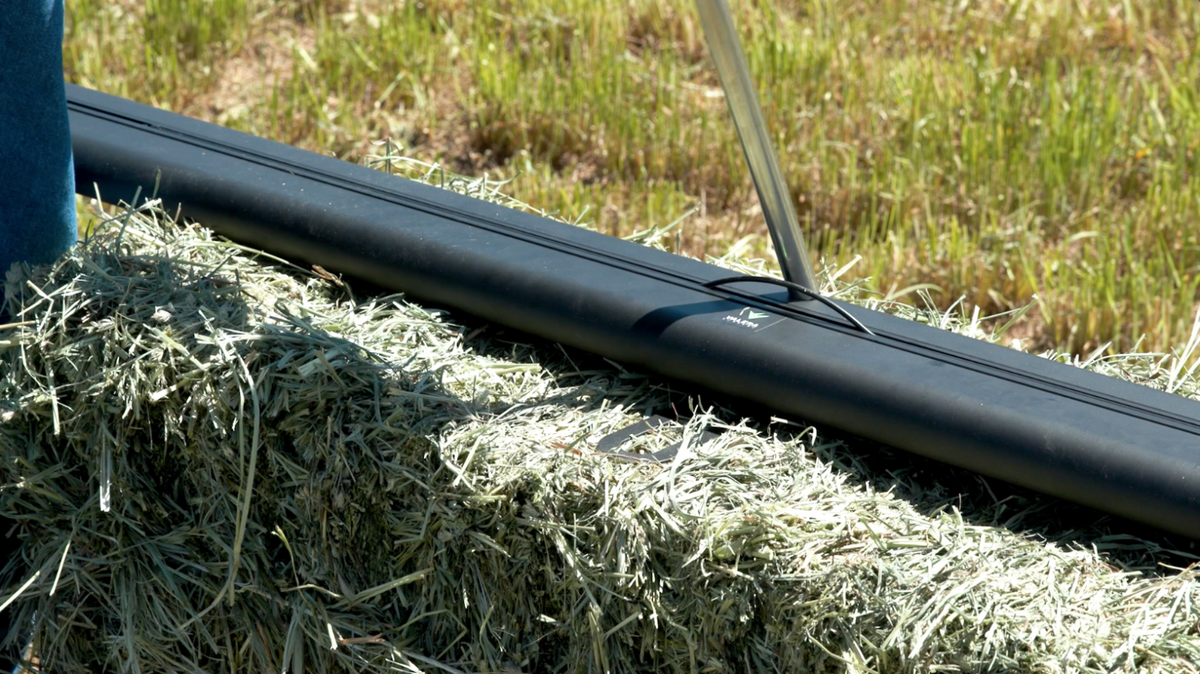
Kay P – I love the Creator 95 because it’s so sleek and simple to set up. You just pull up the rod, raise up the screen and you’re good to go. This one is made for those full body shots, perfectly set up in seconds.
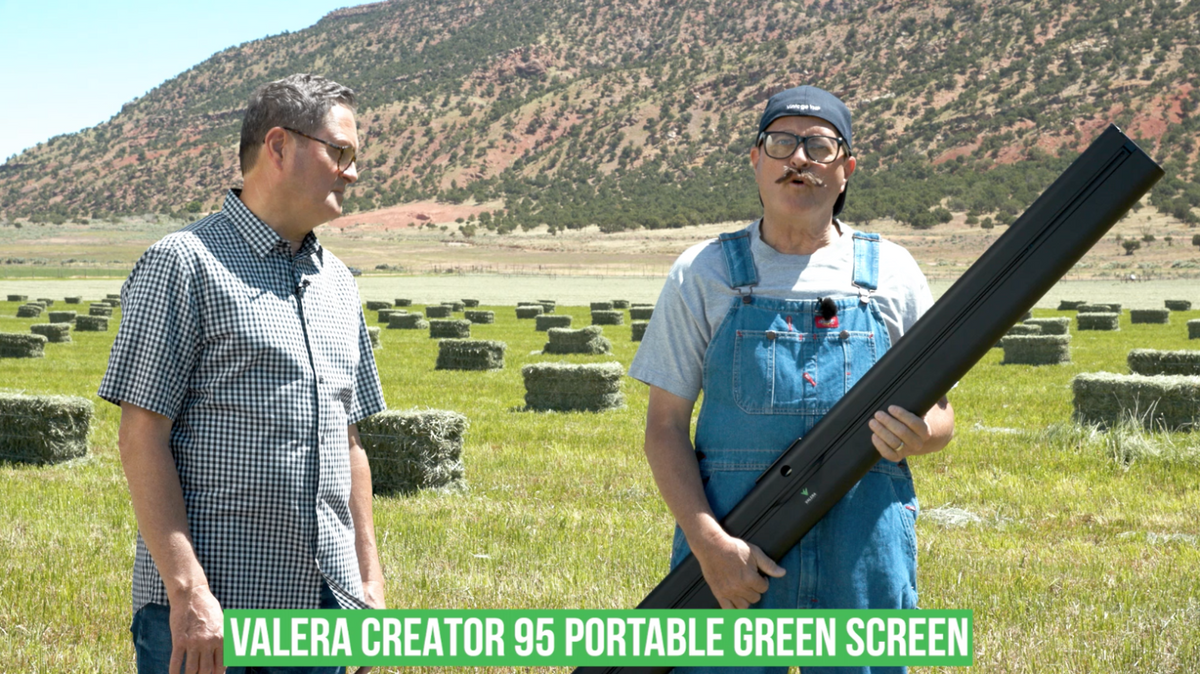
Alright, enough of the craziness. The fact is, lighting and working with green screens has become so easy because software solutions are so easy. The Valera screen just has a great croma key that kicks the light back in a way that you don’t have to spend so much energy on lighting these things.
6 Tips for Lighting a Greenscreen
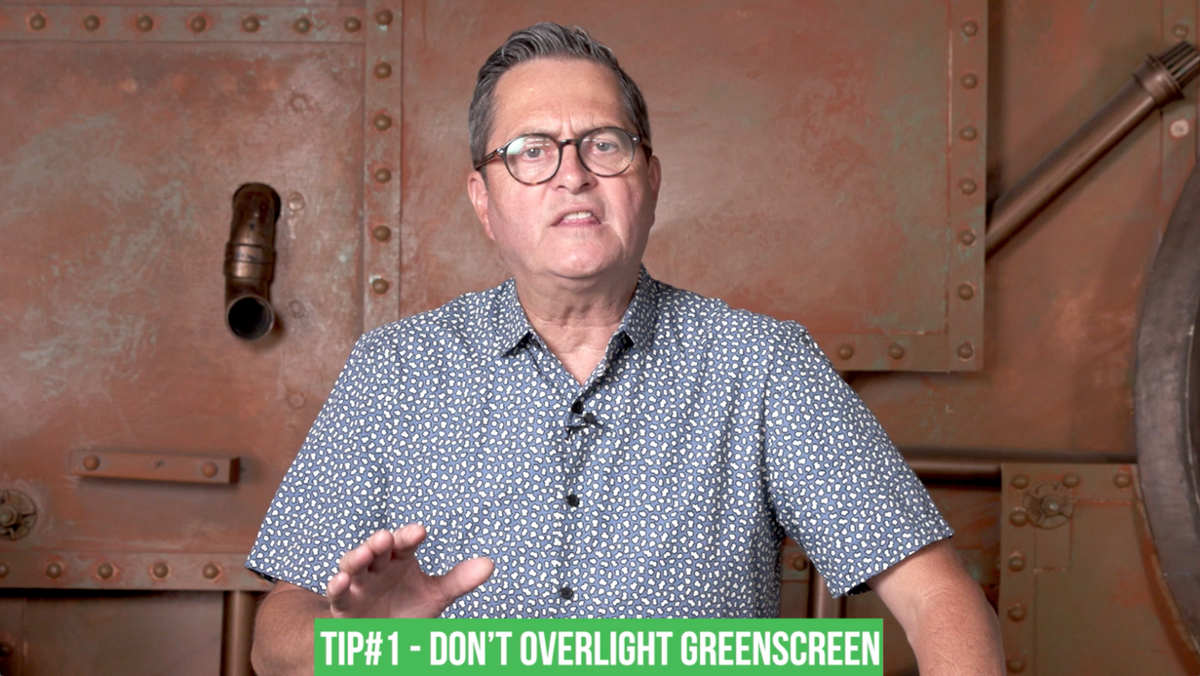

#1 Don’t Over light Greenscreens
Most people over light green screens and then with too much light, it can bounce back green into the hair, clothes of your subject matter and then it makes it just impossible to key it out.
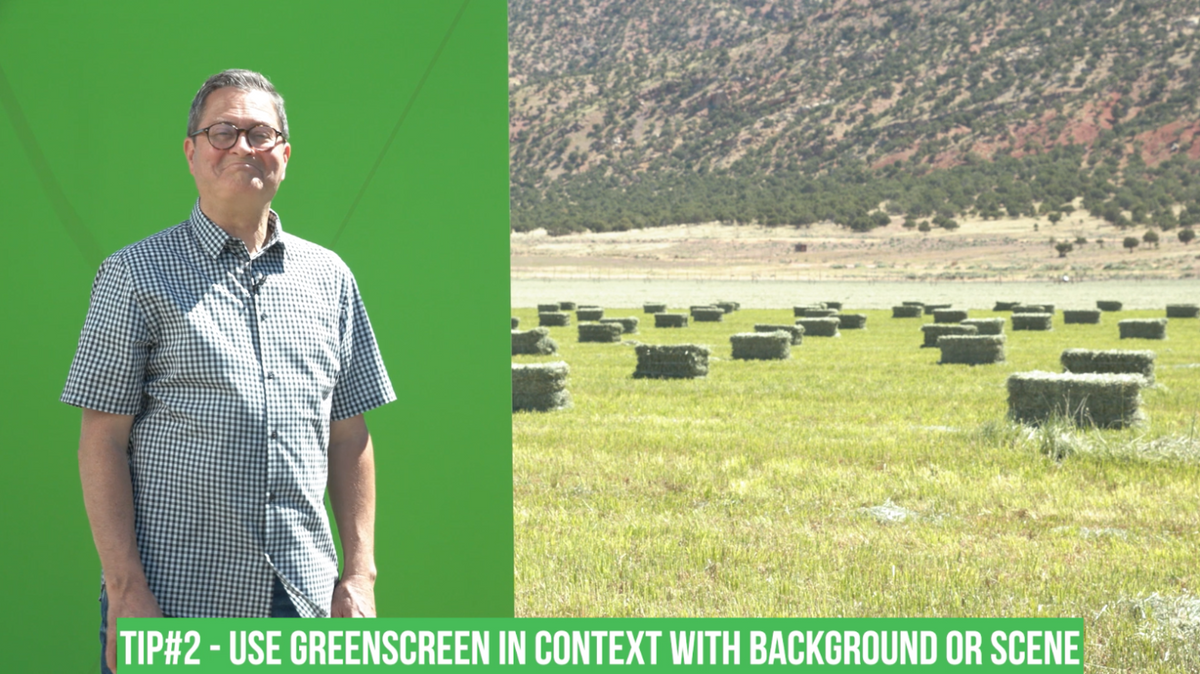
#2 Use Greenscreen in Context with Background or Scene
Once I am lit, I put the green screen in the scene and if I have to, I’ll just put a little kiss of light on it.
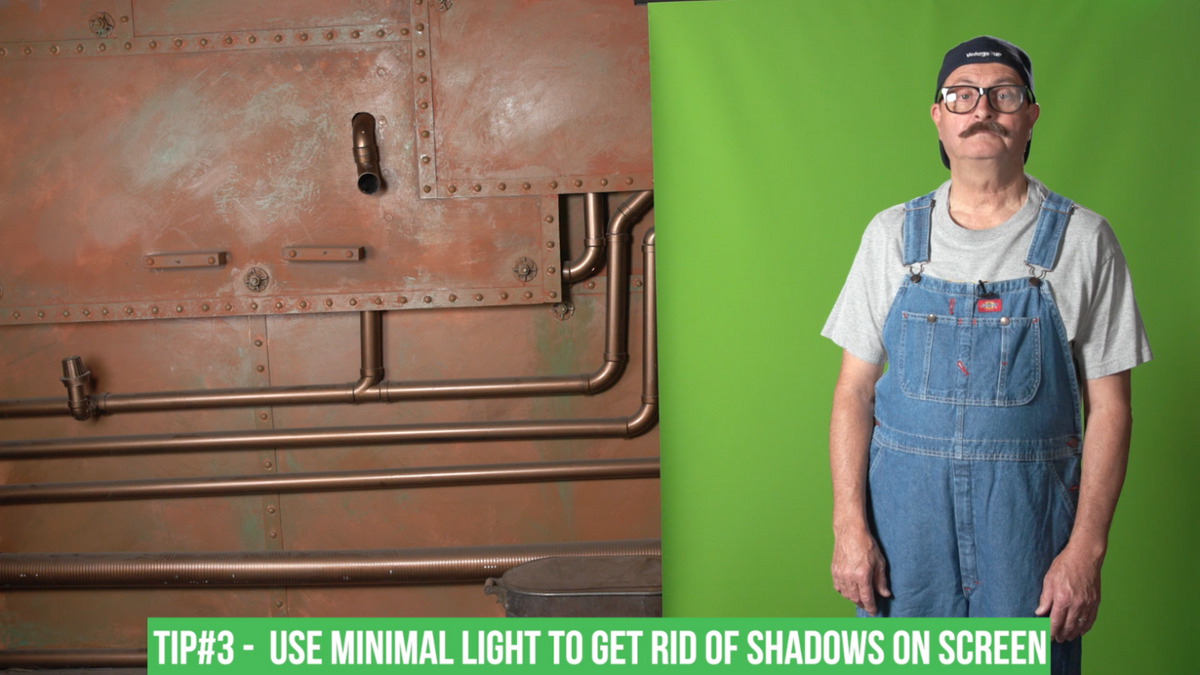
#3 Use Minimal Light to get Rid of Shadows on Screen
You can’t over light them and can’t over think them, and that gives you a clean enough outline to go in there, outline and be able to do your green screen. And if you set them up in the lighting situation that you are in, you’re overcoming the biggest problem people have with green screens, and that is, the background and foreground can have completely different lighting.
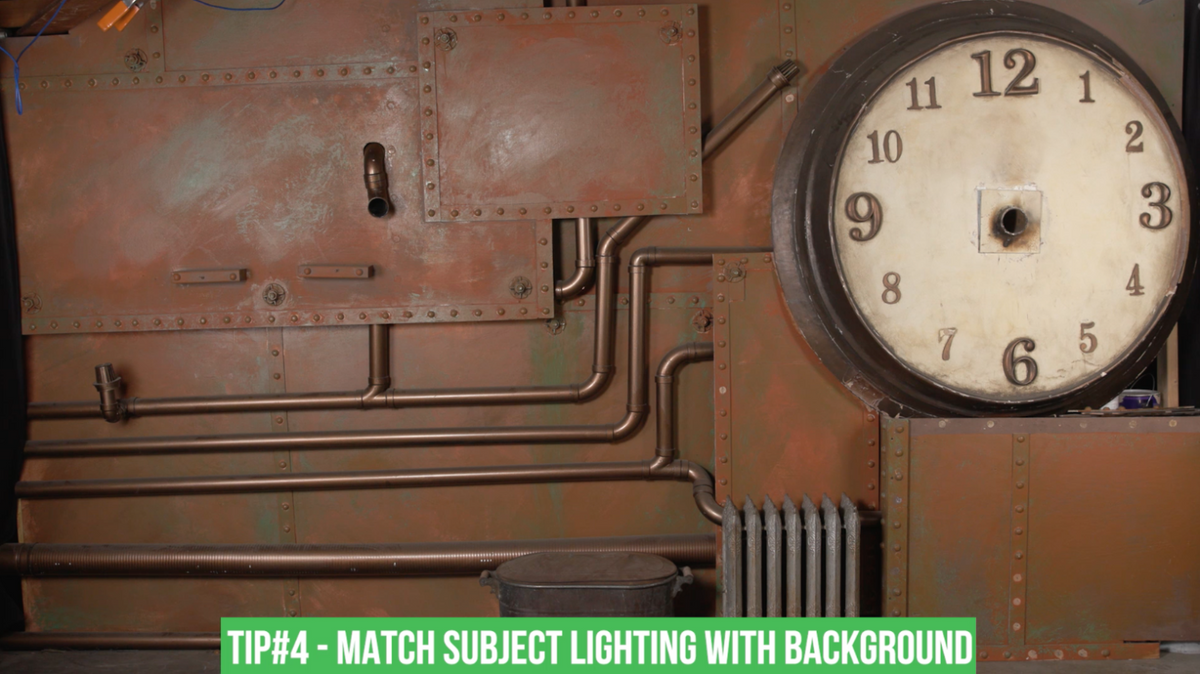
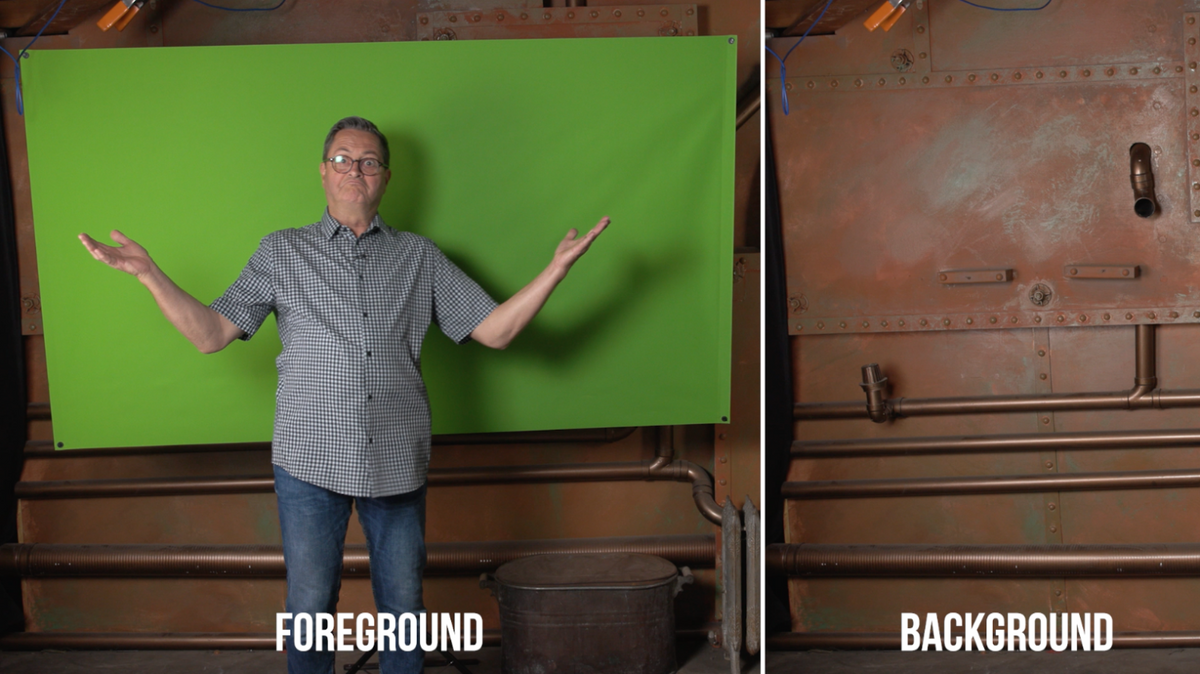
#4 Match Lighting Subject with Background
Take a minute to look at the light. Figure out what direction it’s coming from, how hard is it, how much shadow does it have in it? Look at those things as you light your subject so they look like they belong in the scene.
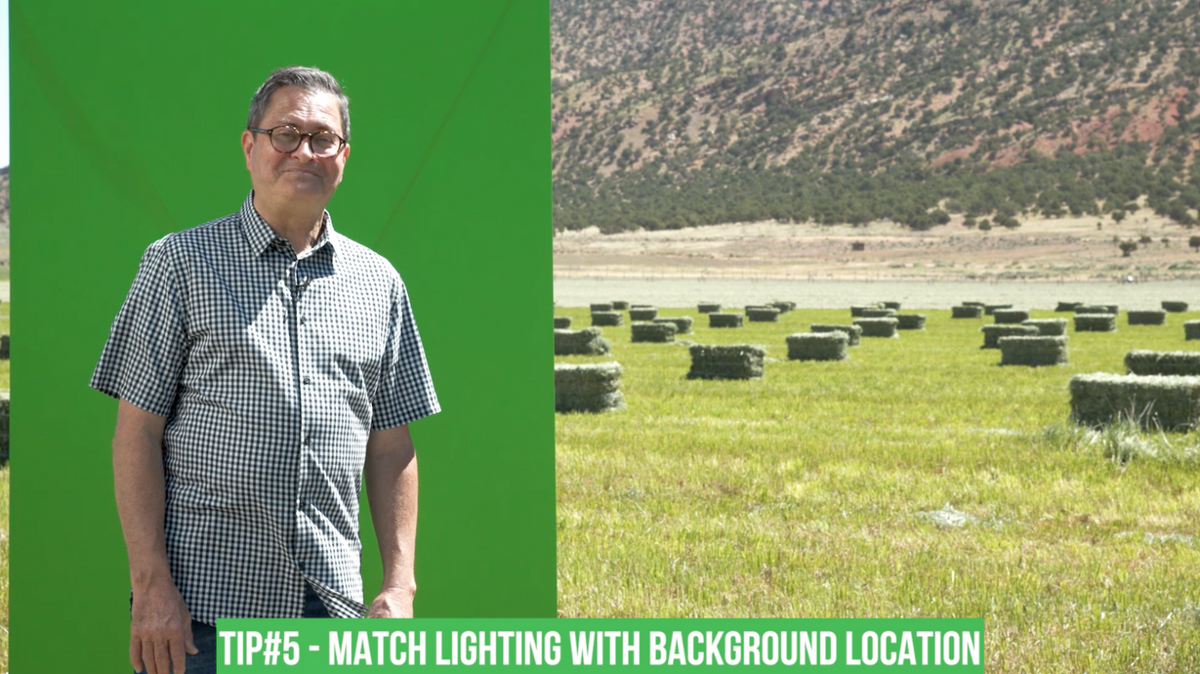

#5 Match Lighting with Background Location
Walk outside and get the same kind of light that is going to be in that scene. Take the harshness, direction and shadows into consideration and make them look correct in the scene.
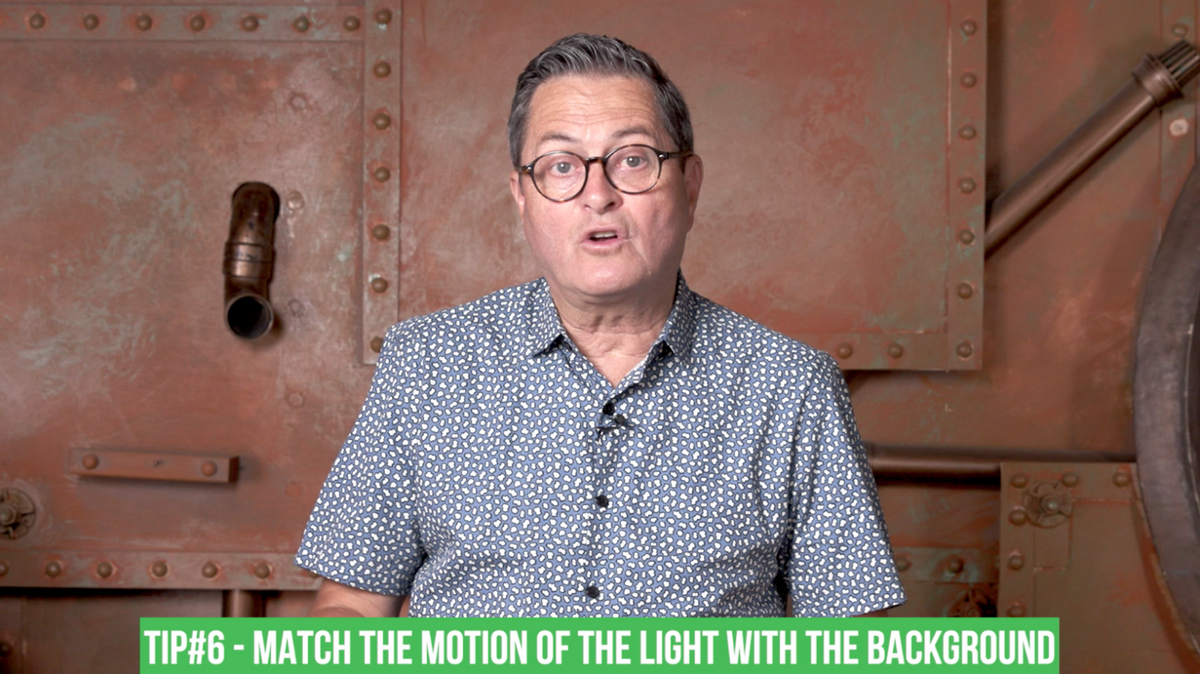
#6 Match The Motion of the Light with the Background
If you have a street light or cars going by, you have to create some action in your green screen and that can mean you have a light you just pan across your subject matter, so it looks like a car just went by in the background. If you can do something that creates a connection from your foreground to your background, then it really helps to create a reality there.
Conclusion
So there is a look at the Creator 95 and the Explorer 90. 2 great portable green screen options. Don’t be afraid of green screens! It’s not that difficult to do and it’s certainly better with a portable screen!
Keep those cameras rolling and keep on clickin!
Enter the GIVEAWAY: https://gleam.io/wUAlq/enter-to-win-a-tamron-35150mm-lens
Valera Explorer 90 https://streamvalera.com/collections/explorer/products/valera-explorer-90
Valera Creator 95 https://streamvalera.com/products/valera-creator-95
Follow The Slanted Lens-
Facebook: https://www.facebook.com/theslantedlens
Twitter: https://twitter.com/theslantedlens
Instagram: https://instagram.com/theslantedlens
—
GEAR USED:
Valera Explorer 90 https://streamvalera.com/collections/explorer/products/valera-explorer-90
Valera Creator 95 https://streamvalera.com/products/valera-creator-95
Shop Jay P’s Gear: https://www.amazon.com/shop/theslantedlens
Jay P’s Gear @ B&H: https://bhpho.to/2ES90Eb