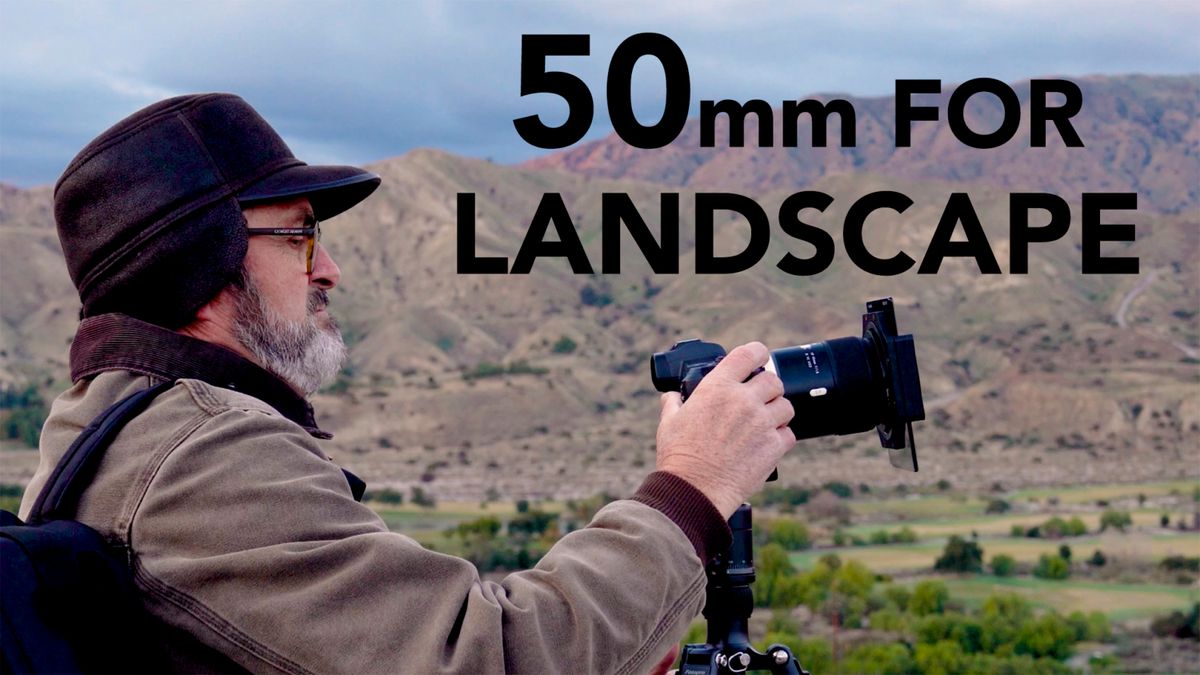
All You Need for Landscape Photography is a 50mm Lens
Morgan
Today on The Slanted Lens we’re going to take a look at why a 50mm lens is the only lens you need for landscape photography.
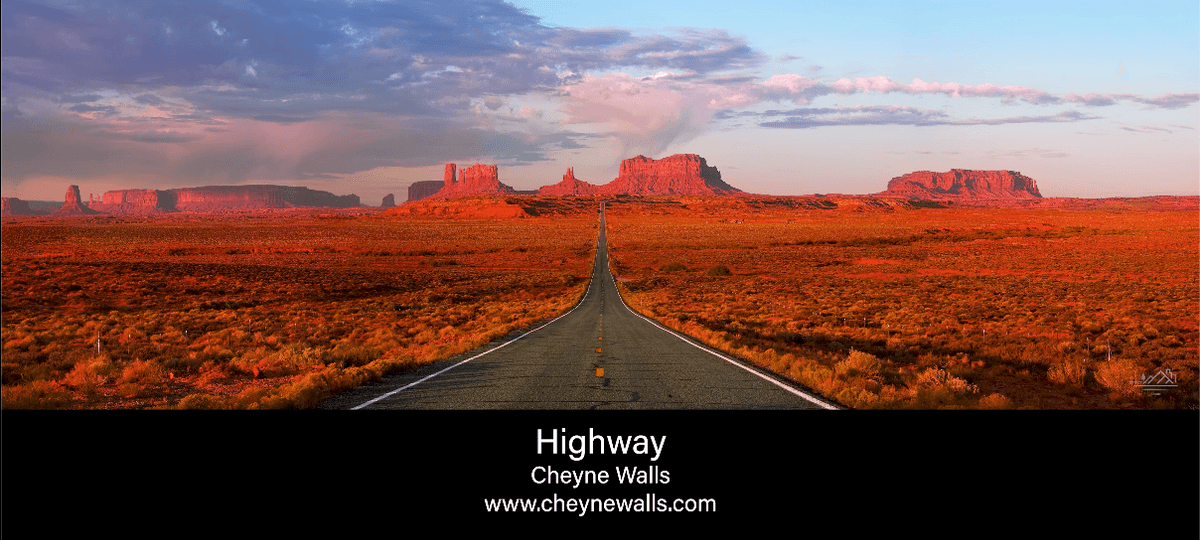
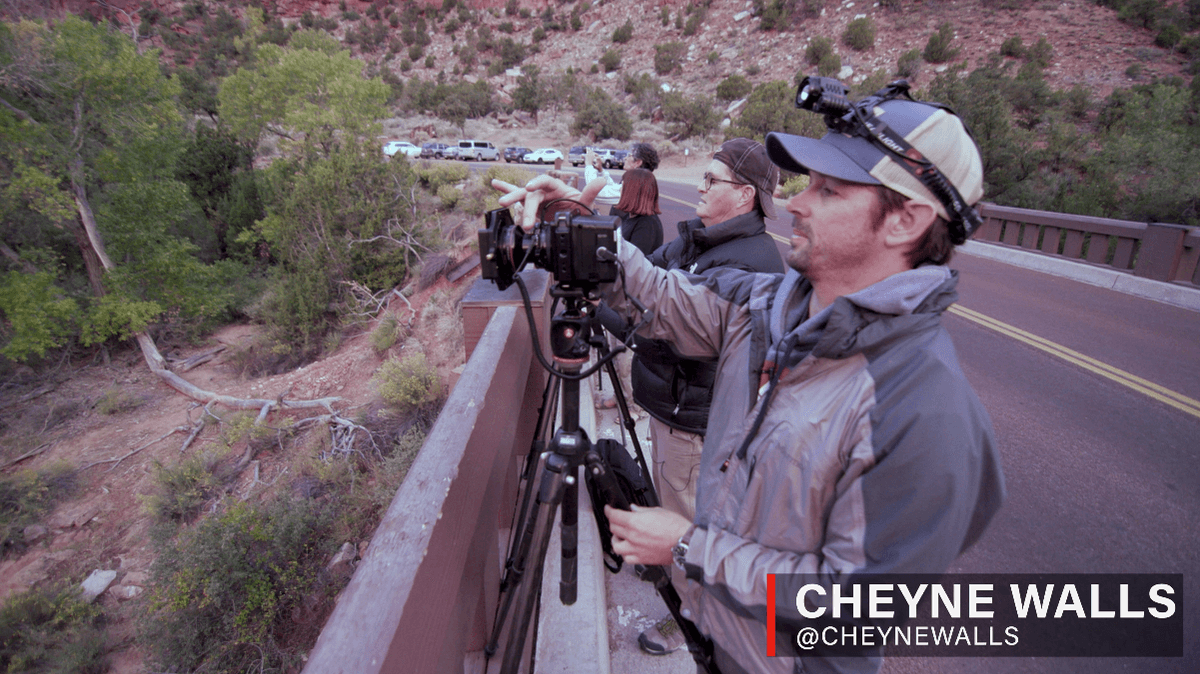
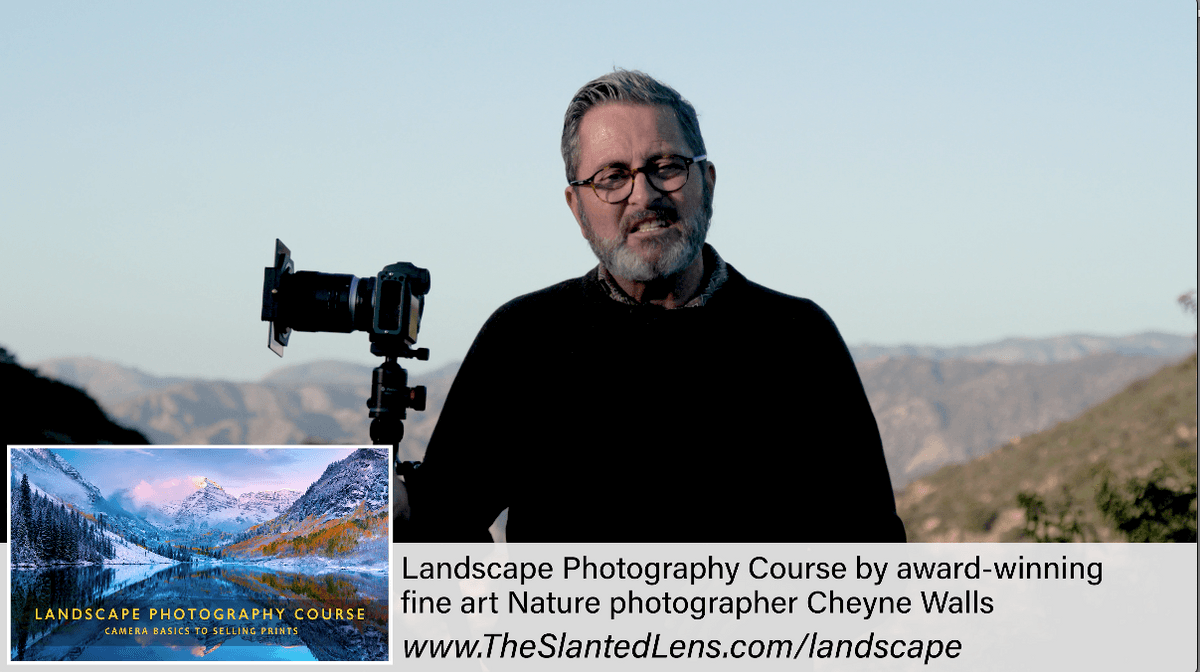
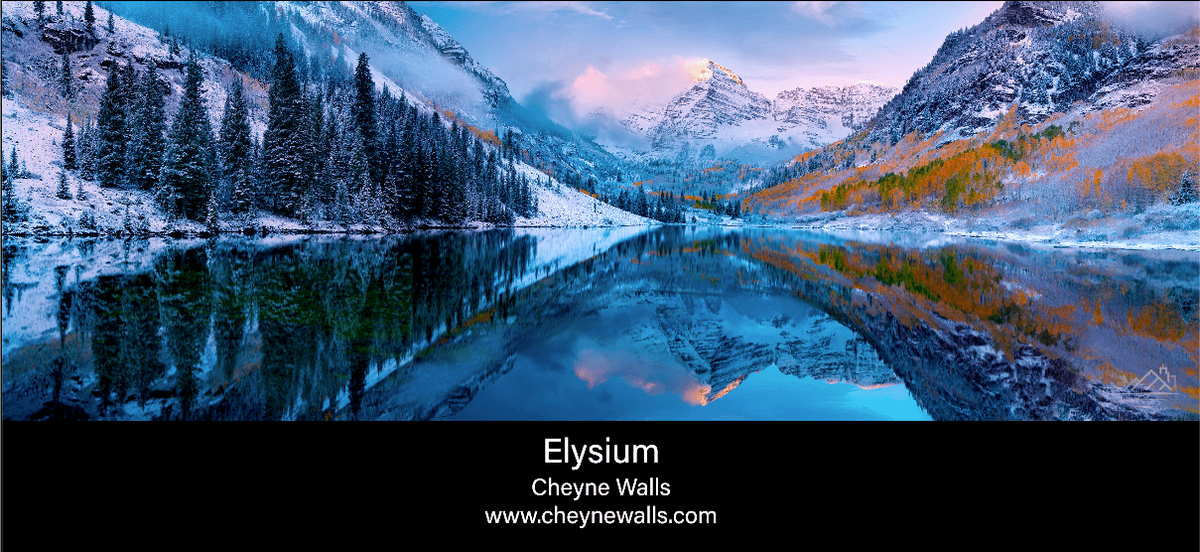
You might wonder why I say that? Well, when I was shooting with Cheyne Walls who is an excellent Landscape photographer, he only shot with a 50 millimeter equivalent on his Alpa 12 TC and PhaseOne Back. (Get 20% off the Landscape Photography Course. Use code 20off.) I wondered, “Why do you only shoot with a 50 millimeter lens?” Well, here are the reasons why he shoots about 90% of his images with a 50 millimeter lens.
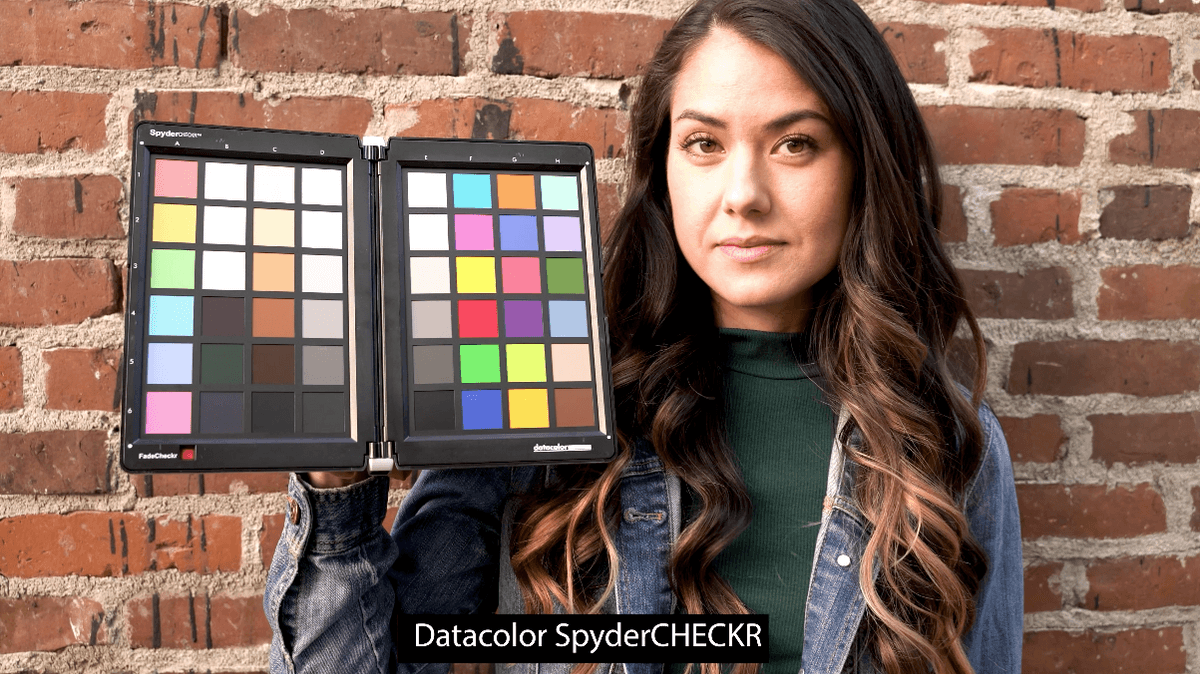
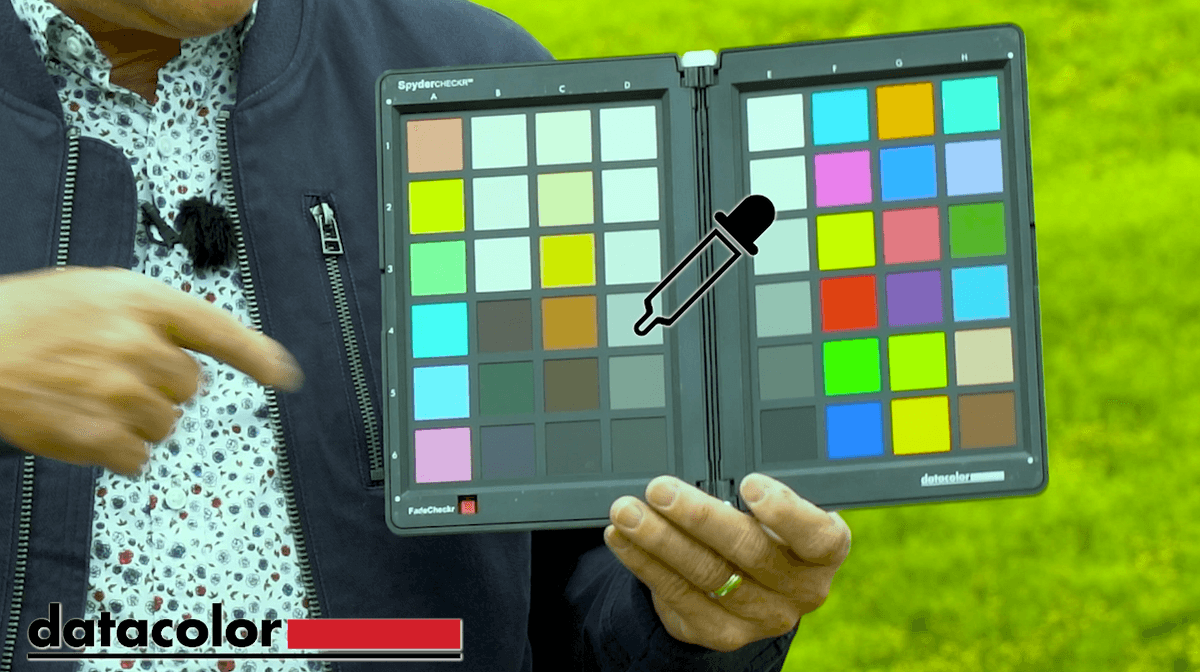
But first, today’s lesson is sponsored by Datacolor. I carry a SpyderCheckr with me everywhere I go. This Datacolor SpyderCheckr is a great little piece to put in the first frame if you’re doing a shoot. I can sample off that 18% gray for that first image. Now it gives me a great starting point for correcting color. I also put the SpyderCheckr into the first video clip that I shoot when I’m doing video. Then the editor has a place to sample from and they can correct the color. It just makes all your footage look so much better. So Datacolor SpyderCheckr, take it with you everywhere you go.
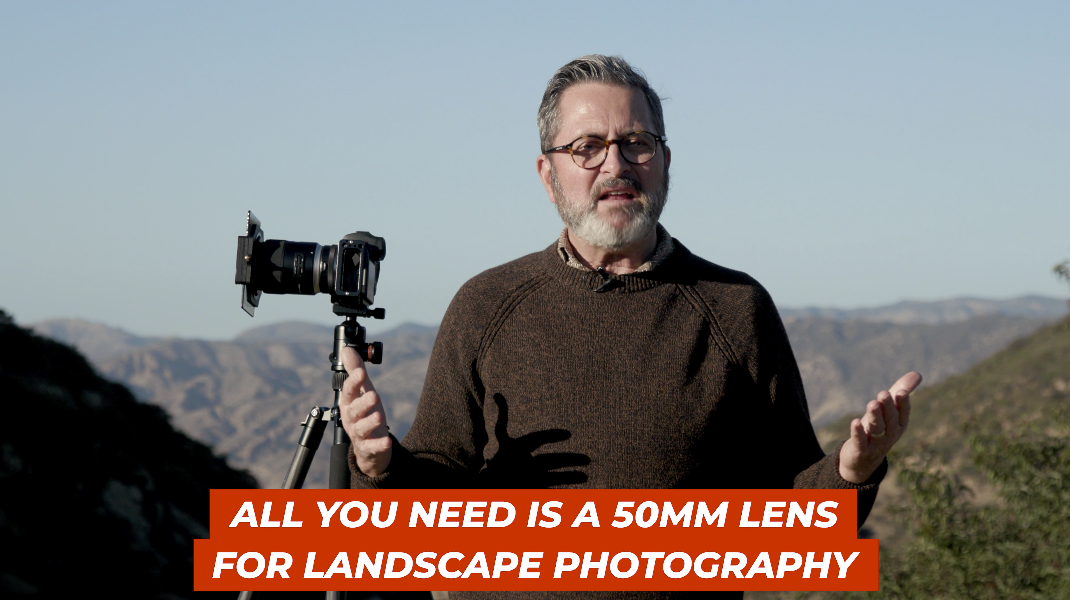
Now let’s talk about why use a 50 millimeter lens for Landscape Photography?
Well, it’s sharper. It’s a fixed focal length lens. It has a great fast aperture, if you get a good 50mm. It’s going to give you the same normal view that your eye sees. It’s lightweight, so you can carry it with you. It gives you the ability to move around. It makes you look and study your composition.
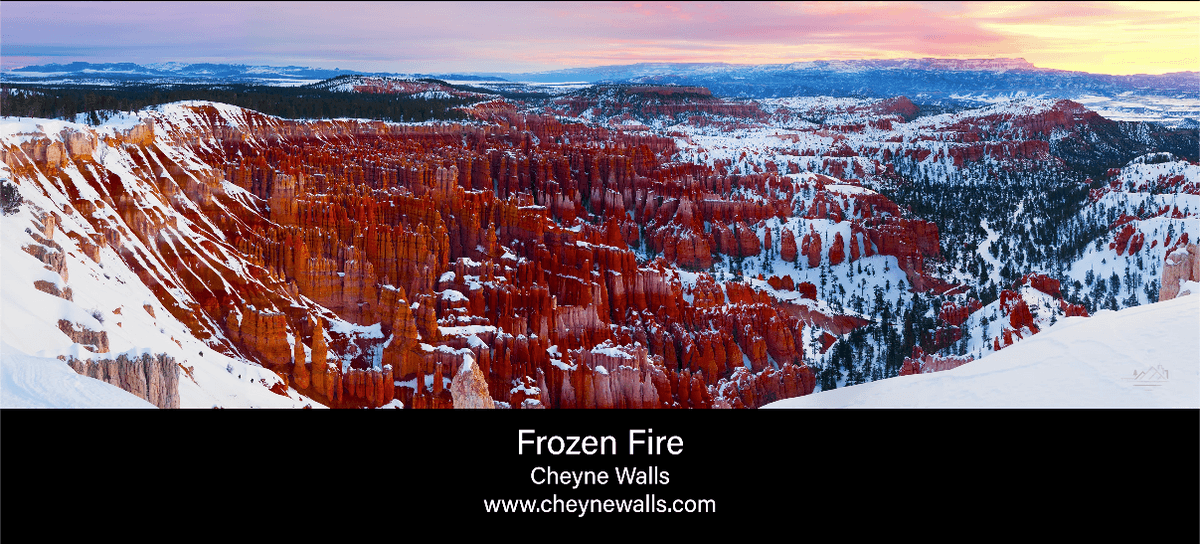
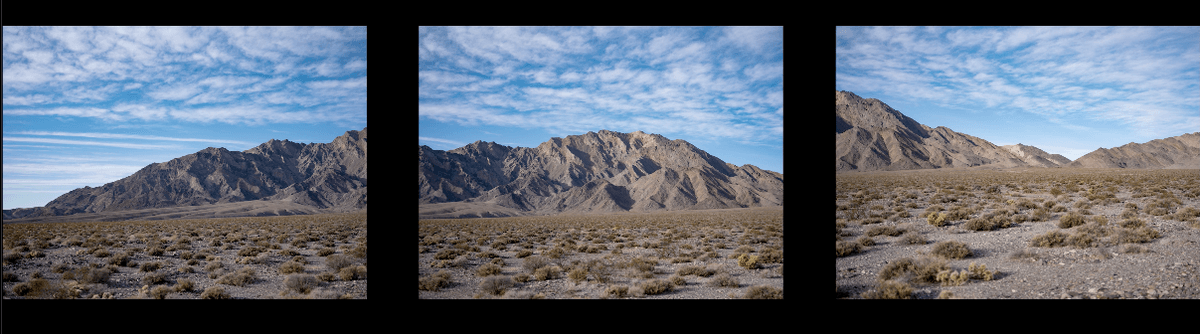
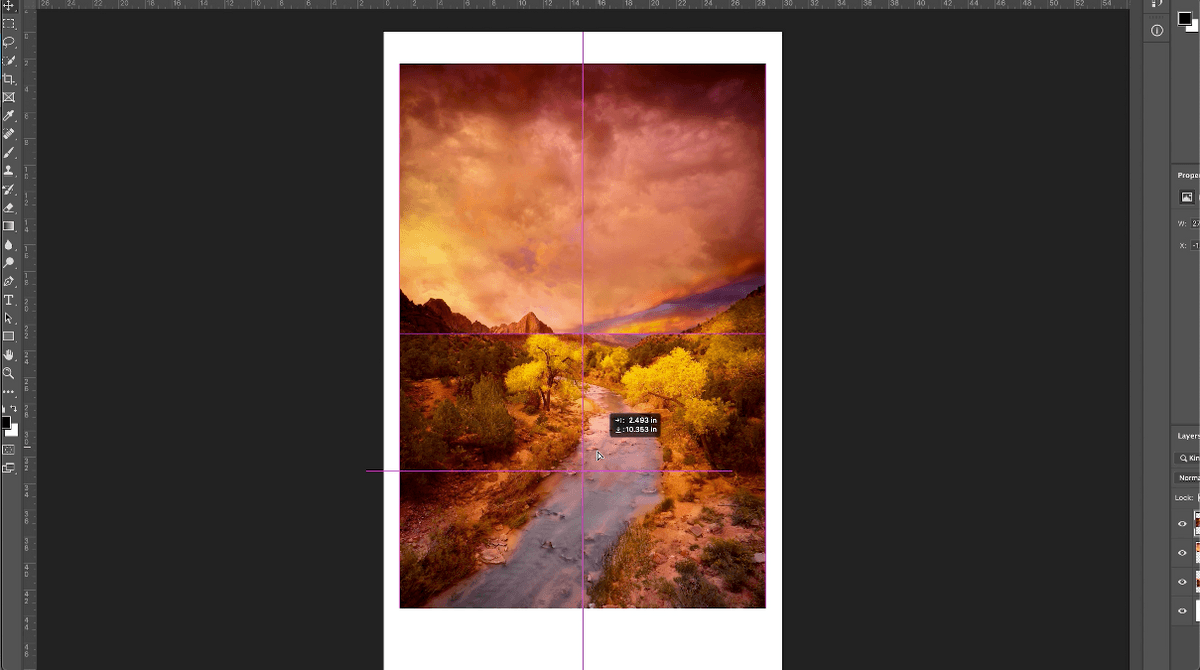
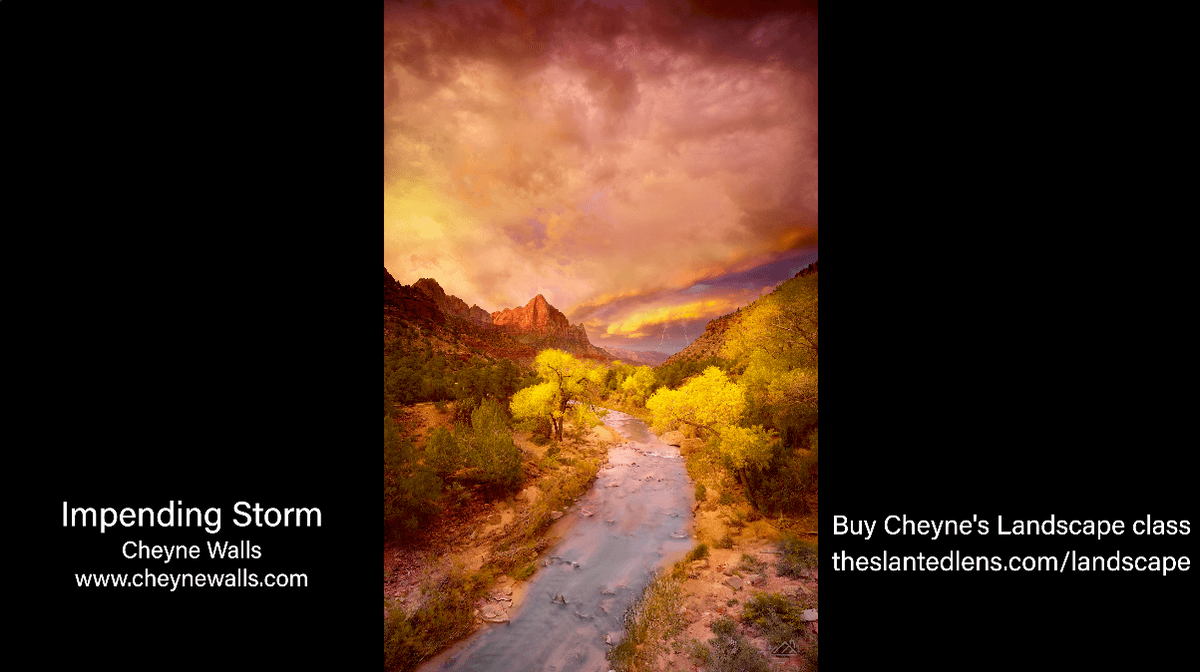
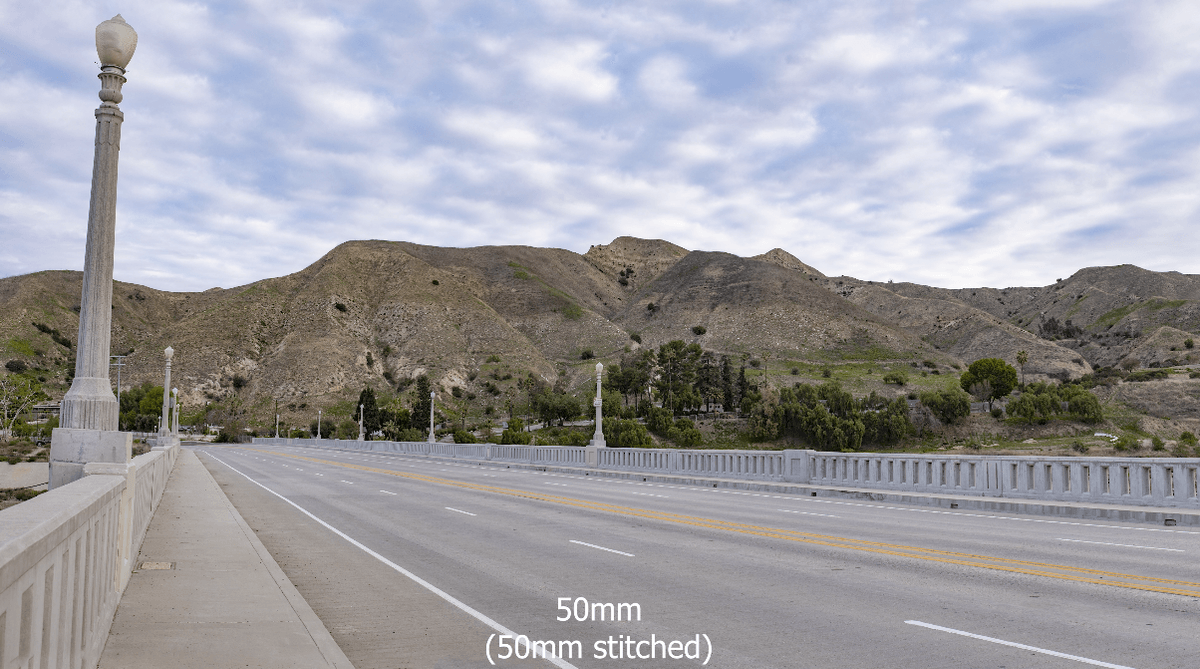
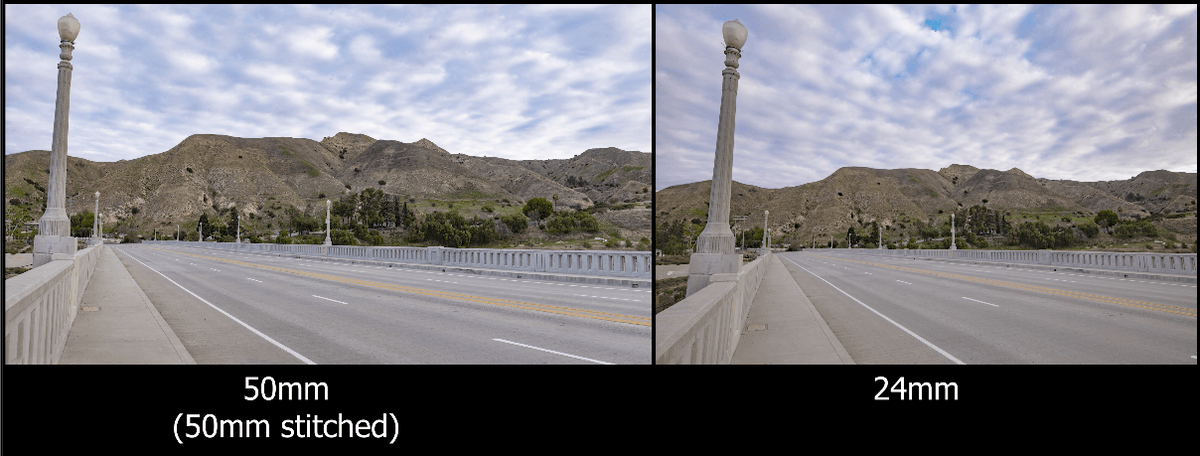
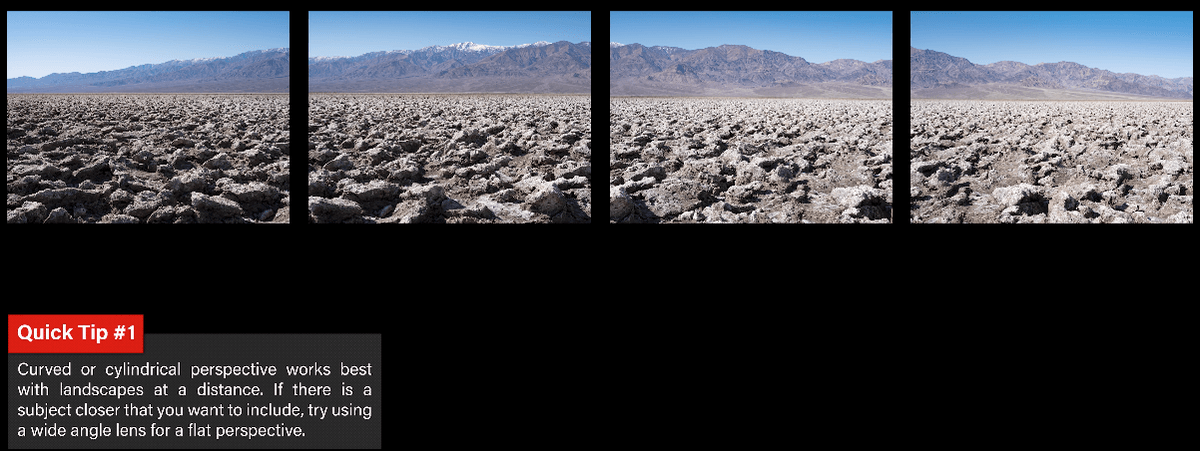
But the most important reason is because you can stitch your images together and give yourself a beautiful large canvas print with great detail by stitching images together. And that’s what Cheyne Walls does. He doesn’t just shoot a single 50 millimeter image. Just about every time he shoots three images. He shoots middle, right and left. Or he shoots middle, up and down. And he shoots a beautiful stitched image that he’ll put together later in Photoshop.
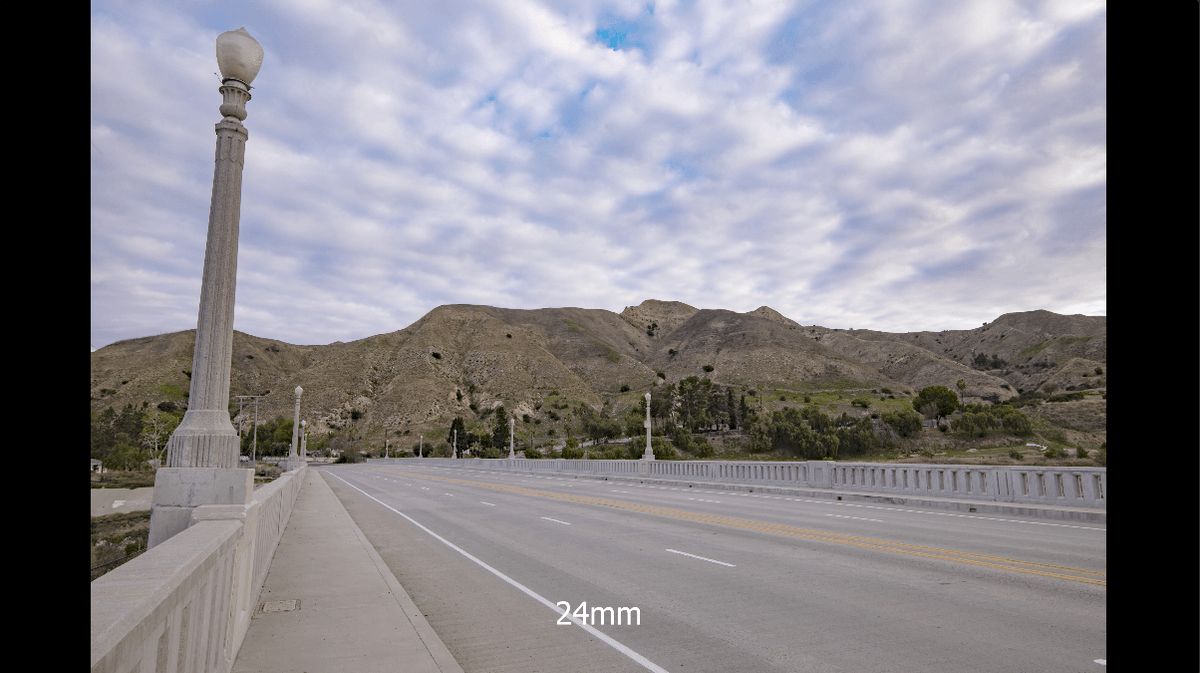
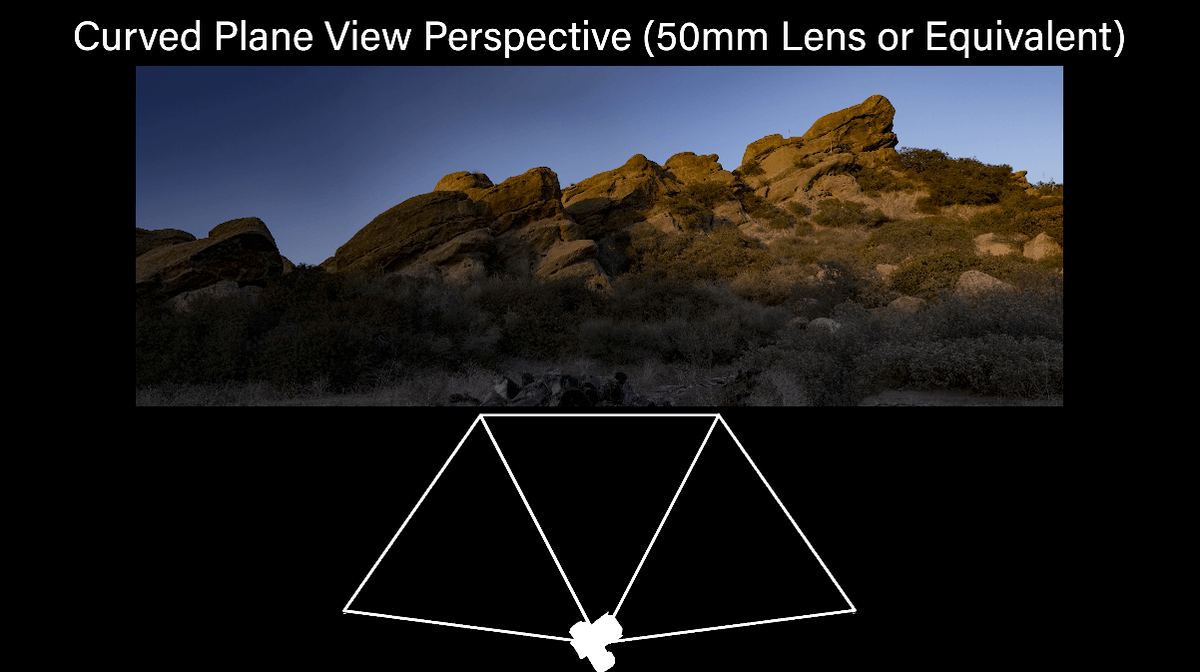
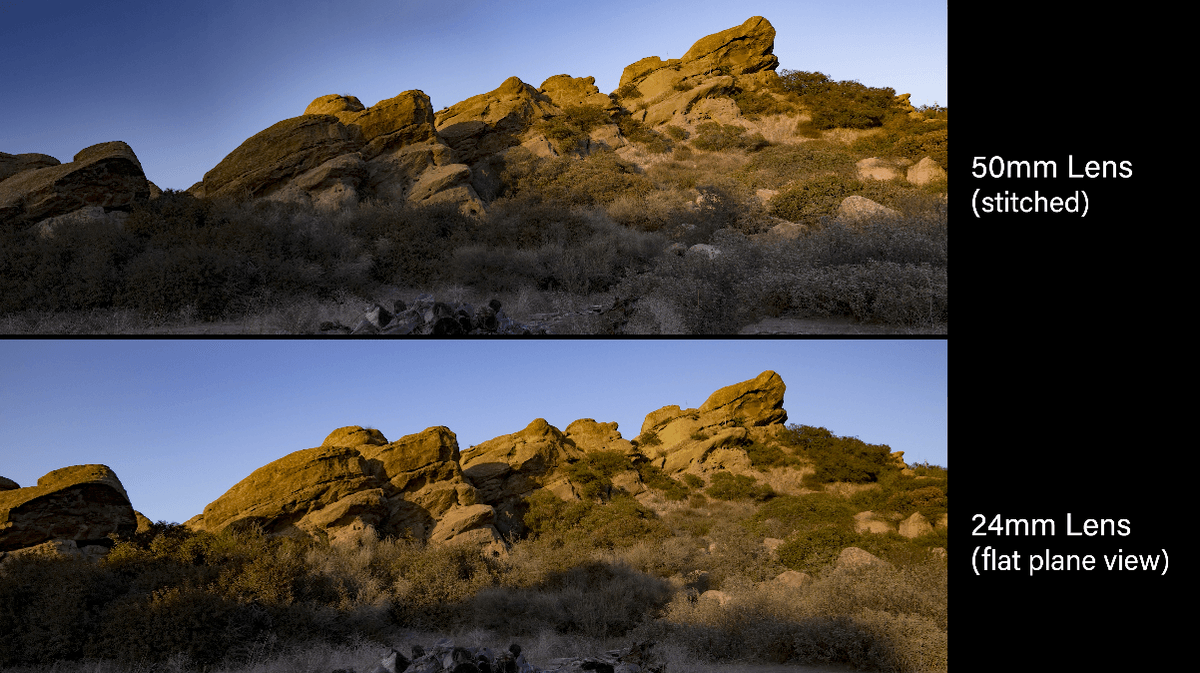
Now, there’s a reason why shooting the 3 images and stitching them together is such an important thing. It gives you a different perspective than, say, a 24mm. So when you’re shooting these three image sequences, it doesn’t distort the view when you shoot up, middle and down, because you’re giving it all a 50 millimeter normal view in each one of those angles. Now when you stitch those together, it’s as if you’re looking at that from the same 50 millimeter normal eye view of each one of those images. And now when you put them together, it gives you a very nice perspective of that scene.
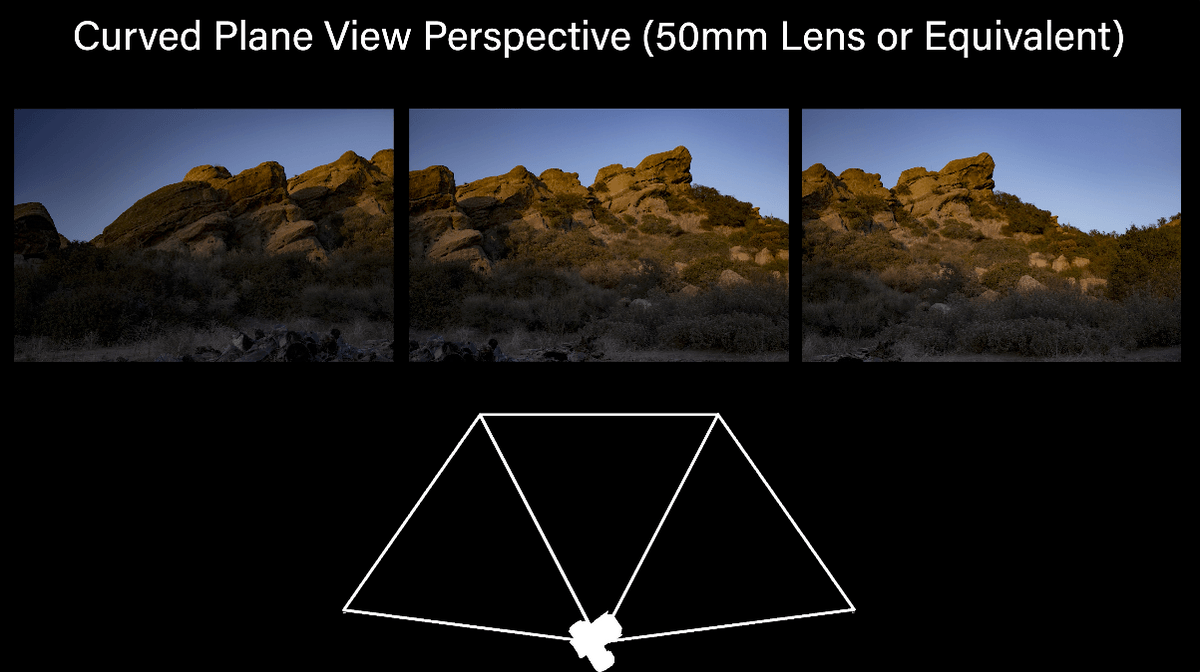
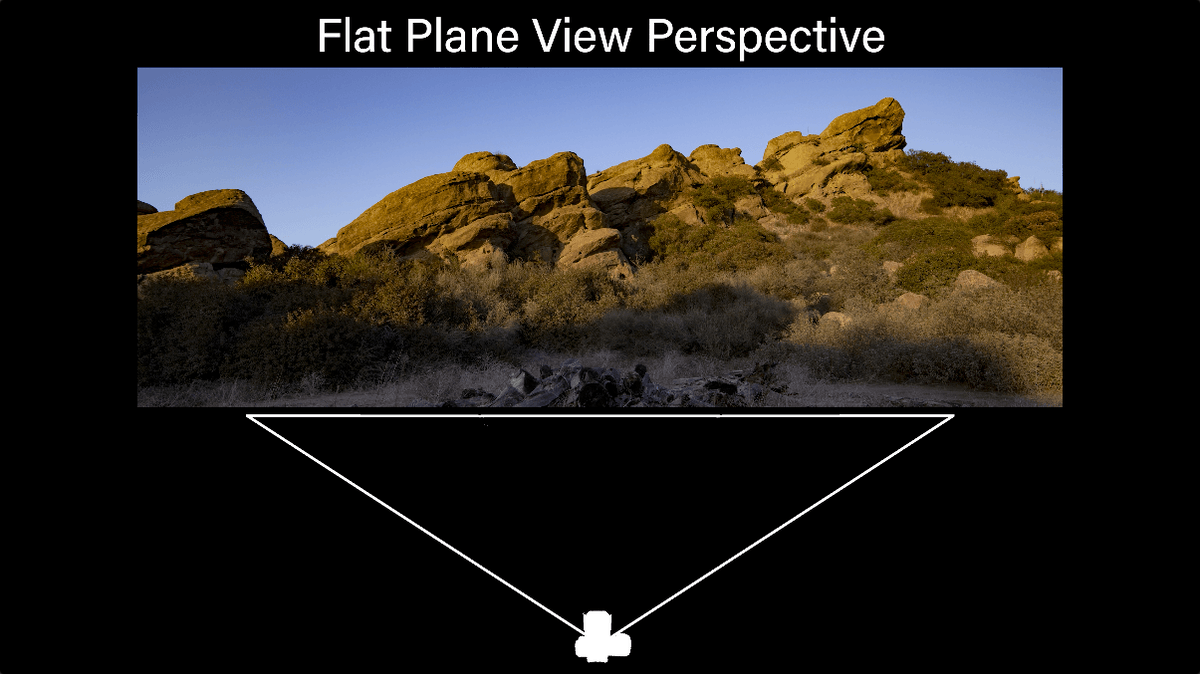
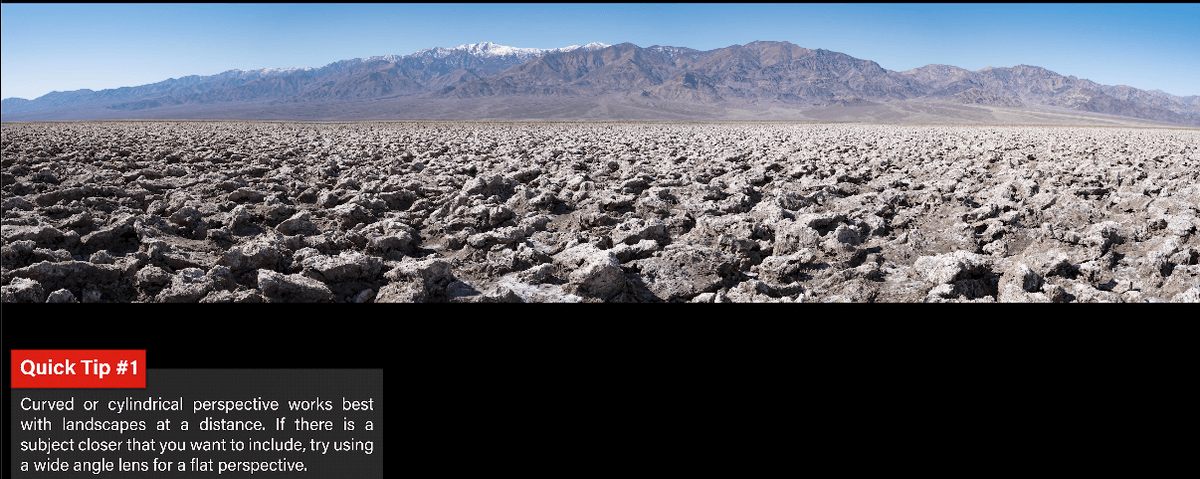
A 50mm shooting in three pieces gives you a curved plain view because your camera is centered and then you turn over to the left and the right. Those three normal views stitched together gives you a normal curve view perspective of the scene, and they look fabulous. A wide angle lens works on a flat plane view to give you a larger vista. Now you can say we, “I love the wide angle view, this is what I like”. That’s fine, if that’s the direction you want to go. But I think stitching the 50mm images together gives you incredible landscape photography. And that’s why I think a 50 millimeter lens is the only lens you really need when you’re doing landscape photography. If you like this stuff, you should check out Cheyne Wall’s download where he talks about everything he does as far as his camera setup, the way he meters and everything he does to be able to get great landscapes.
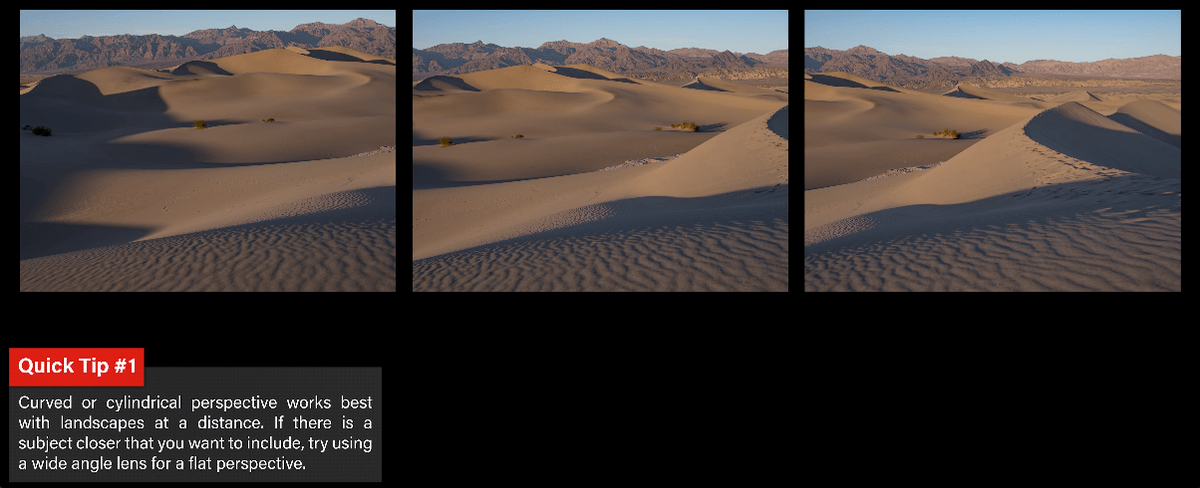
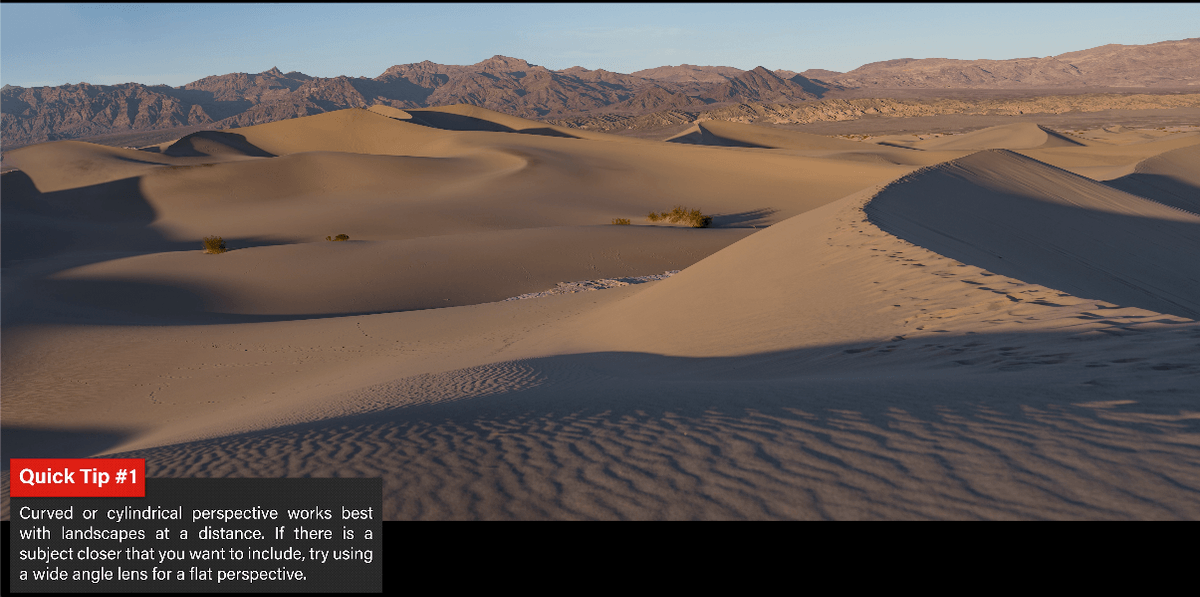
So the cylindrical perspective works a little better with things that are a bit further away from you. You can have things like in Death Valley shot of sand dunes, where the sand is coming right up to you. That’s okay. You can have perspective in the foreground, that pushes out to the background. But it’s just a matter of sometimes a little more distance is going to make that cylindrical perspective look really good. If you have things really close to you that you really want to be a part of the image, you might need to go to a linear perspective to be able to get that. But most of the things I’m shooting, I think that a cylindrical perspective looks great.
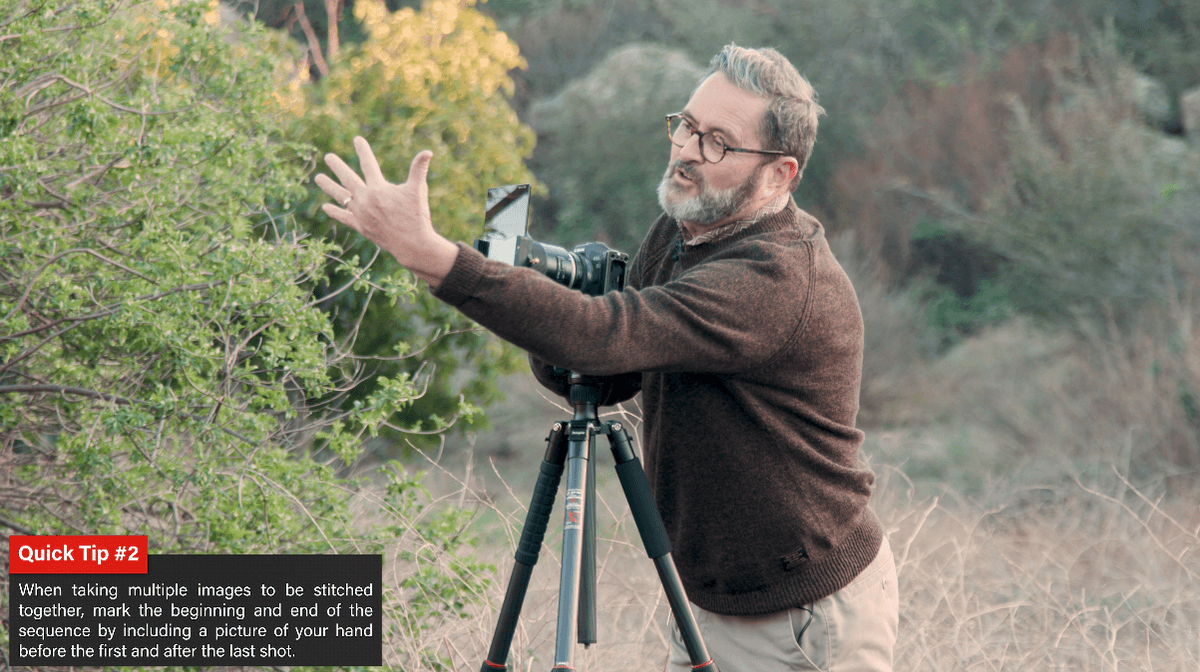
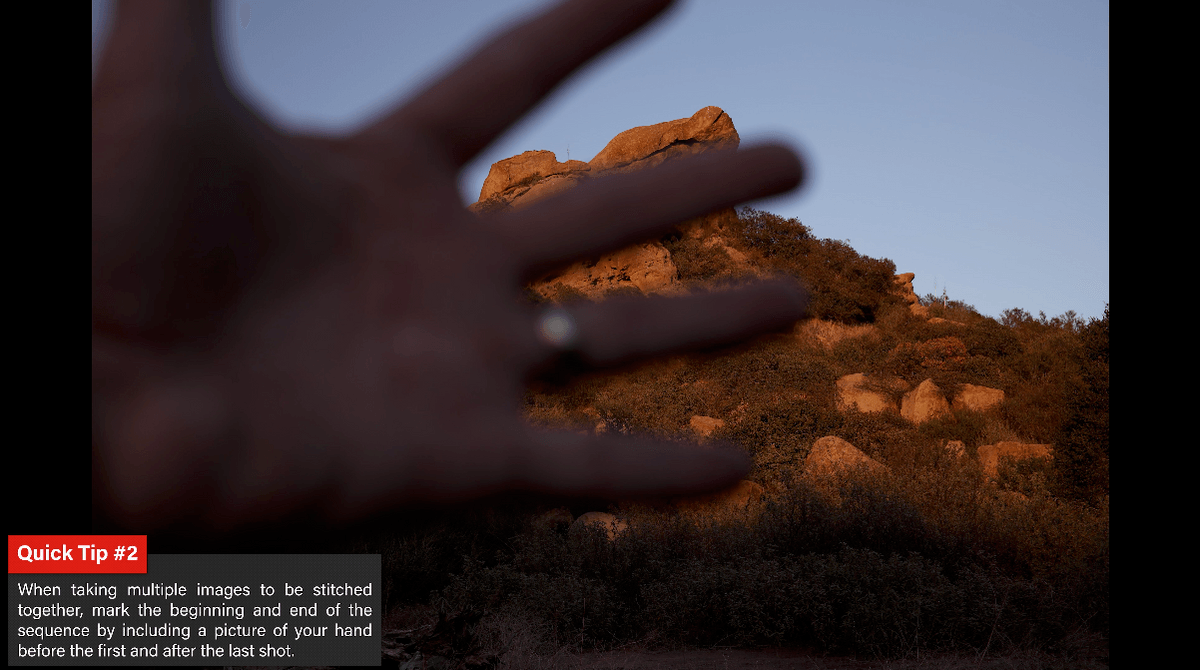
Another quick tip, when I’m going to stitch images together, I always do the first shot with my hand in front of the lens. Then I know that the next three images or four images go together. Then the last thing I do is I’m going to photograph my hand at the end of the series. Now I’m going to take those four images and I’m going to stitch them together.
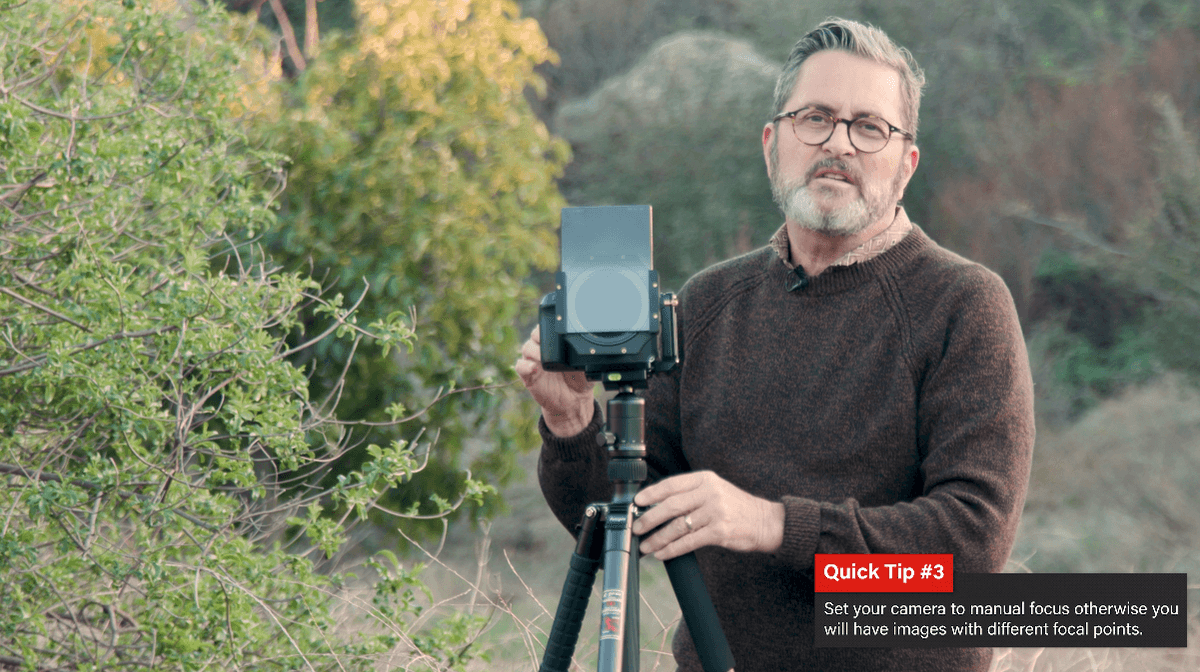
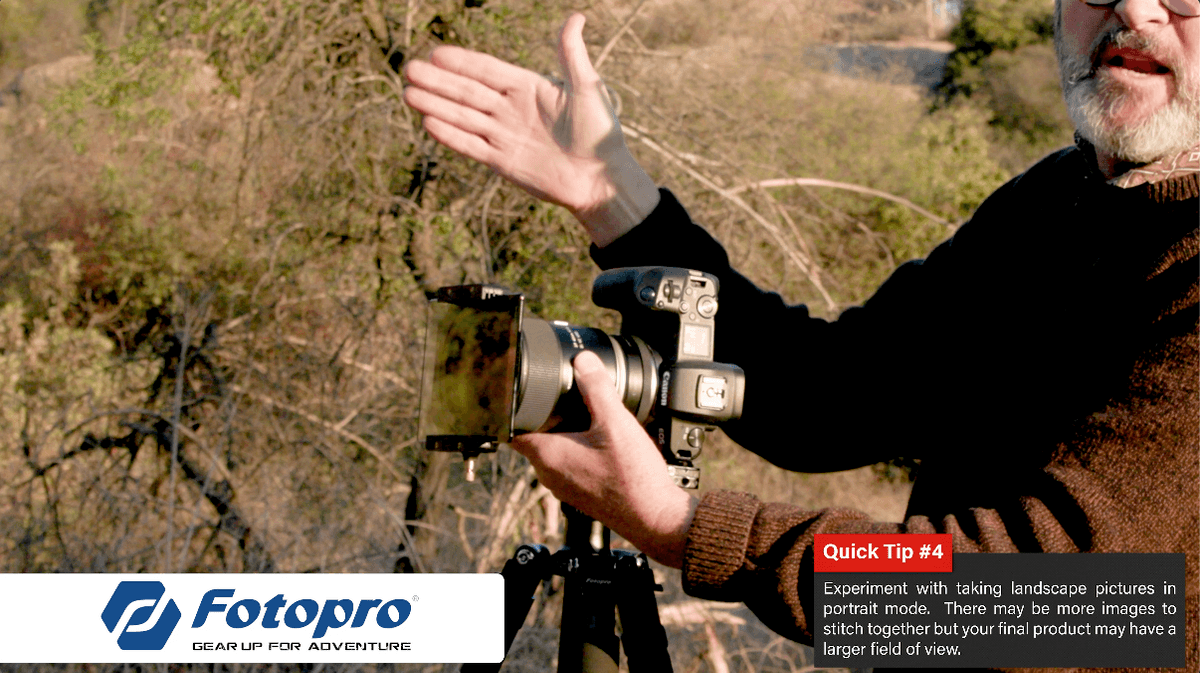
I also do not leave it on any kind of autofocus function because it’s going to change a little bit. I focus the first one. Then I make sure it is on manual focus if I started off using autofocus for the first image. Then I leave it on manual for the rest of the series. Remember, you don’t have to shoot this panoramic always in a horizontal fashion. If you are in too close, just take this camera, drop it to the side and do the images as vertical images. Now make sure you shoot plenty of images so they stitch together correctly. Now you can have a much taller view because if you’re in too tight, you’re not going to be able to see the whole scene unless you go to vertical. That works great.
So there you go. Get out there and shoot some cylindrical perspective landscape images, stitch them together and see what you think. I think you’re going to like it.