Why would you use four different cameras on set when recording a performance video? Well here’s why and how.
 The reason we shot this with several different cameras is very simple. It’s very difficult for performers to go through a physically demanding routine like this over and over again so we can get different angles.
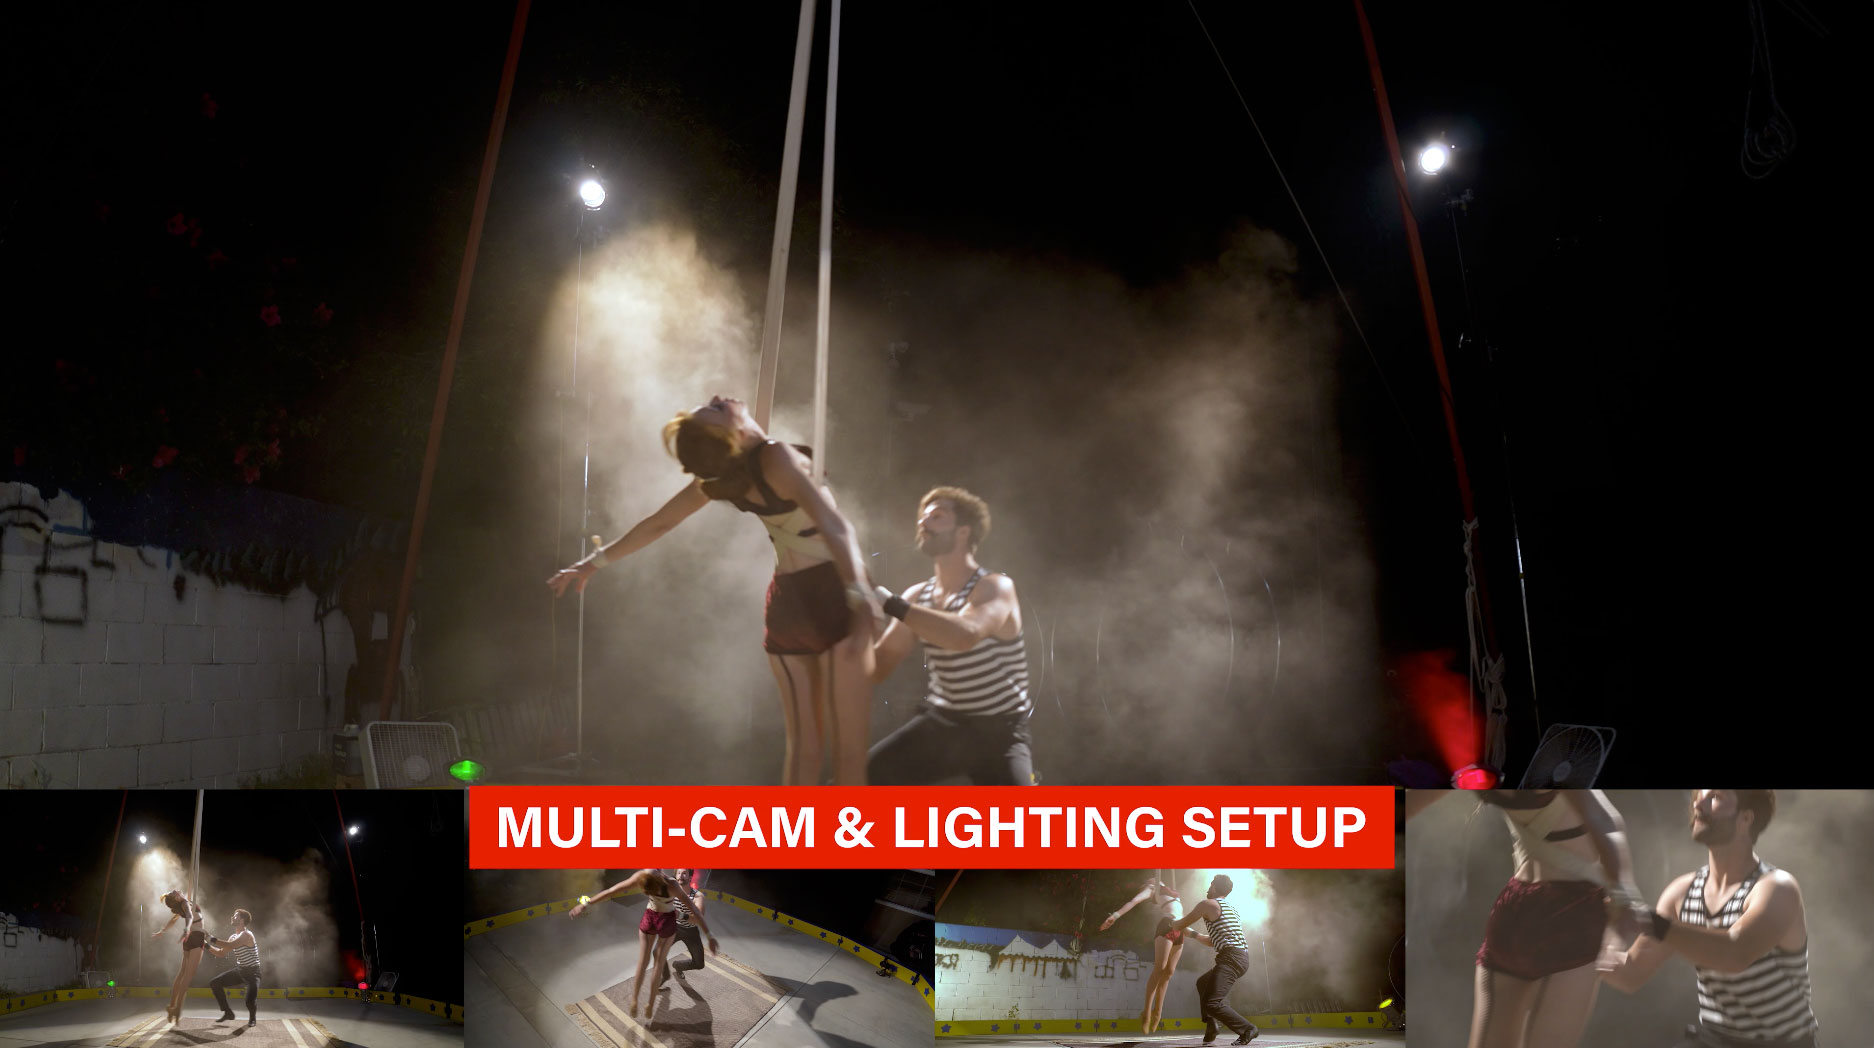
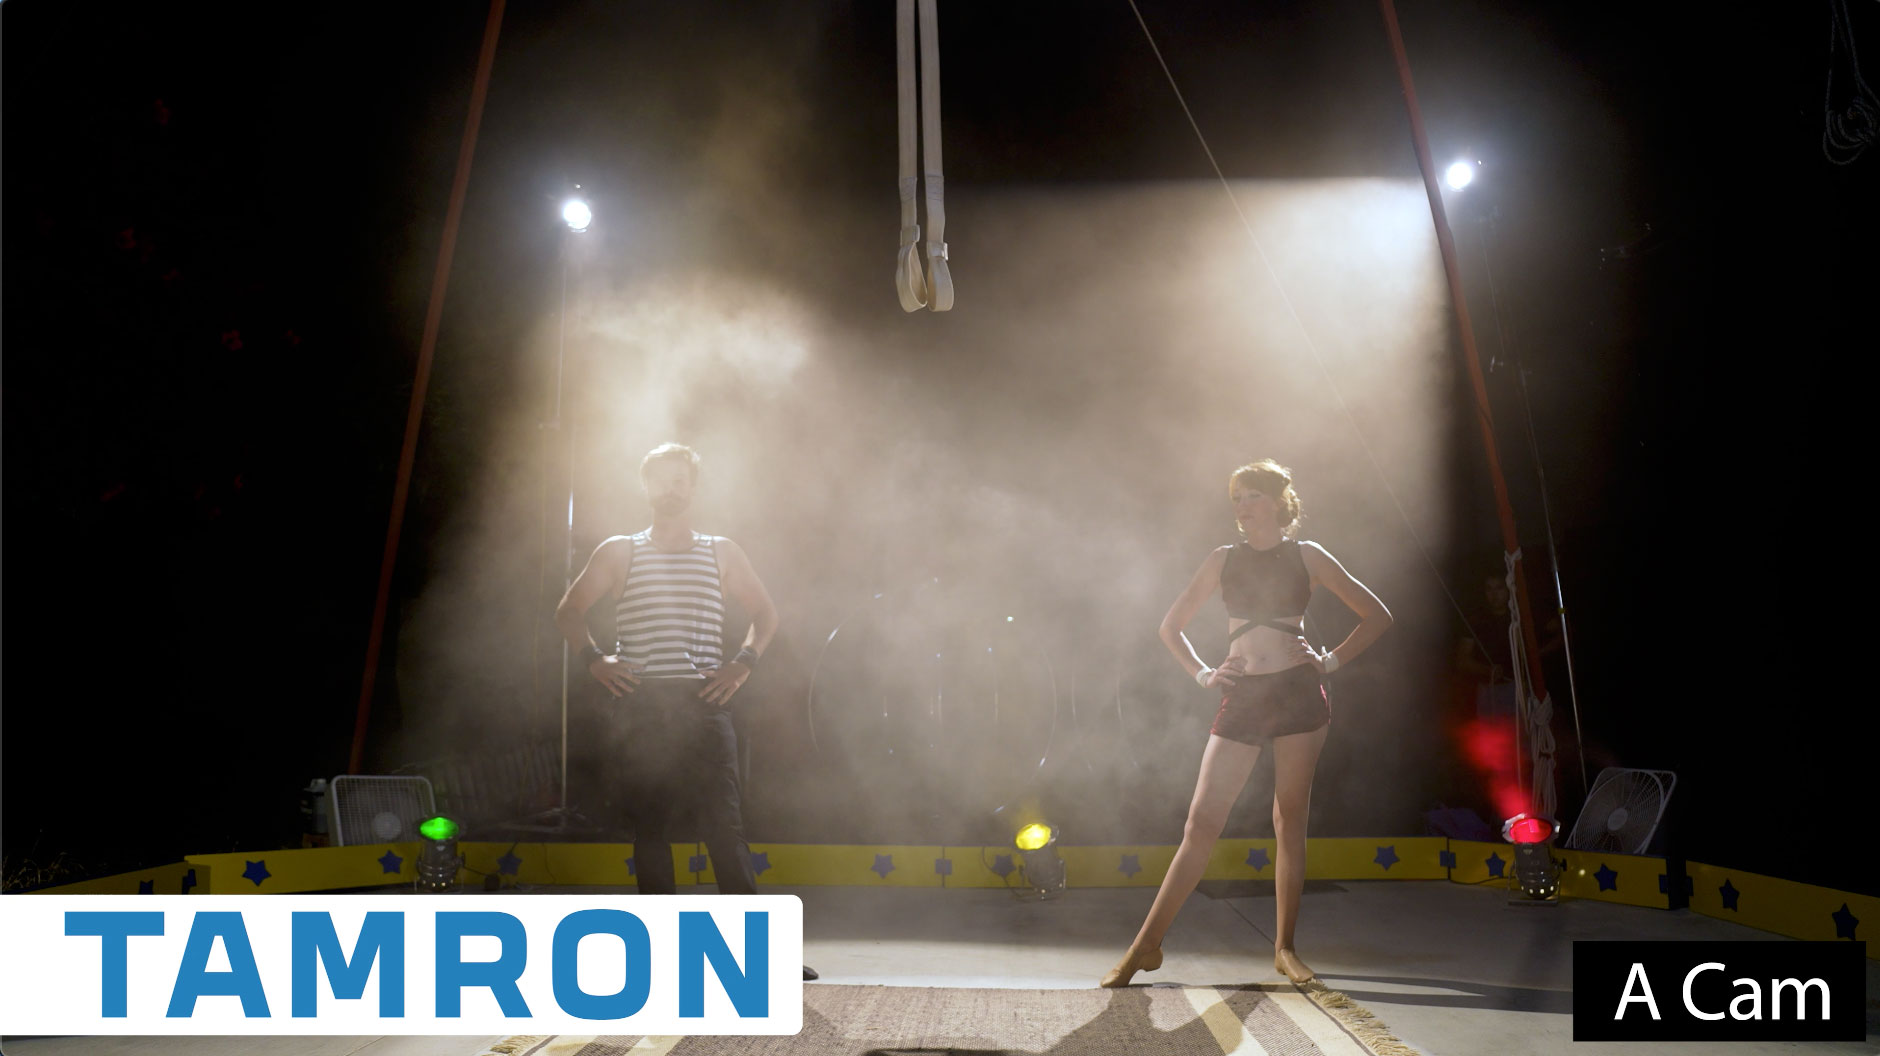
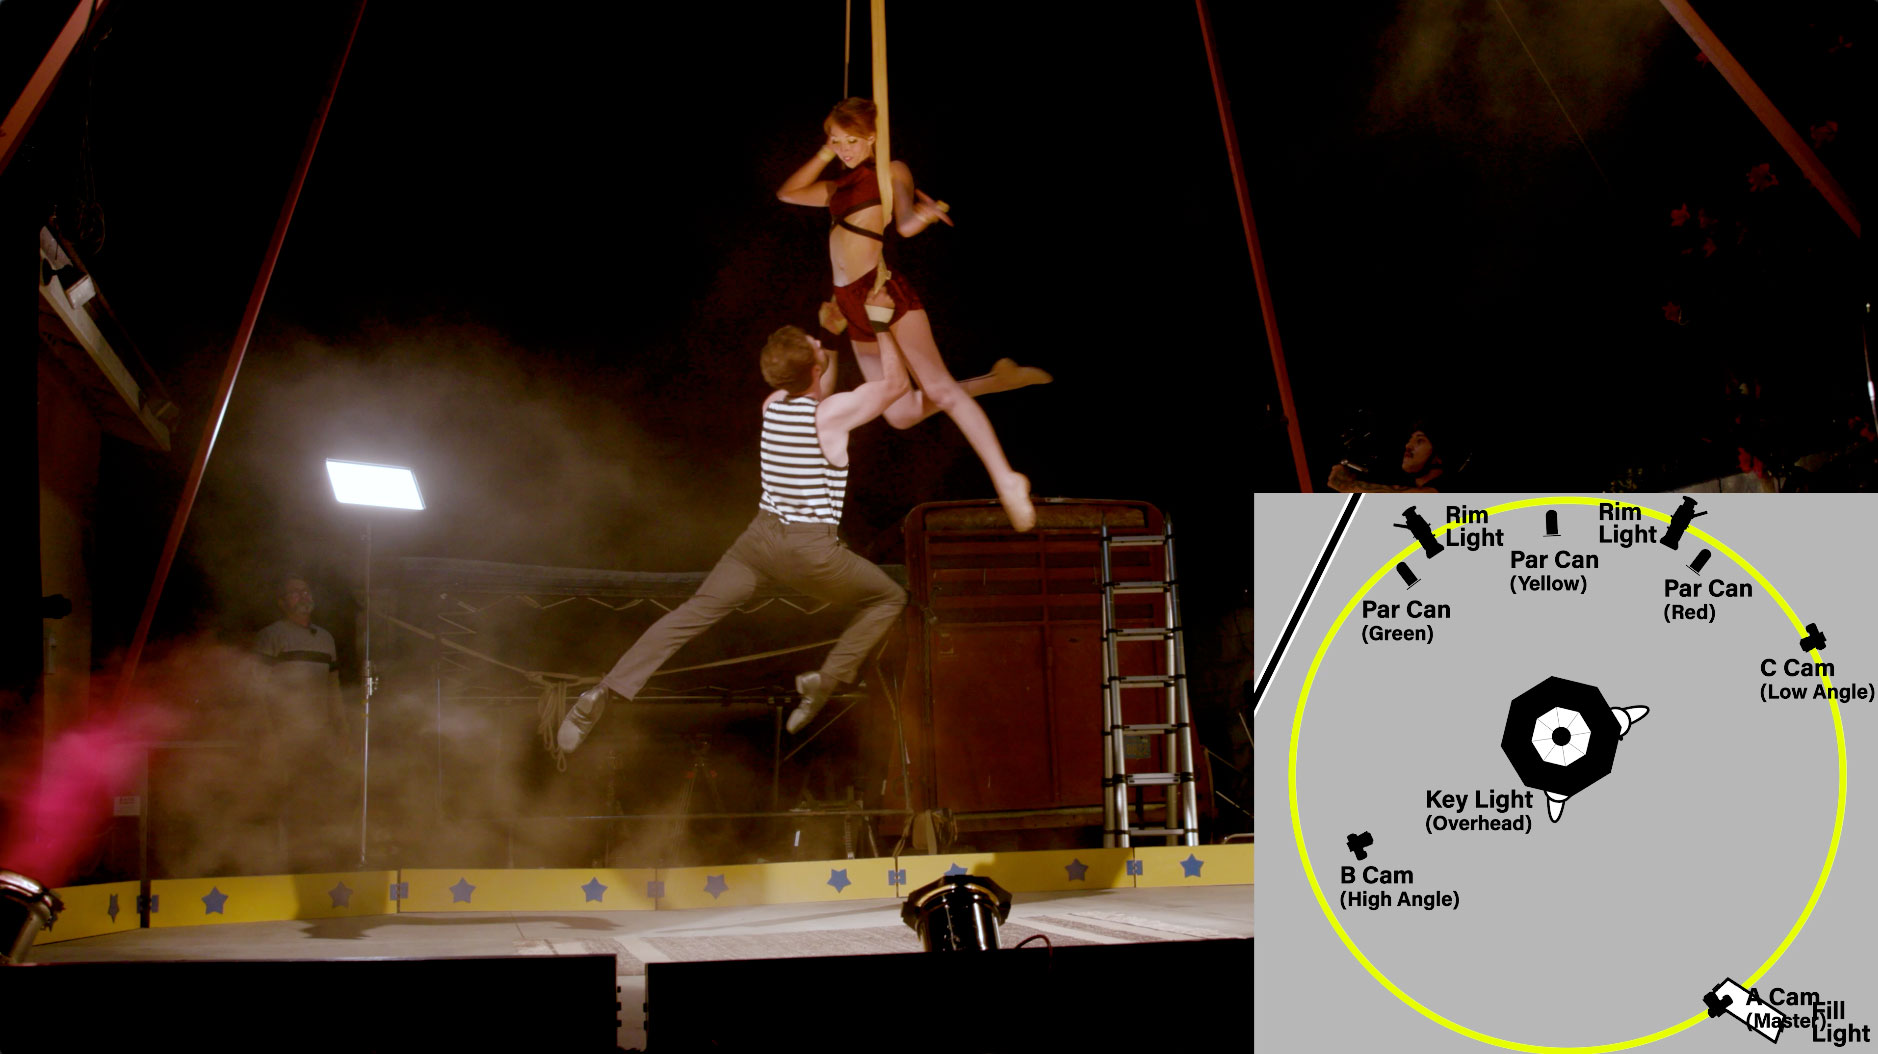
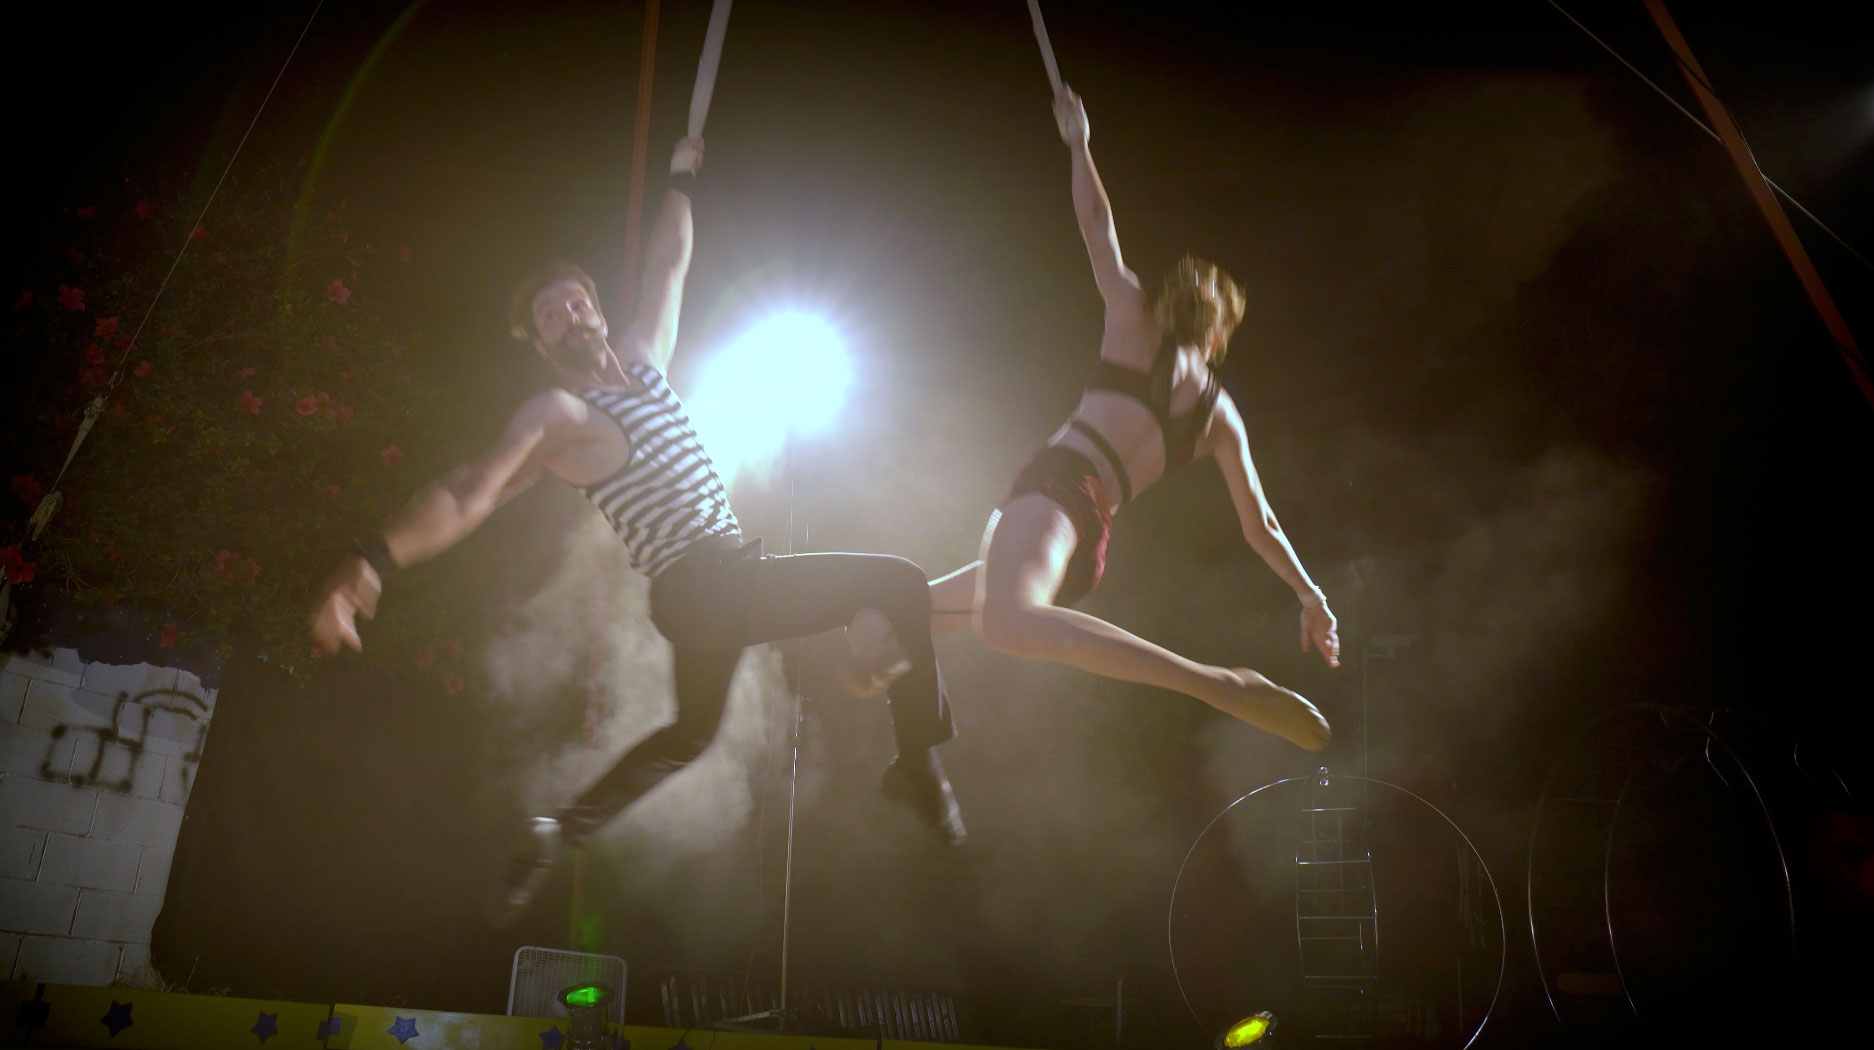
 So we set up four cameras. A master camera to be able to see the entire routine from one shot. That’s our a7S III.
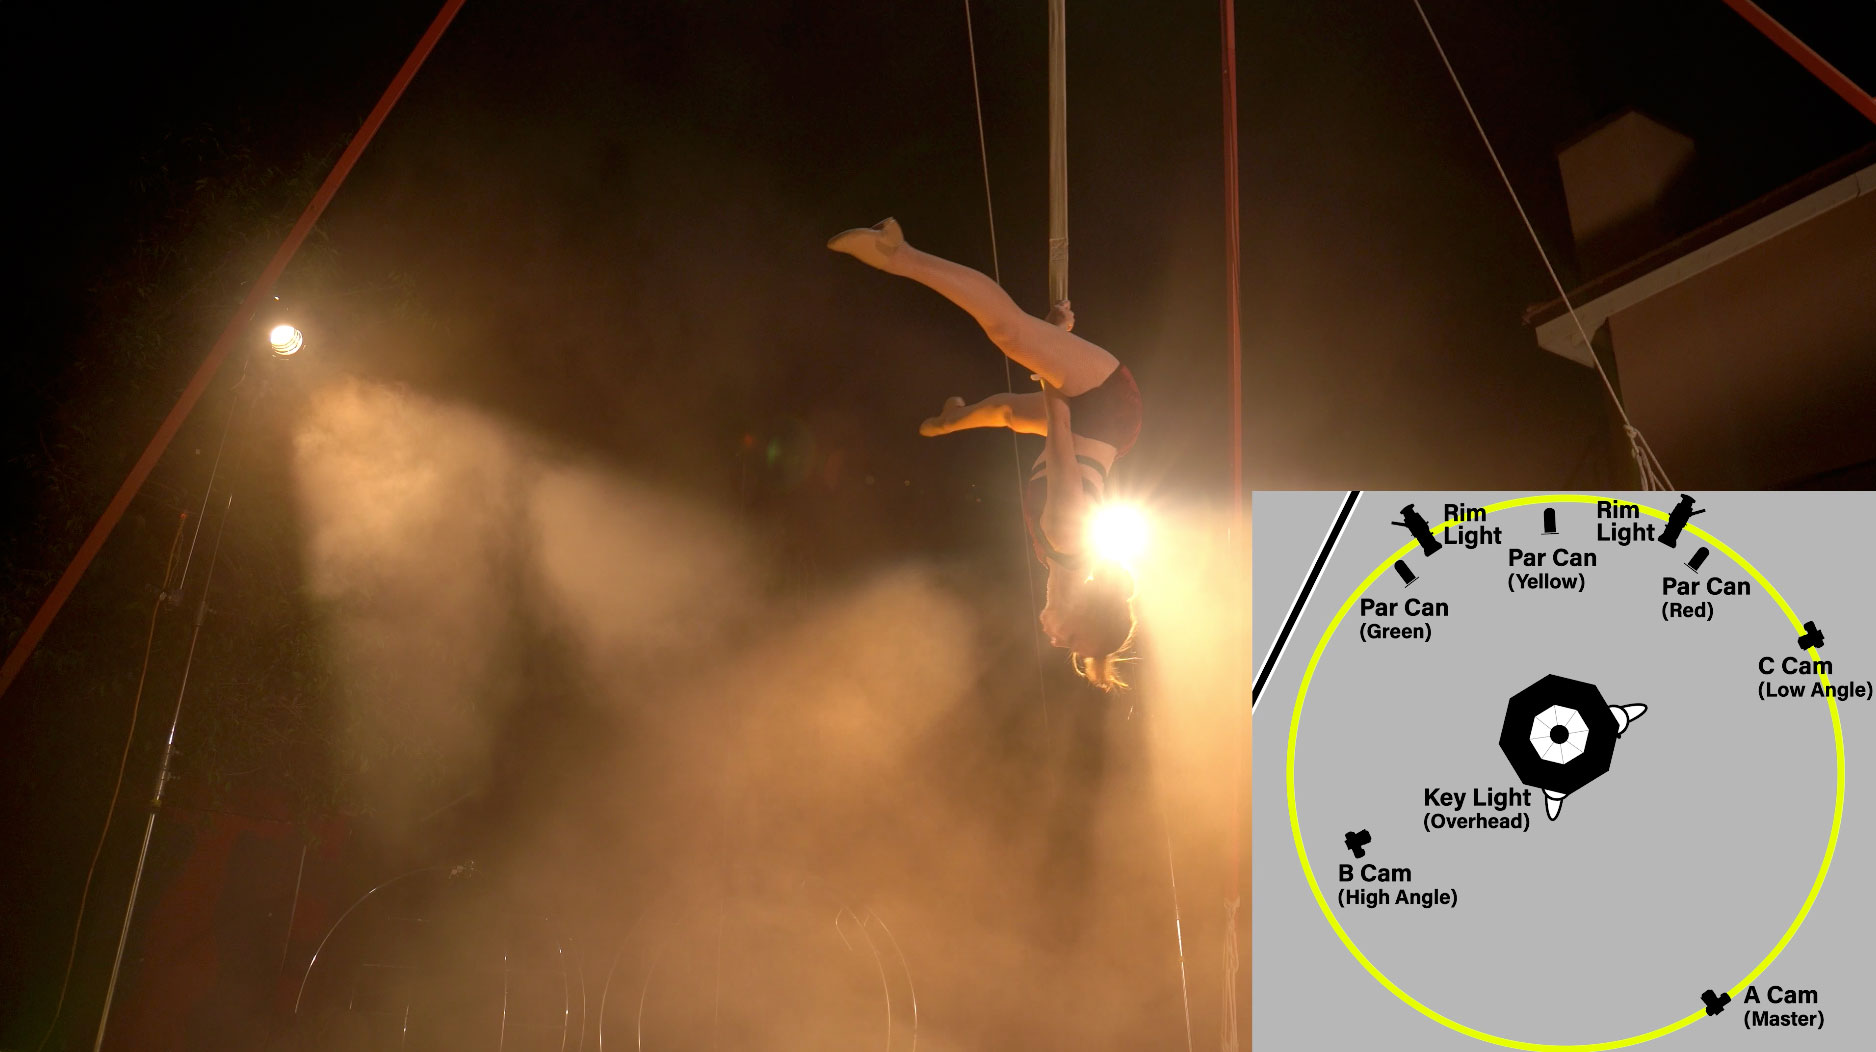
 Then we have a b camera. It’s on camera left. It’s up high. It’s the a7C. It’s looking down on them to give us a different perspective.
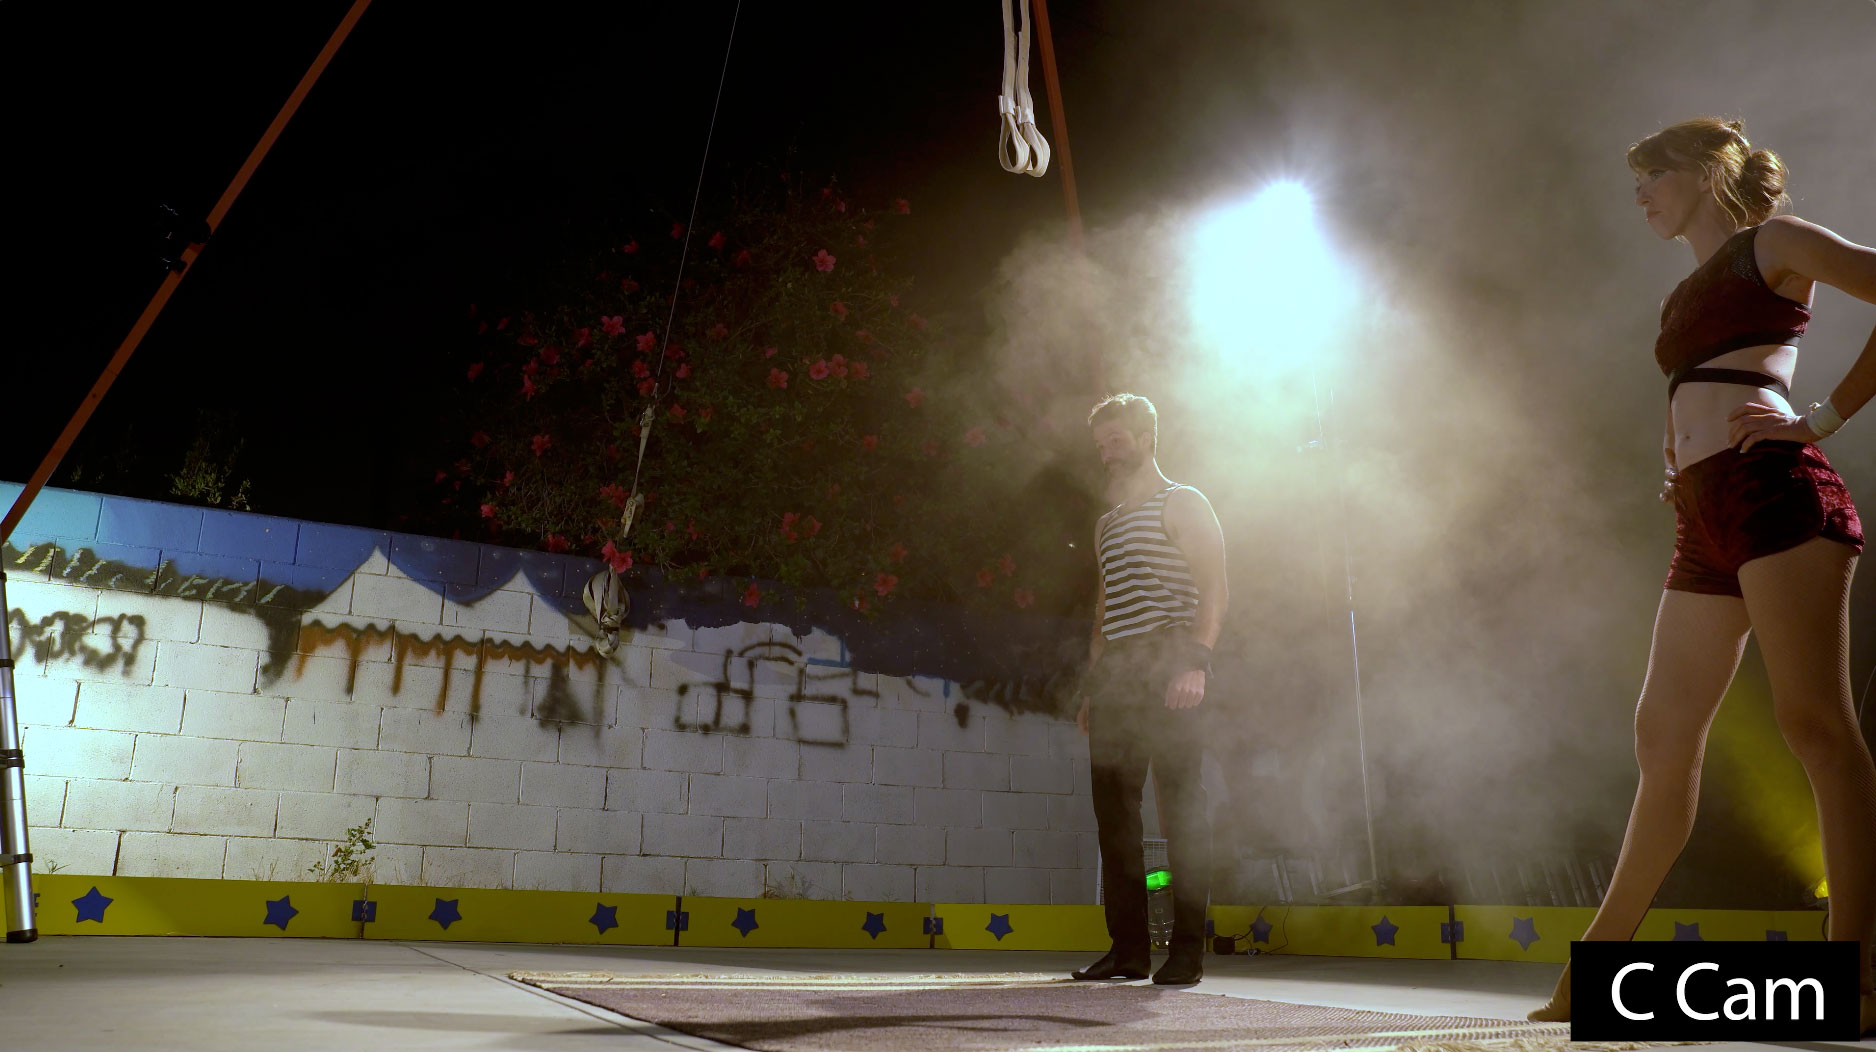
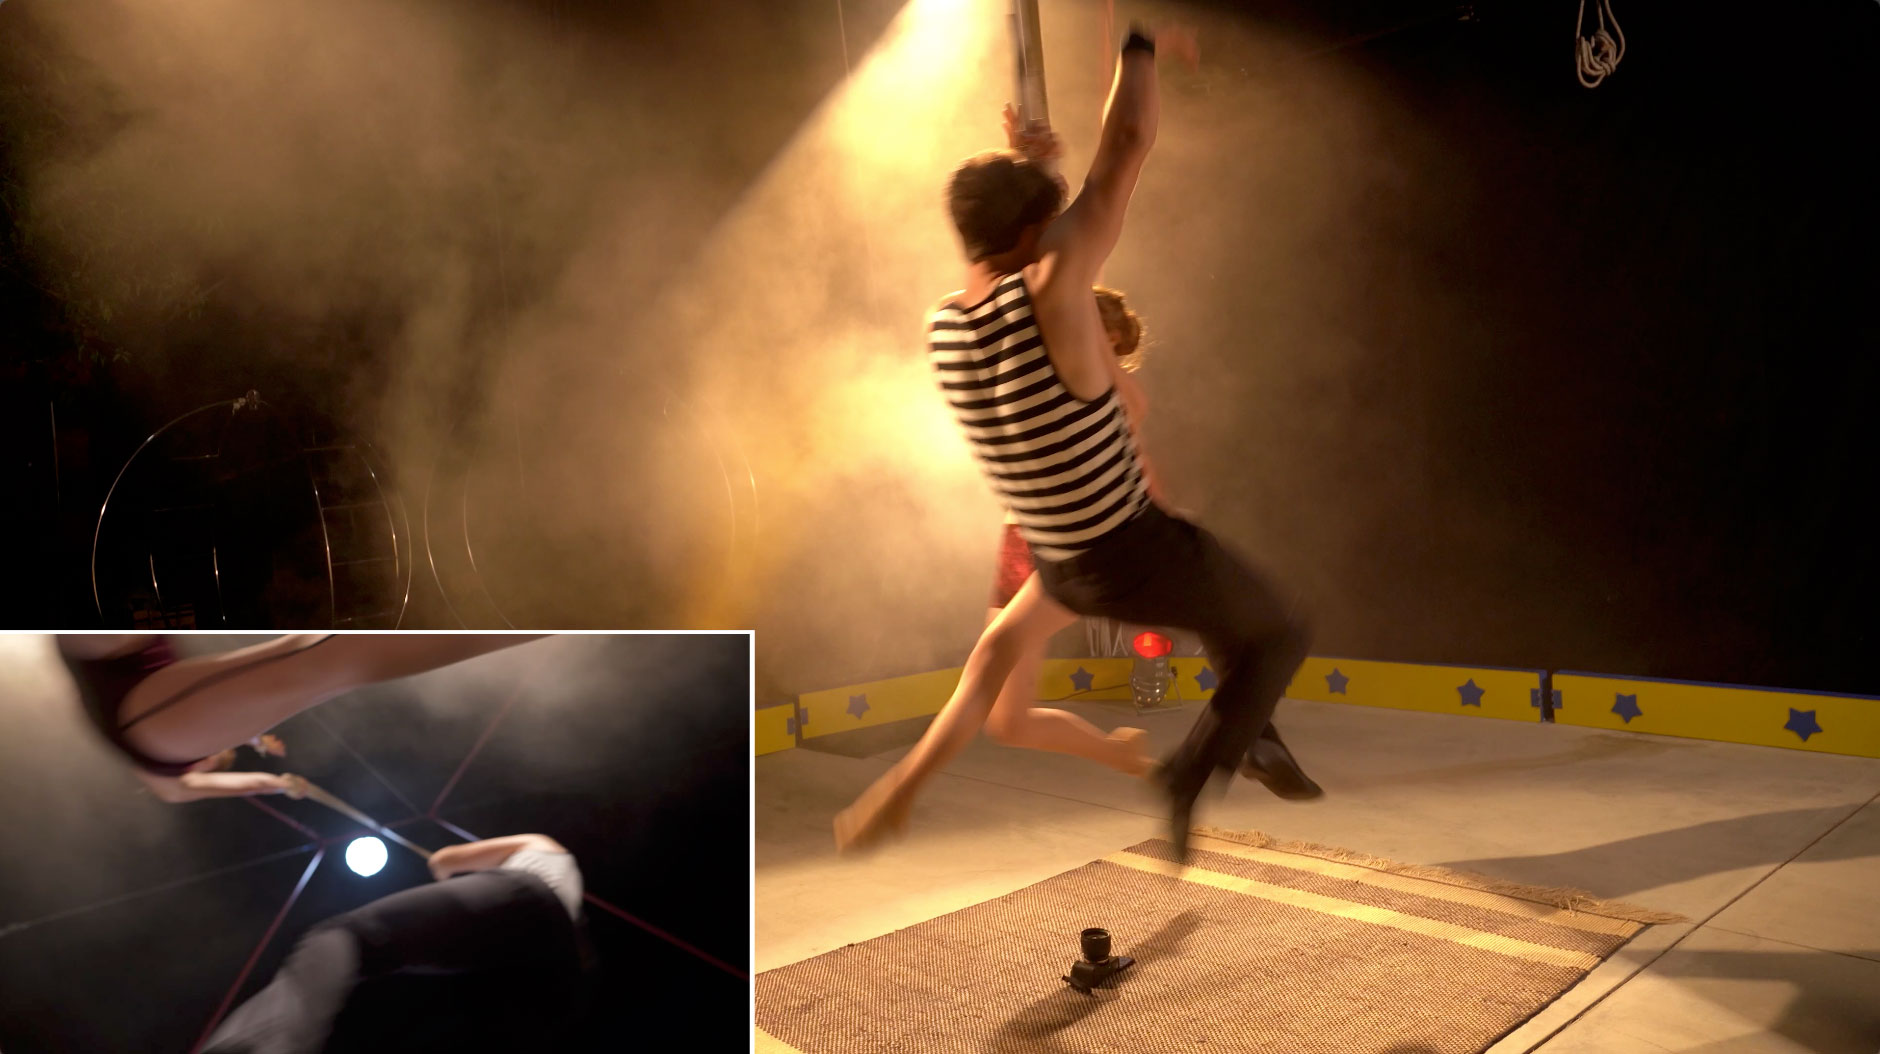
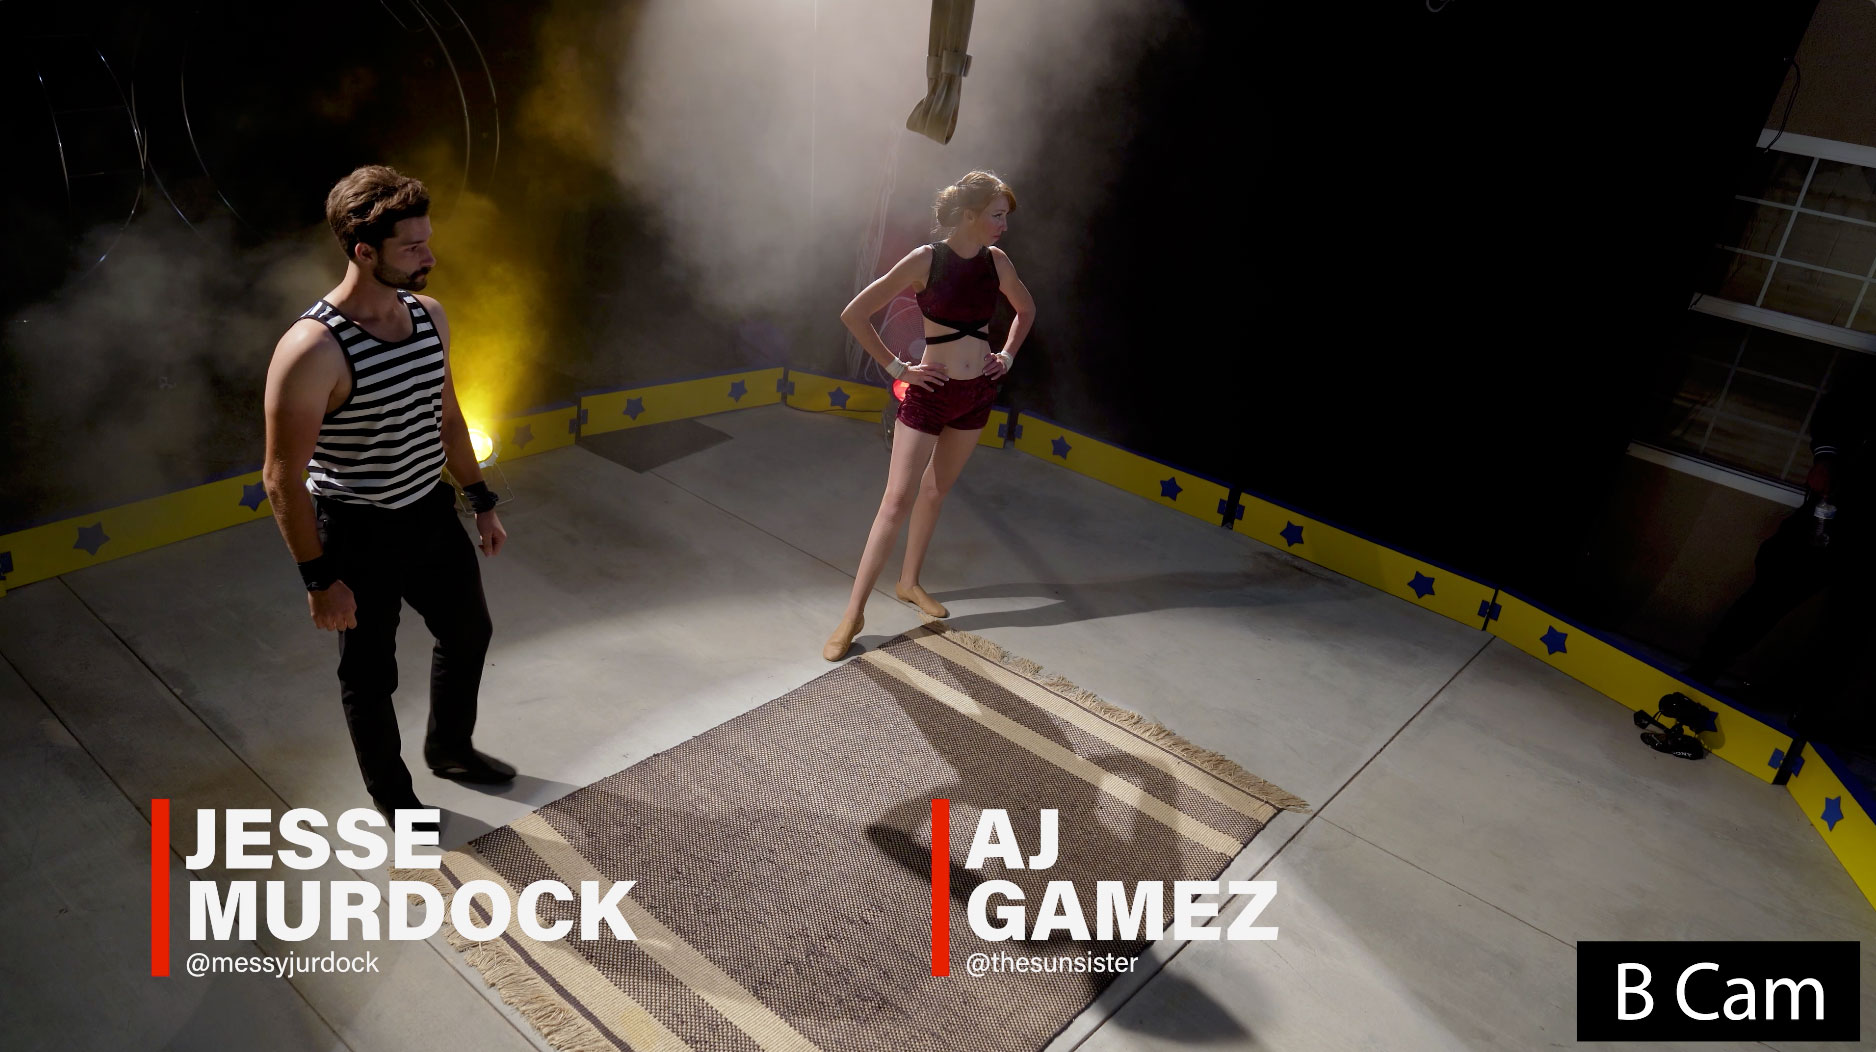 Then we have a c camera down low. It’s the a6600 looking up. So we have a low camera angle to give us a new perspective.
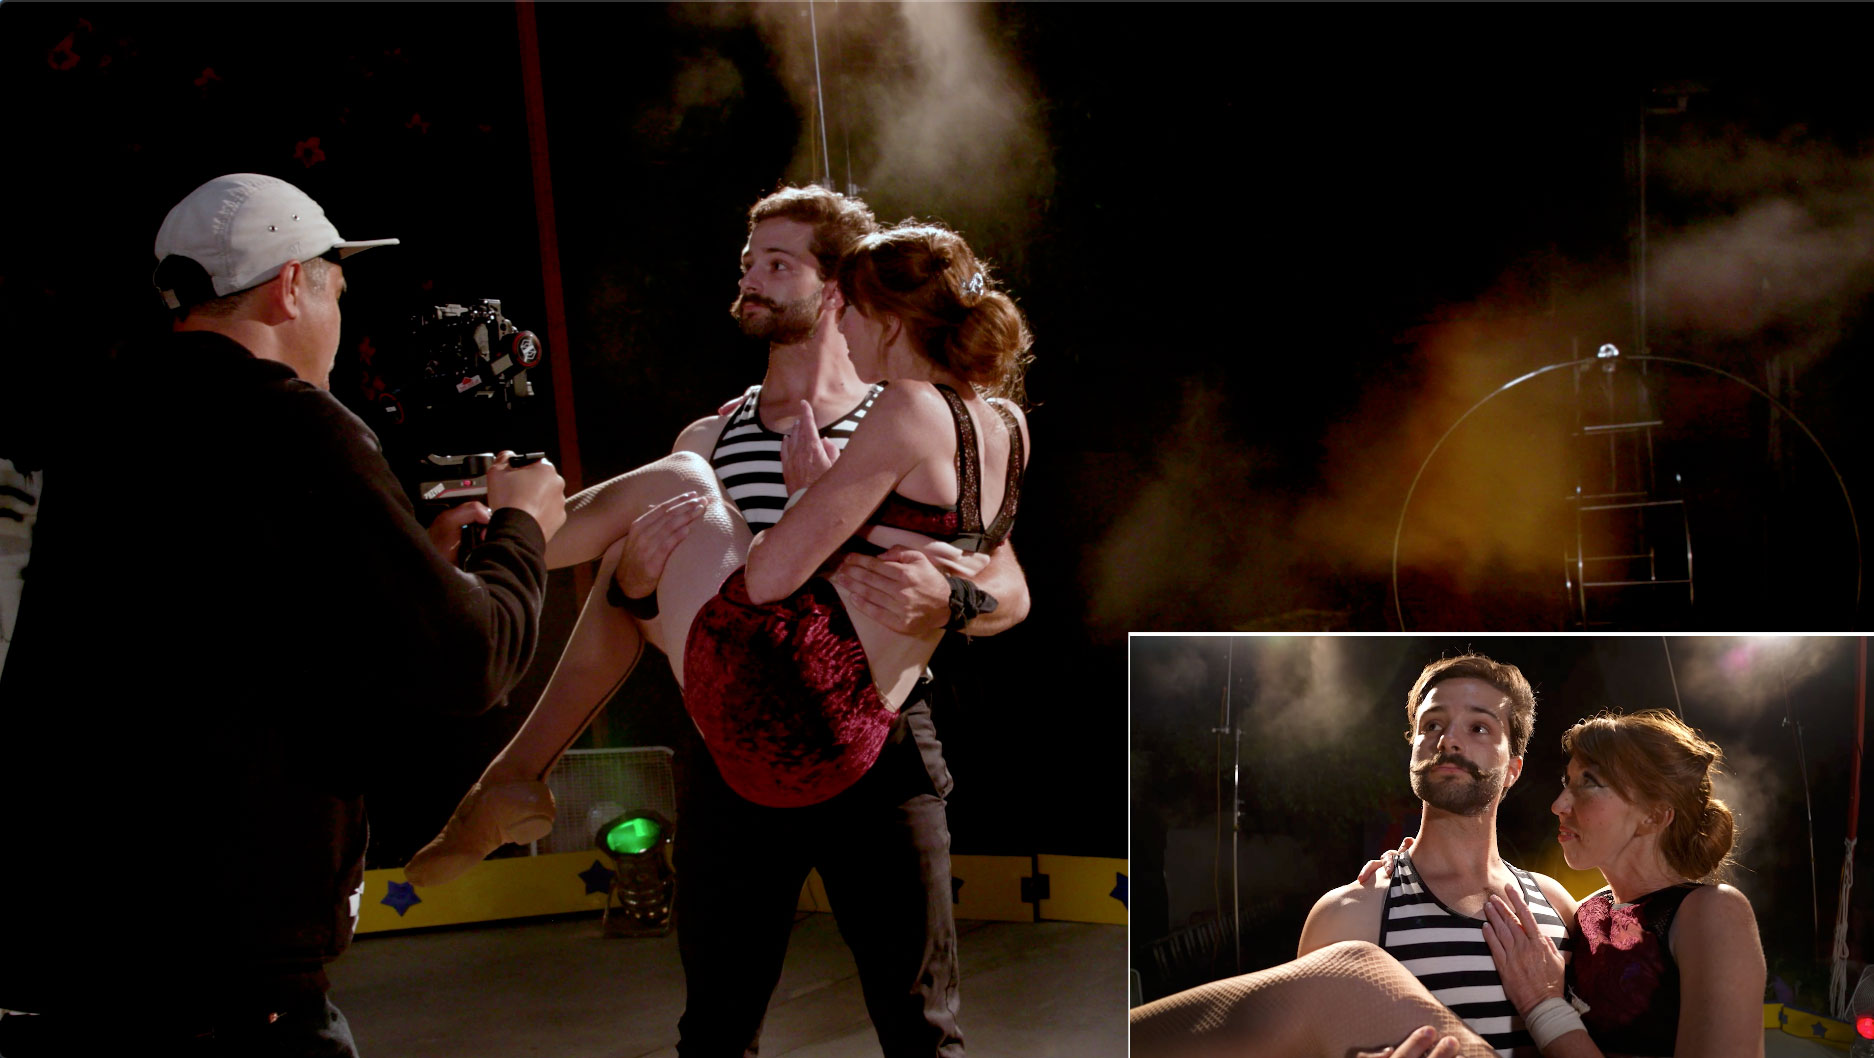
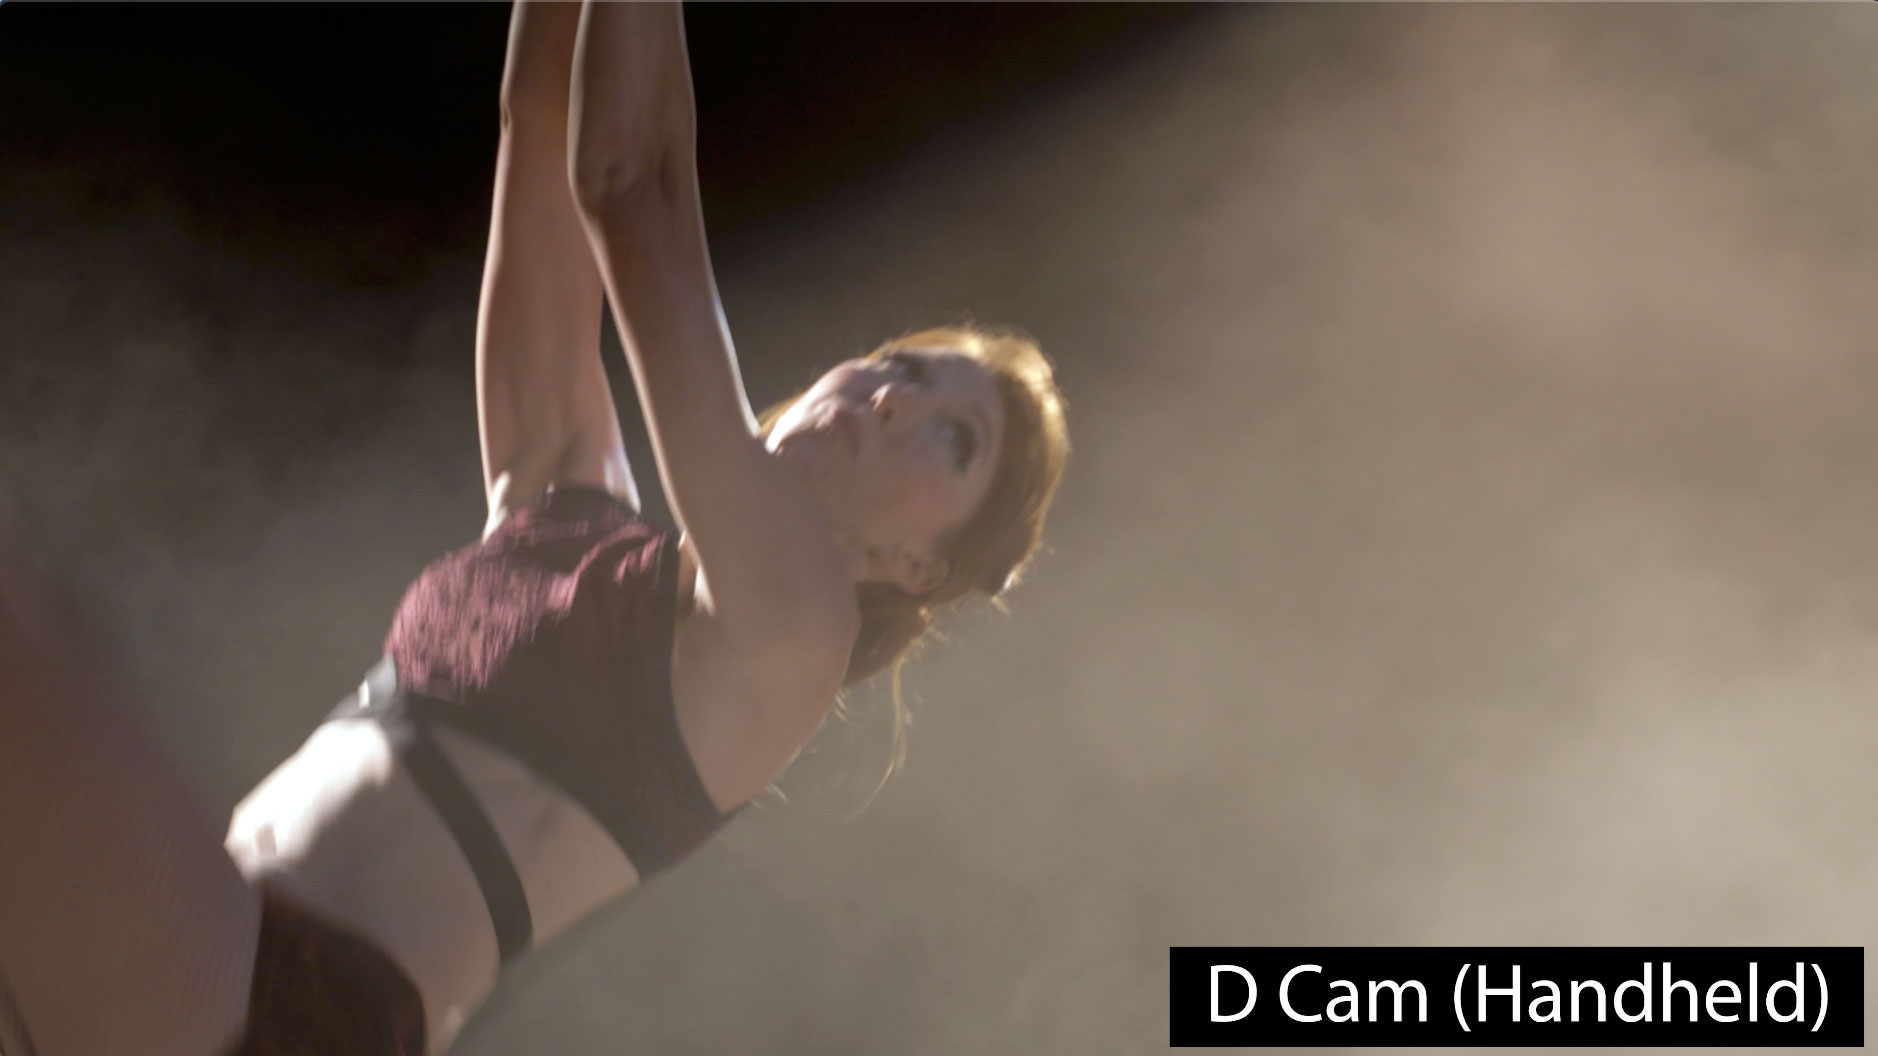
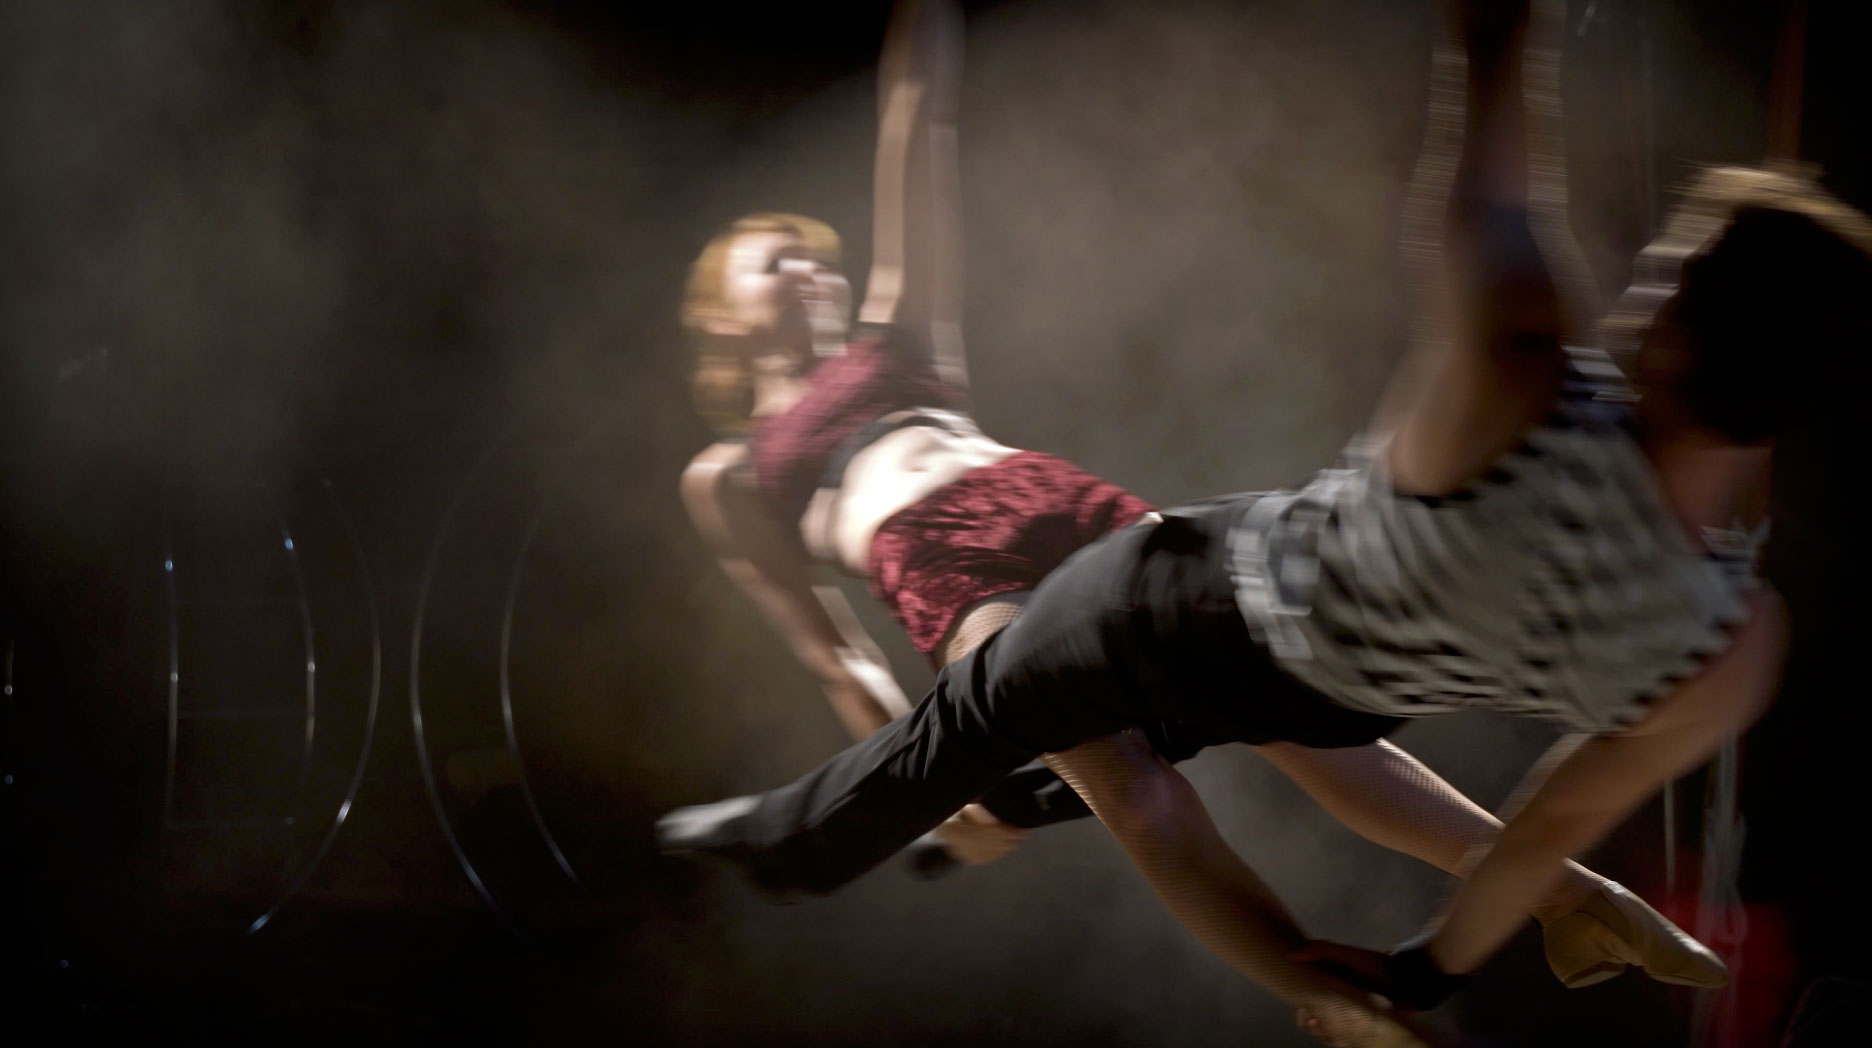
 Then we have a handheld camera just for tight faces to be able to cut in. That’s the a7R III. That was handheld to be able to isolate their faces and just pick them up as they’re twirling around. It gives us something to cut to.
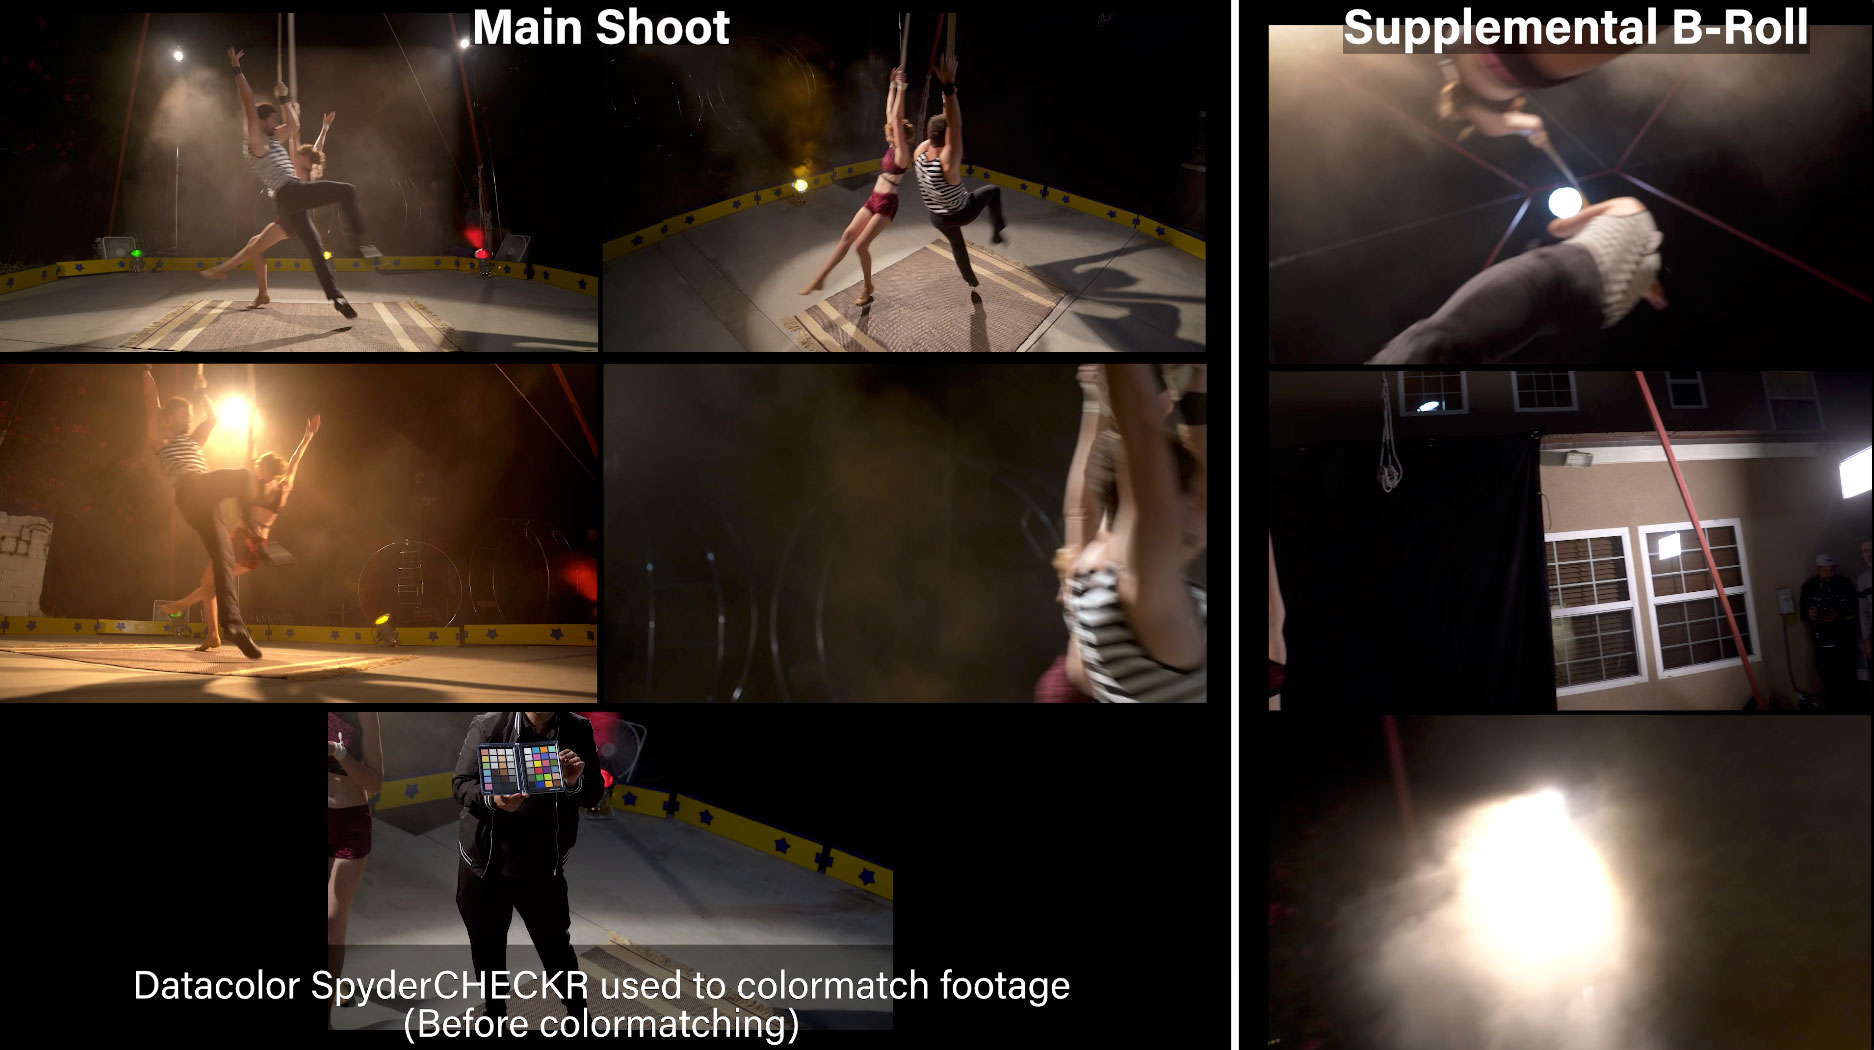
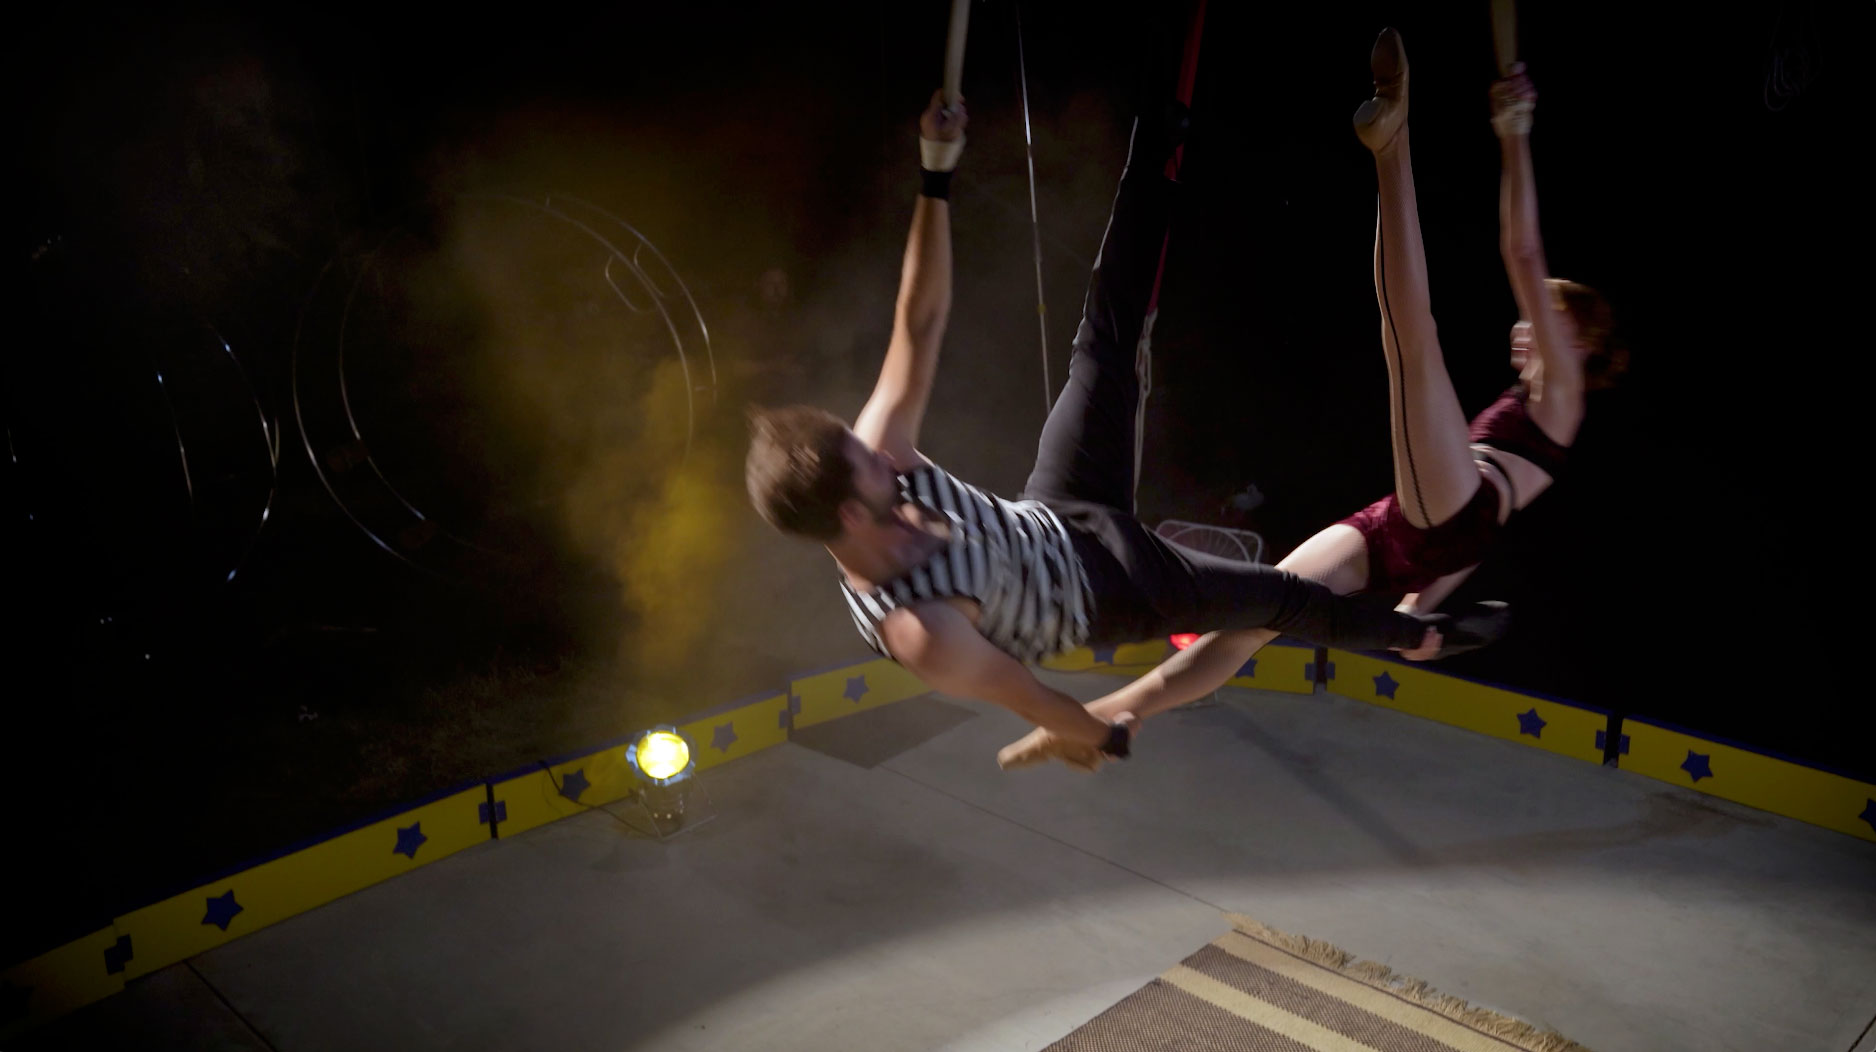
 Then when we’re done we will go in and do some b-roll shots. We’ll do b-roll shots from straight underneath looking up.
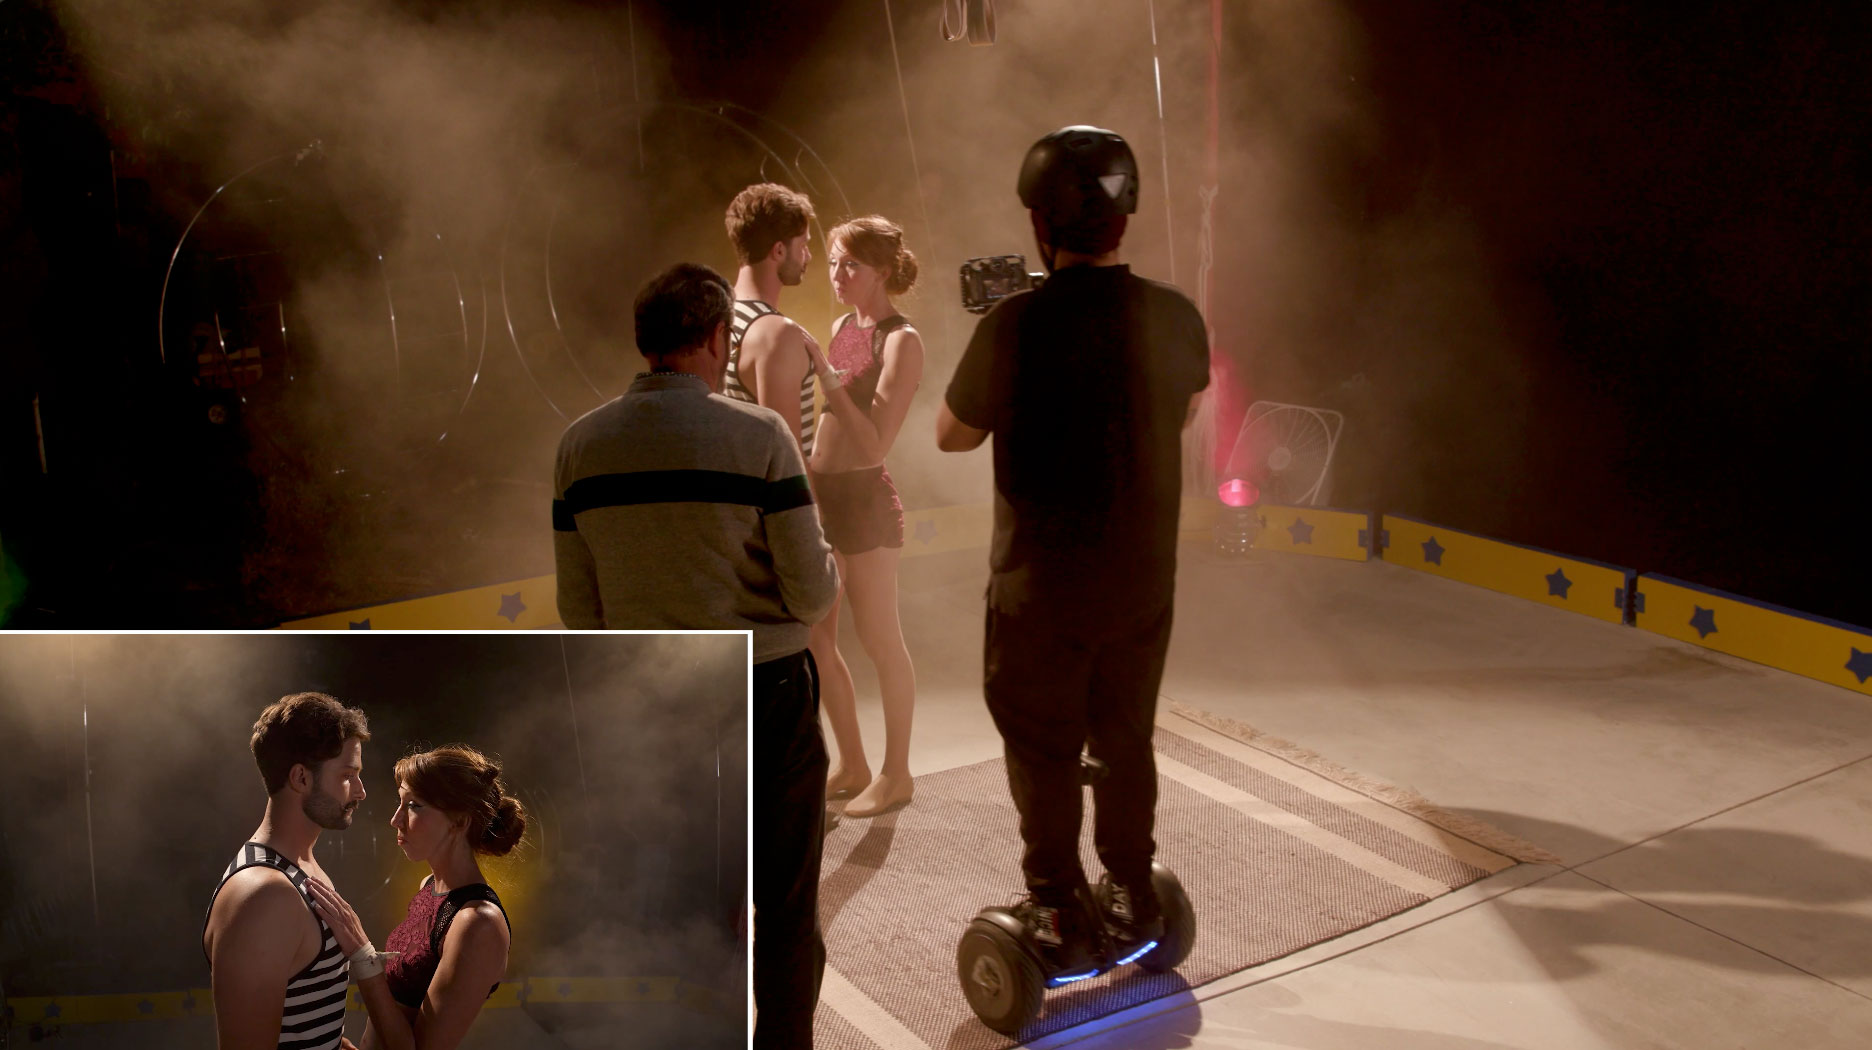 We’ll do some shots from a Segway twirling around them on a gimbal. We’ll do some shots of the camera strapped to their chest.
 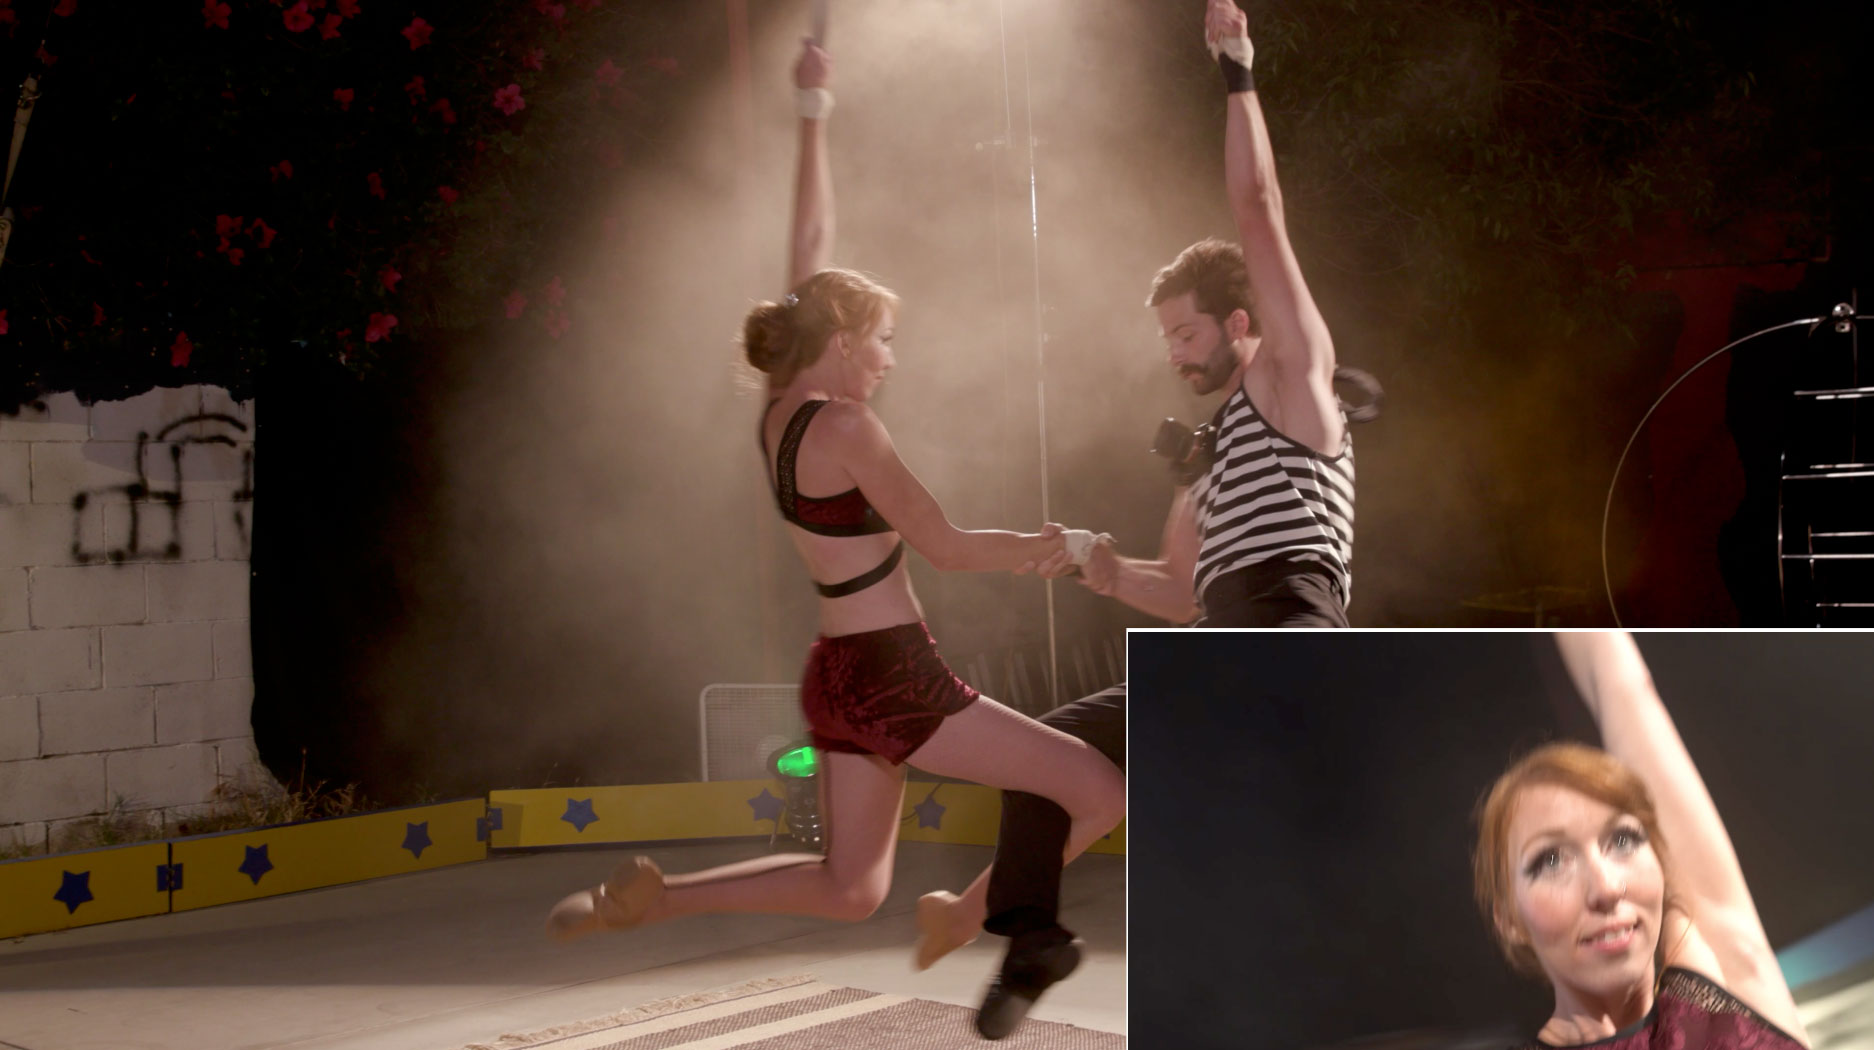 Now we can cut all those together. Those b-roll shots are not hard to get because we don’t have to do the entire routine. We just pick up little segments. But it gives us depth to be able to keep cutting to through the entire routine to give it more interest, more depth and more excitement.
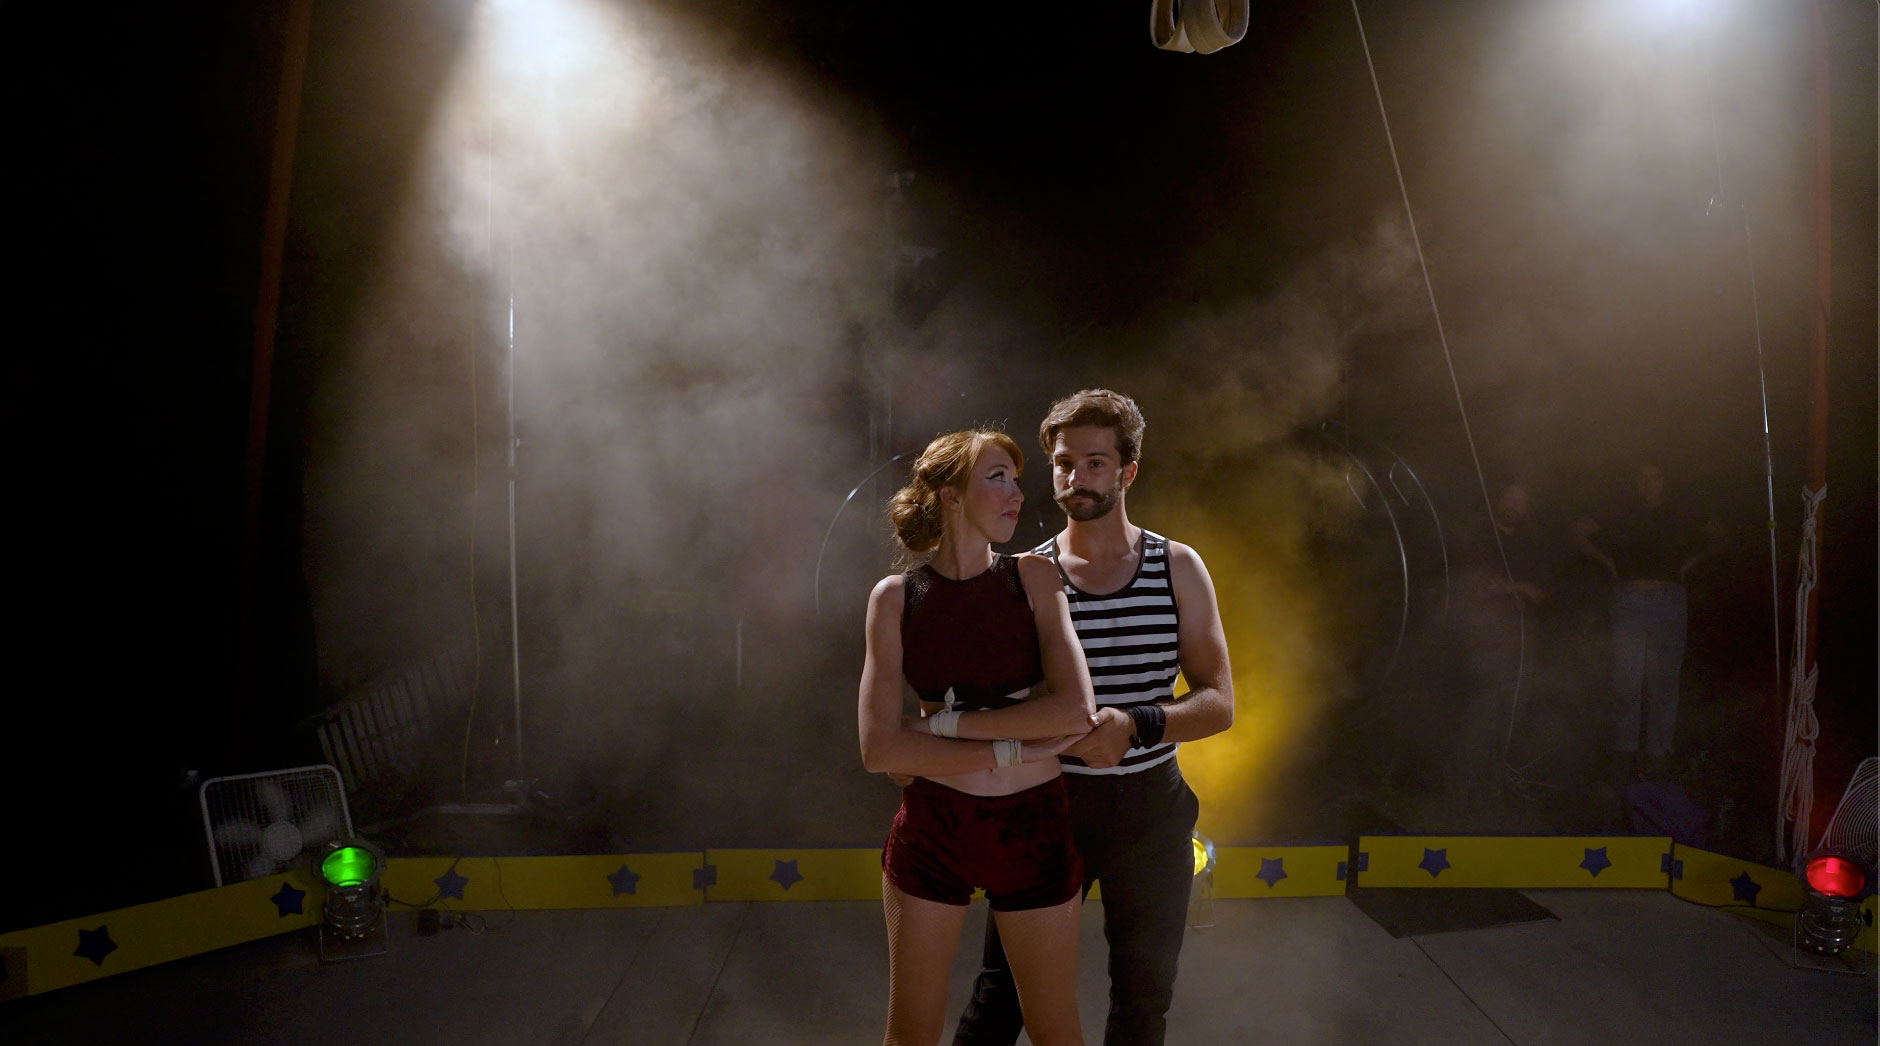
So we’ve got things around here we want to try to get rid of. So several things we’ve done to make that happen are: Number one is we’re going to shoot this at nighttime. Nighttime just means that we’ve got a lot of dark and things are going to disappear behind us.
 So everything behind us is going to just leave. In order to sustain that we’re not going to shine any light back. We’re going to shine all of our light either down with the main key light or towards the camera.
 We want to be very dramatic so we use that overhead key to start and then two source fours, one on each side, give us some beautiful rim light from behind. Then we’ve got a silk light up front, little led to be able to open up our shadows.
 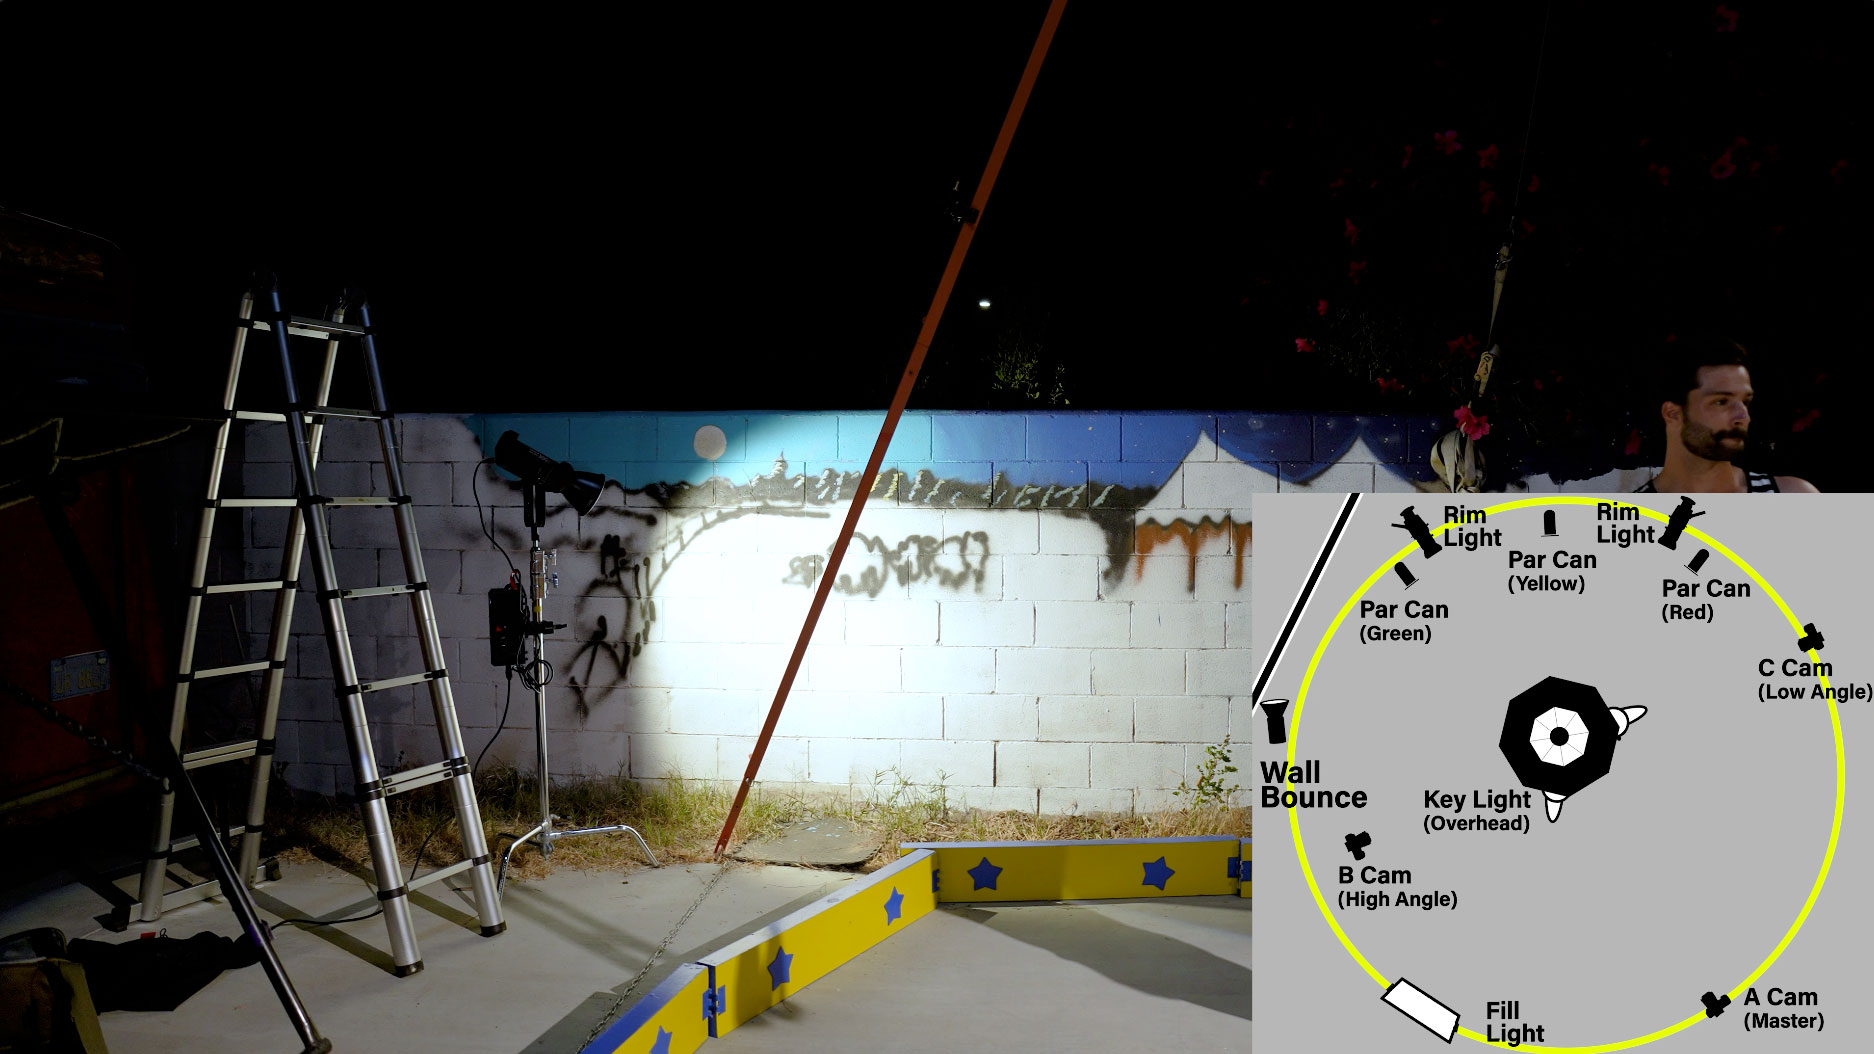 And we bounce the 300x into the wall just to open up shadows a little bit in the front. It’s really about a backlit scene camera right and left with that overhead key and a little bit of fill light in the front.
 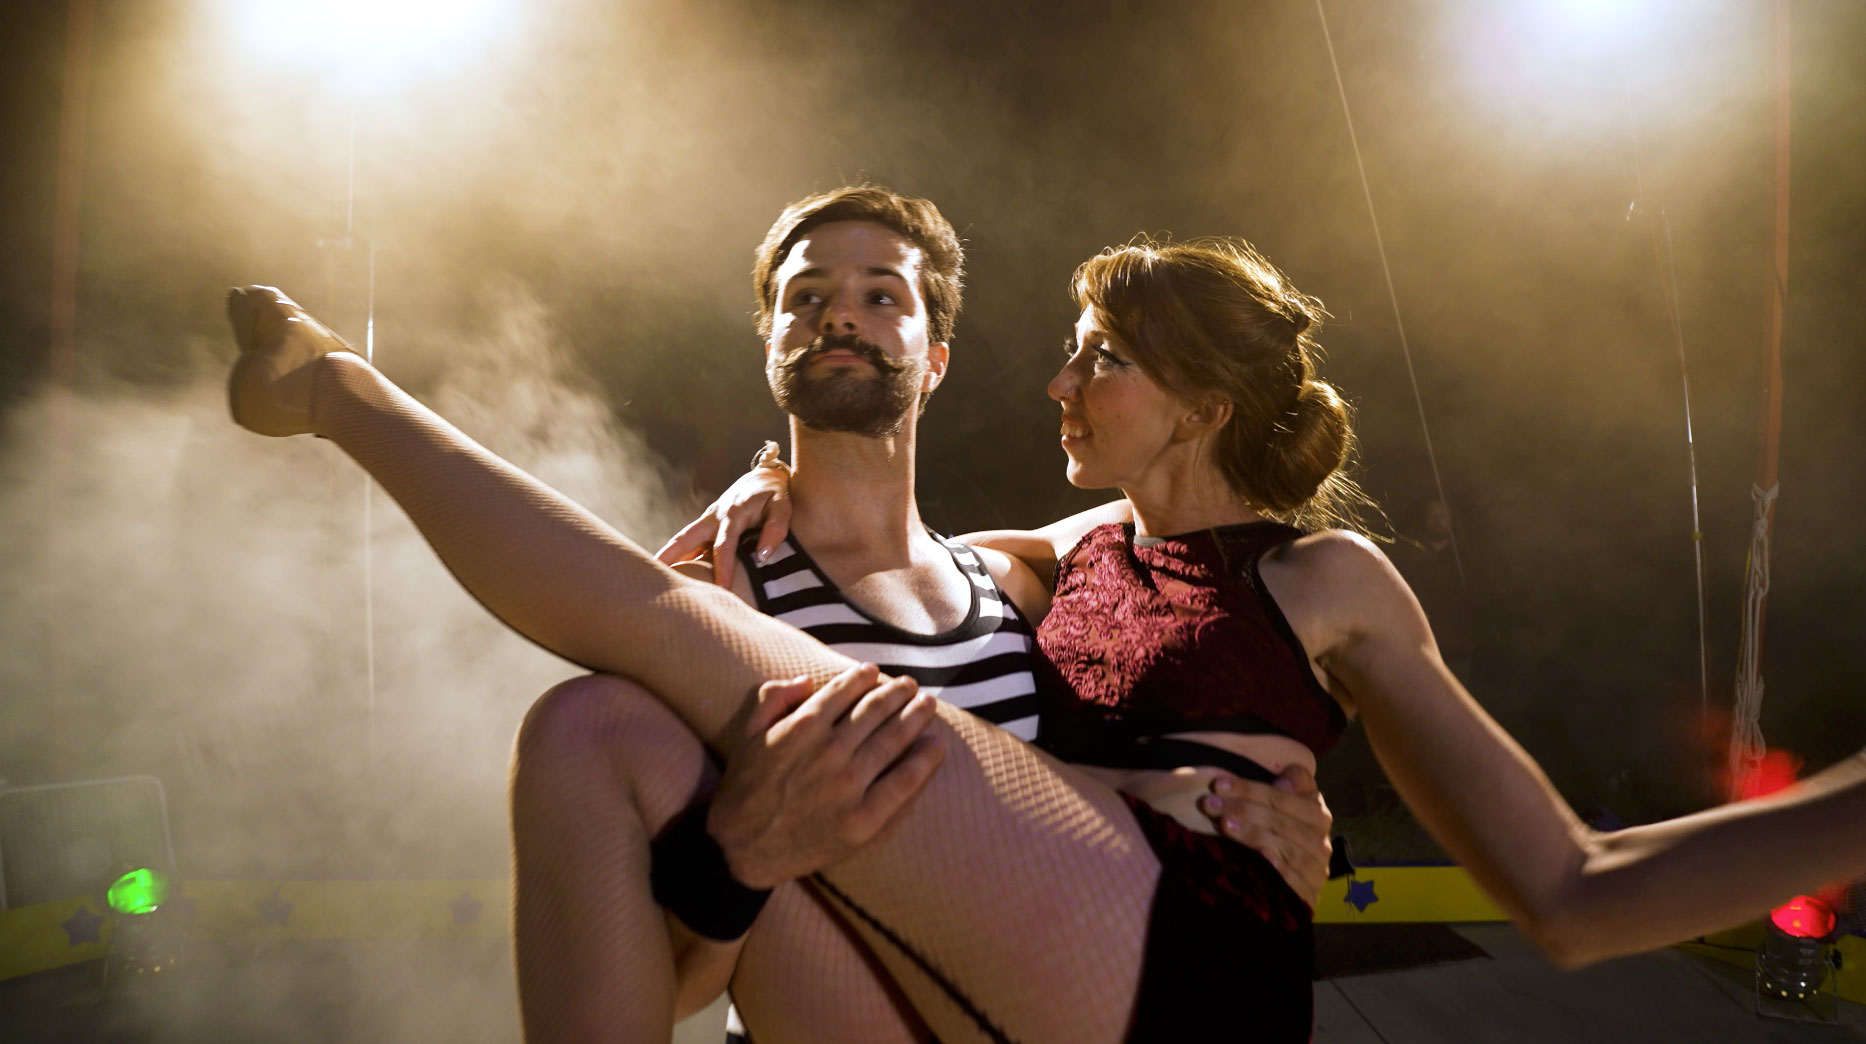 Of course we add a little bit of smoke which is my favorite thing to do because smoke gives us a wall that just hides everything back there. And it gives us a little bit of a mystic kind of feeling. It feels really fun and mysterious.
 And so there we go. We shot away so we are crossing the color here. We’ve got two source fours in the back which are tungsten. So we’re not going to be totally 3200 degrees. We’re going to shoot about 3600 or 3700 degrees because our overhead key light is daylight. So it’s going to be a little bit blue. But that’s okay because it’s giving us a rim on the top of people’s heads. And now those rim lights from behind are going to be a little warmer and I think that look is very nice. It just gives us a nice warm look.
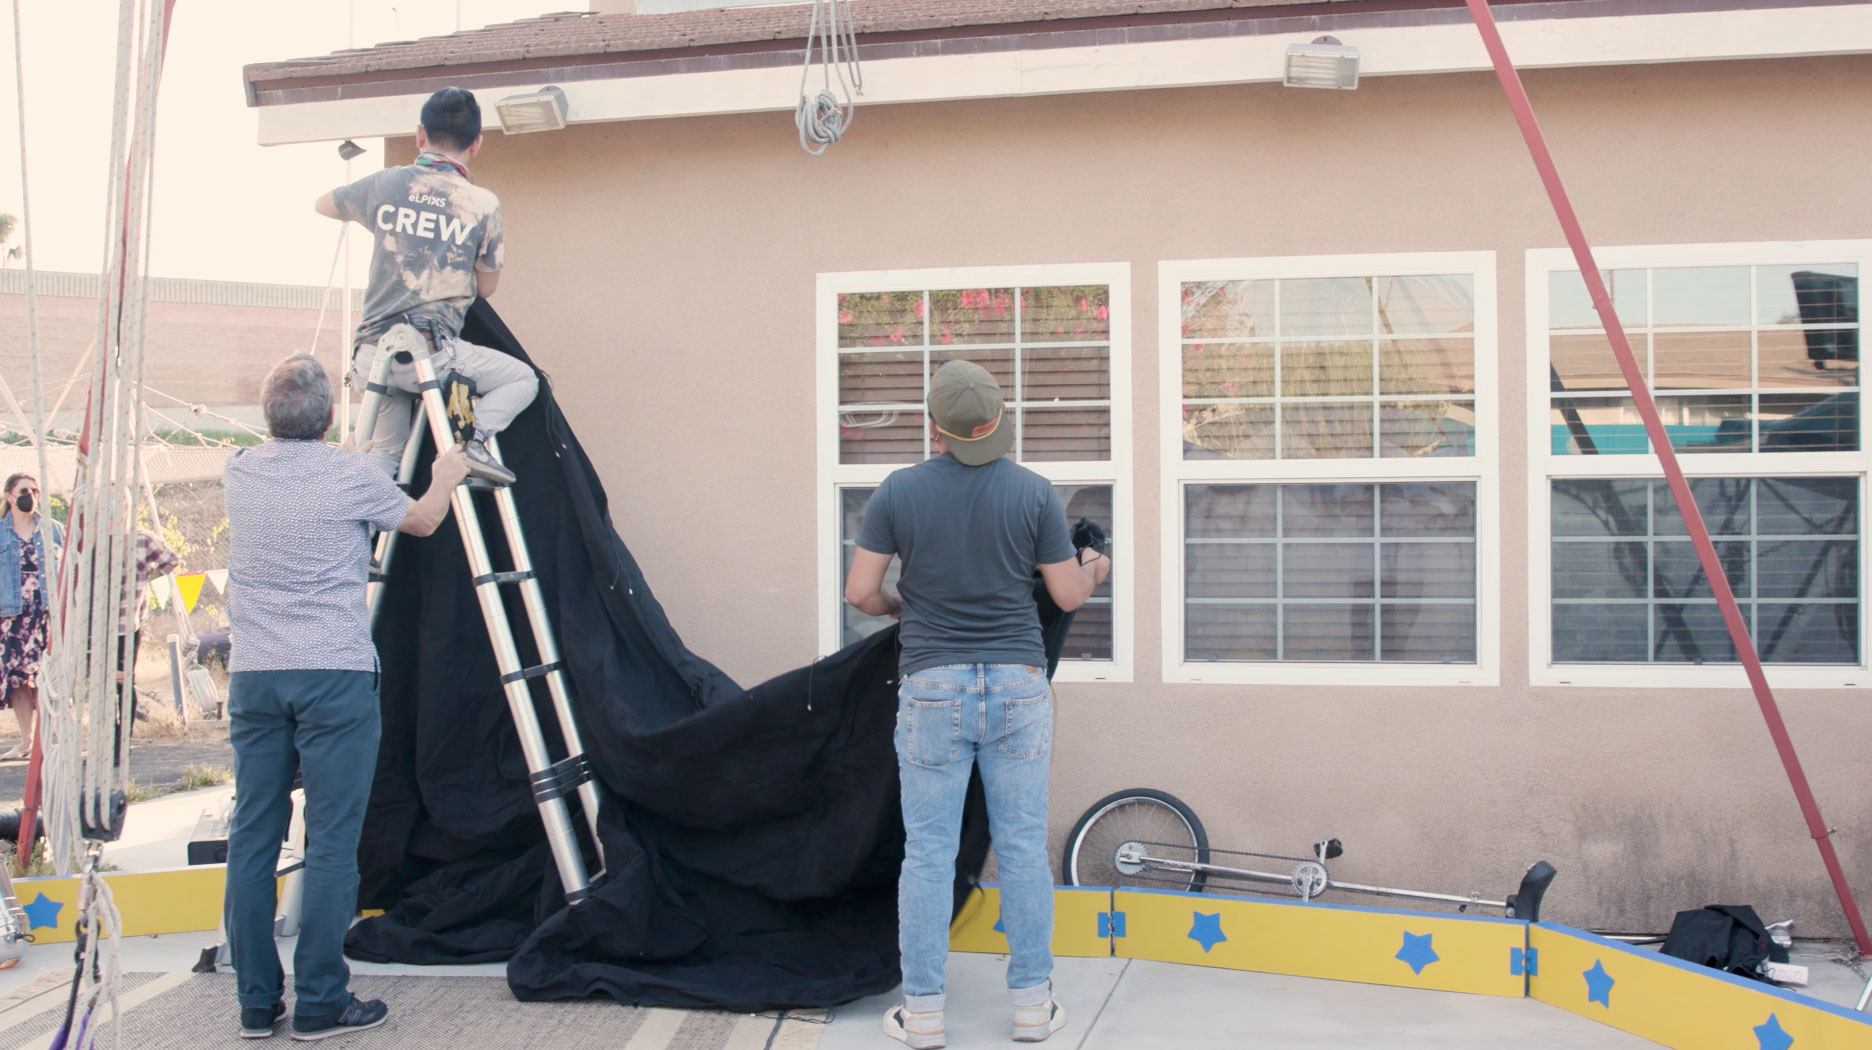 One of the things we’ve worked with here is duvetyne. I love duvetyne, it’s just a big black cloth. We had the side of a house here we had to get rid of, so we threw it on the side of the house to really really get rid of everything on that side. We put it on the wall on the camera left side. So it just really masked out that entire wall.
 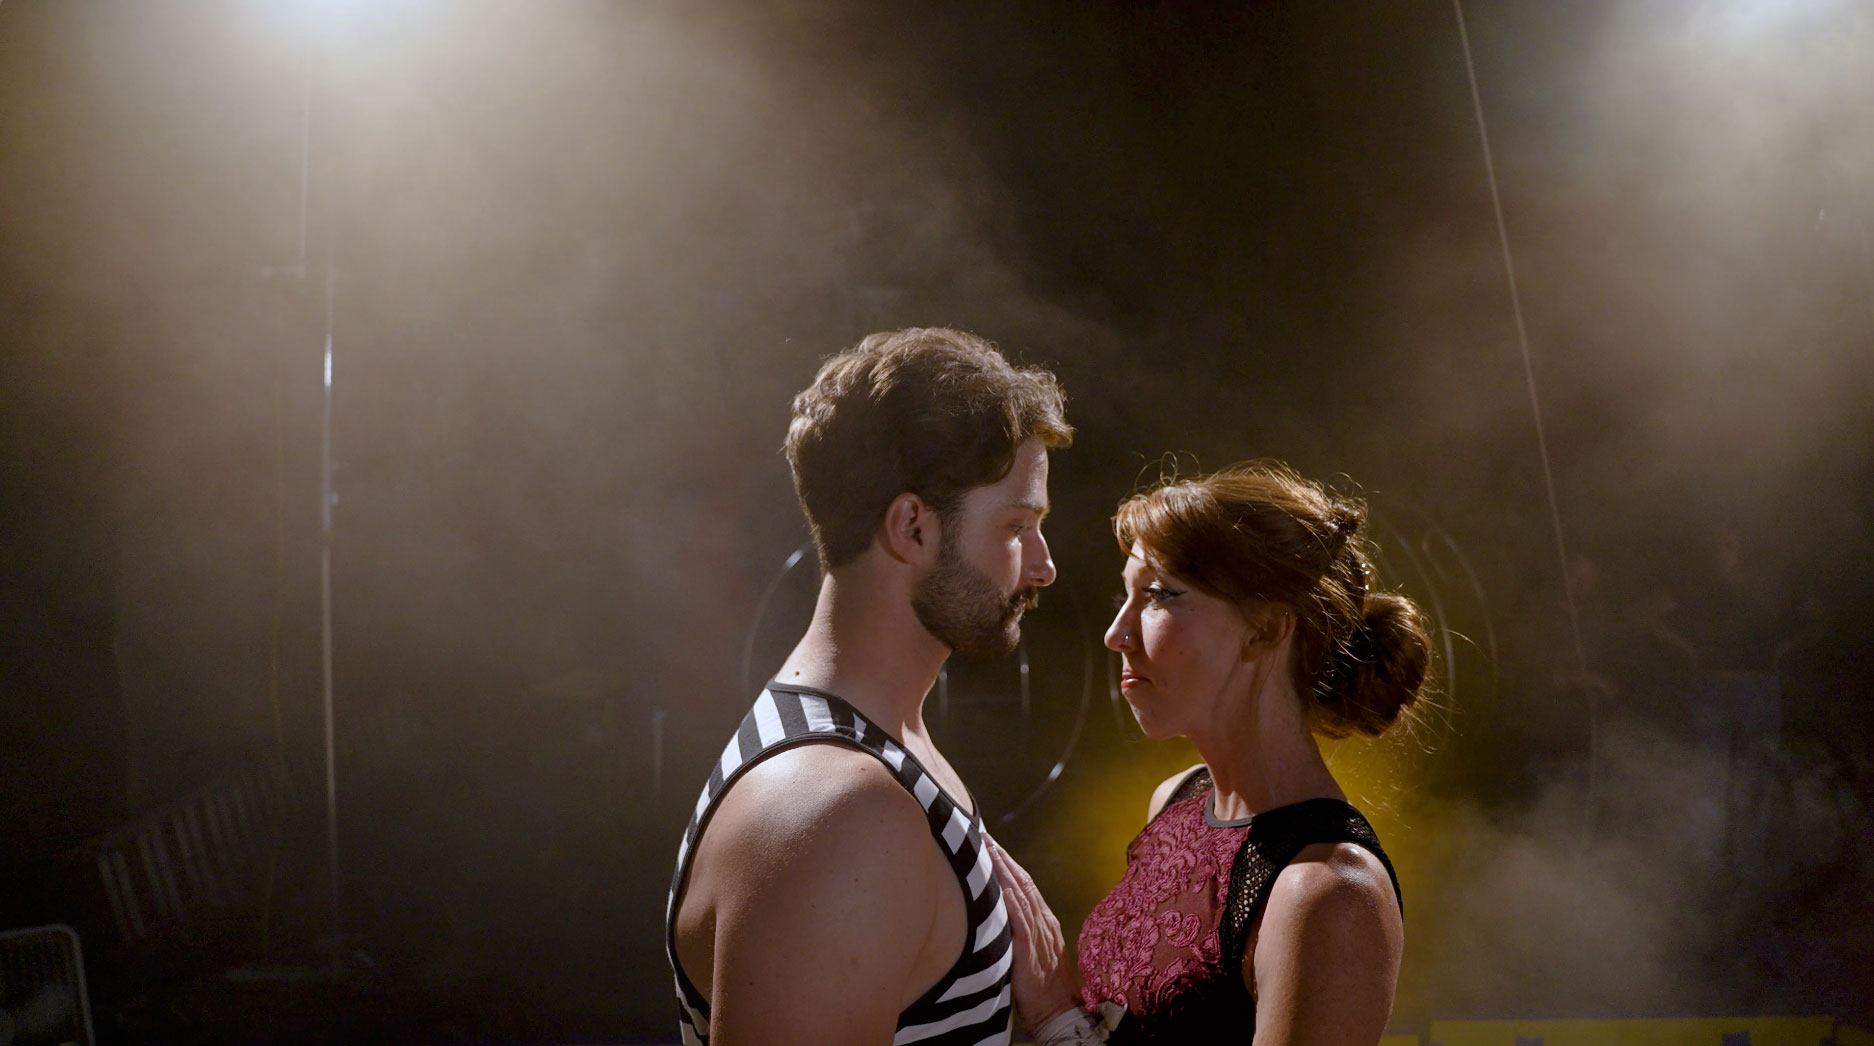 It gets rid of it so now we really are working on a a blank canvas here. It’s just a dark studio type lighting situation. Those duvetynes are not expensive. You can buy duvetyne from fabric stores. You can get them from any kind of grip houses and they are easy to cover things and give you a nice black background.
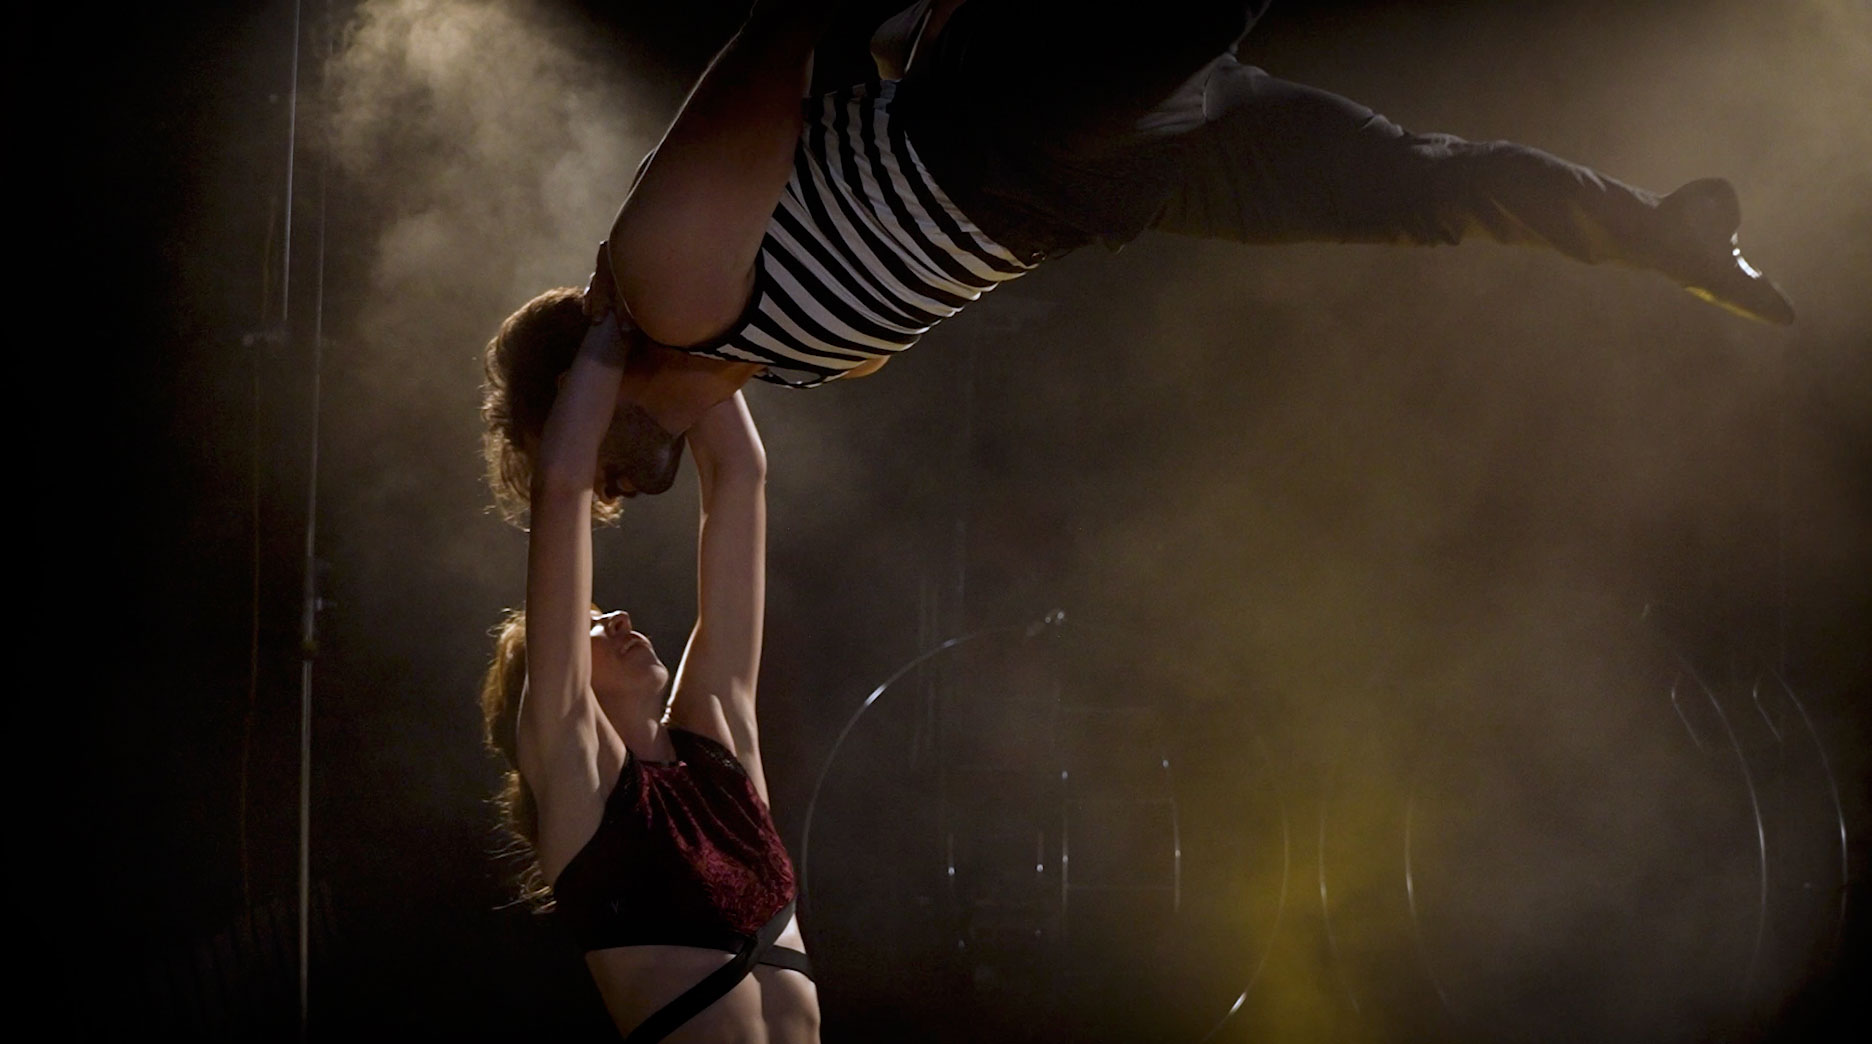 So let’s take a look at the pieces we added together and here it is, Swing It Trapeze.
 We want to thank Swing It Trapeze for letting us come and to be able to be here at their circus school and to be able to work on the straps. That was a lot of fun. I got pretty dizzy when I did that but it was a lot of fun.
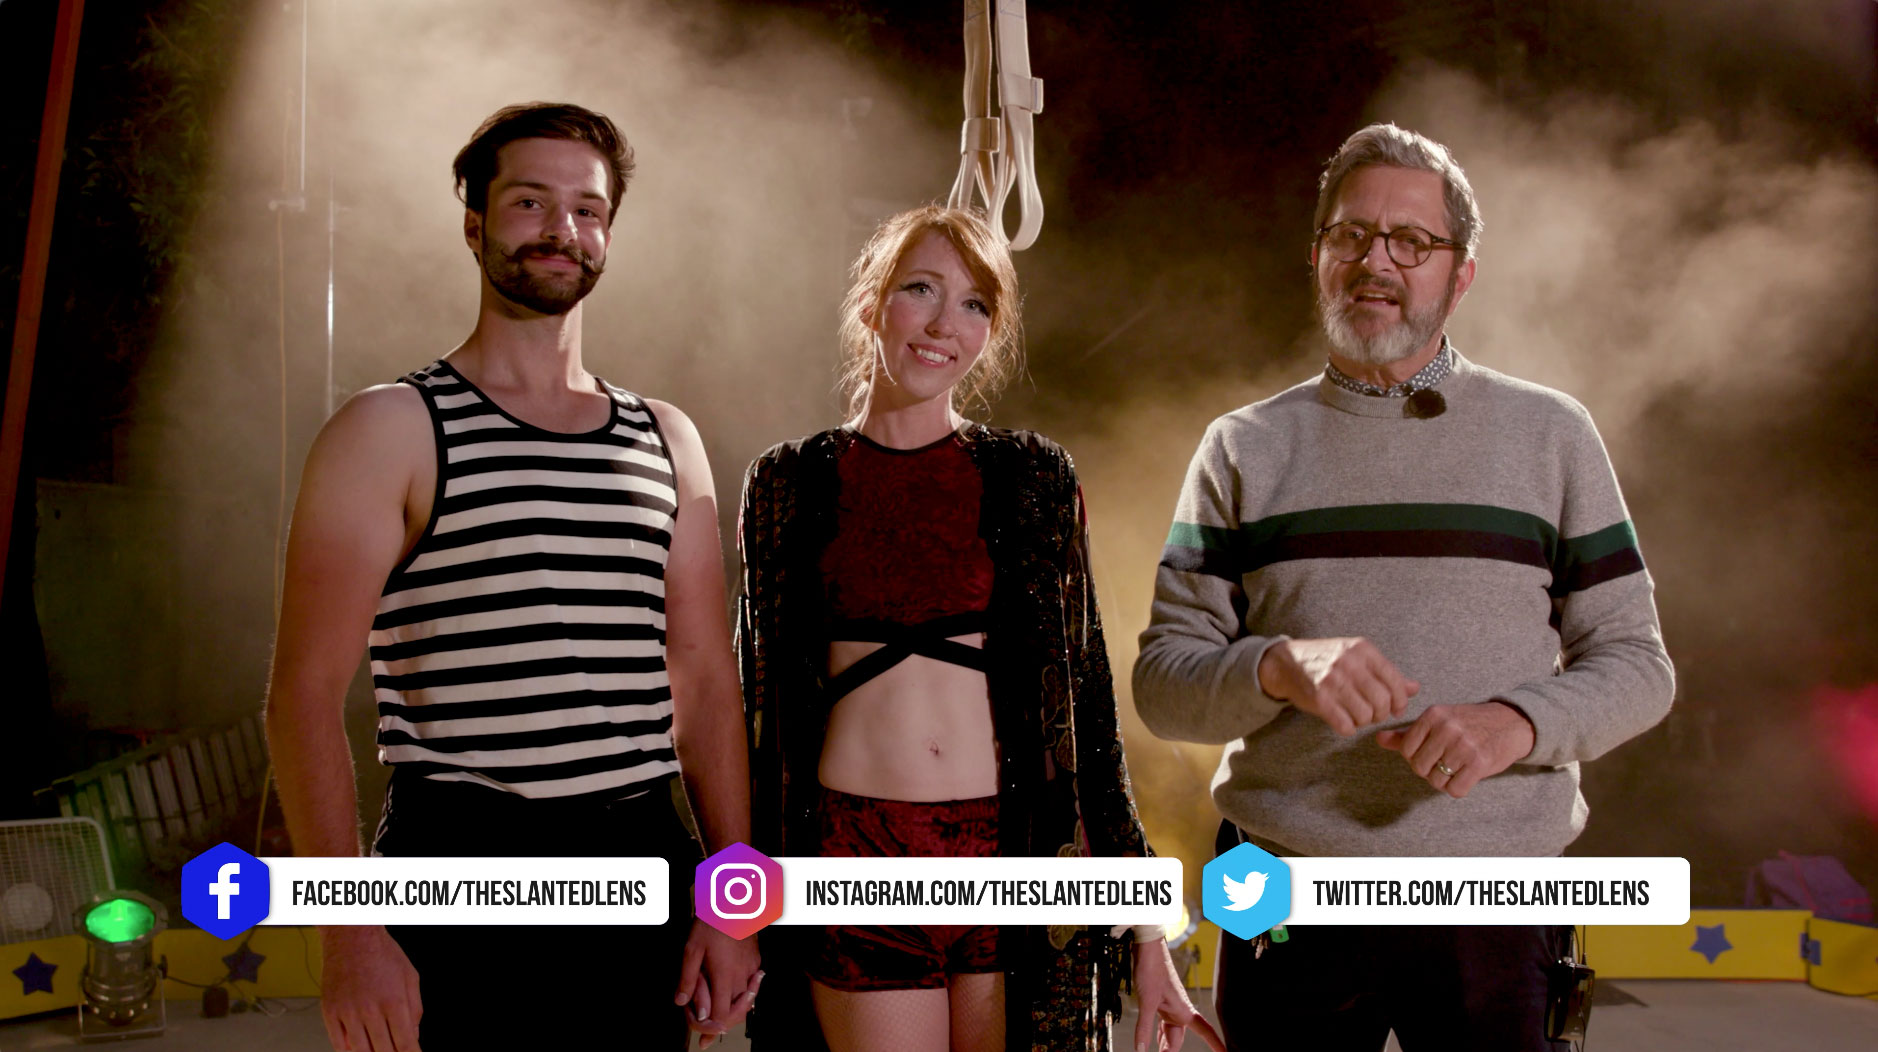
Okay, so there you have it. Simplify that shot by shooting at night. Get that rim light from behind and get some interesting angles and keep those cameras rollin’ keep on clickin’.
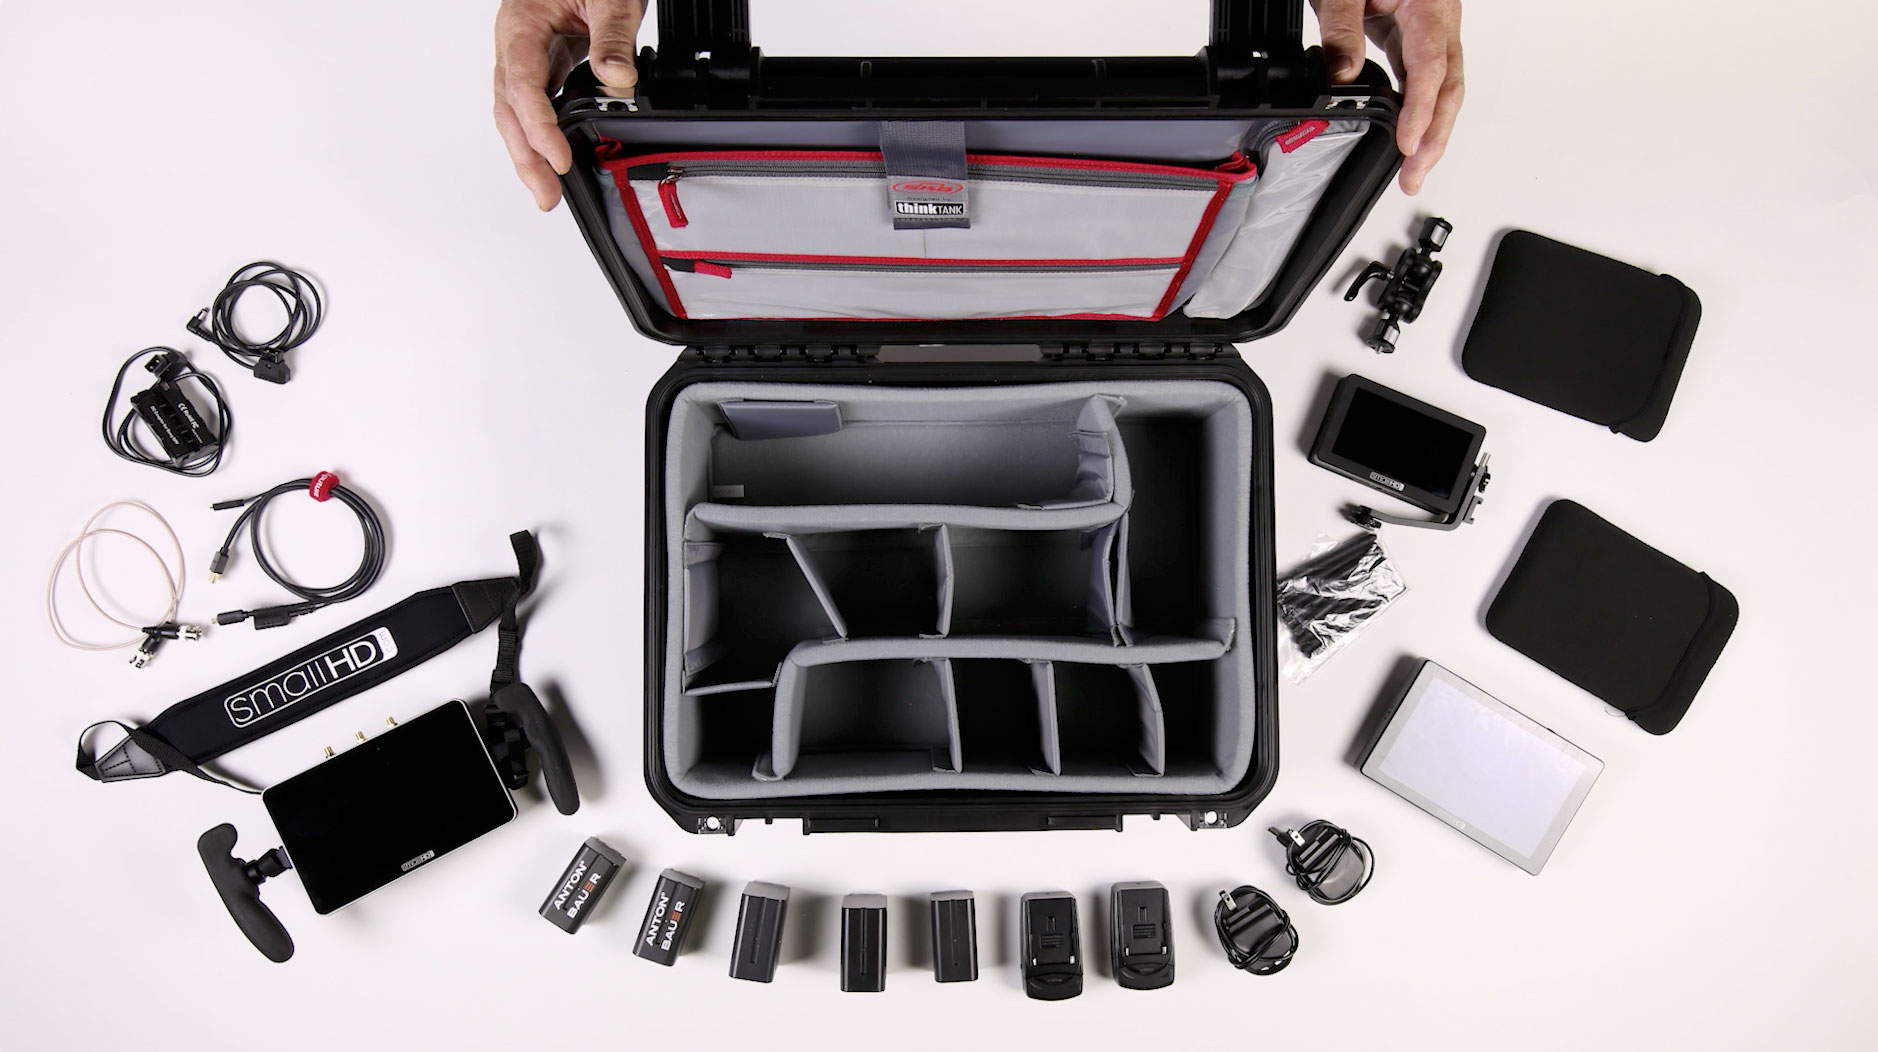
 Let’s see what monitors I’ve got in my 1813 SKB case. MPF battery charger, MPF batteries, SmallHD 702 touch, SmallHD focus 7 bolt 500 RX, neoprene sleeve, SDI cable, bag of antenna, 2 HDMI cables, SmallHD focus bolt, 500 transmitter on camera monitor, DTAP for Sony, NPF neoprene cover, DTAP A/C cable, Wooden camera ultra arm, mini monitor mount, SmallHD DP4. There’s the 1813 case packed up and ready to flamingo.
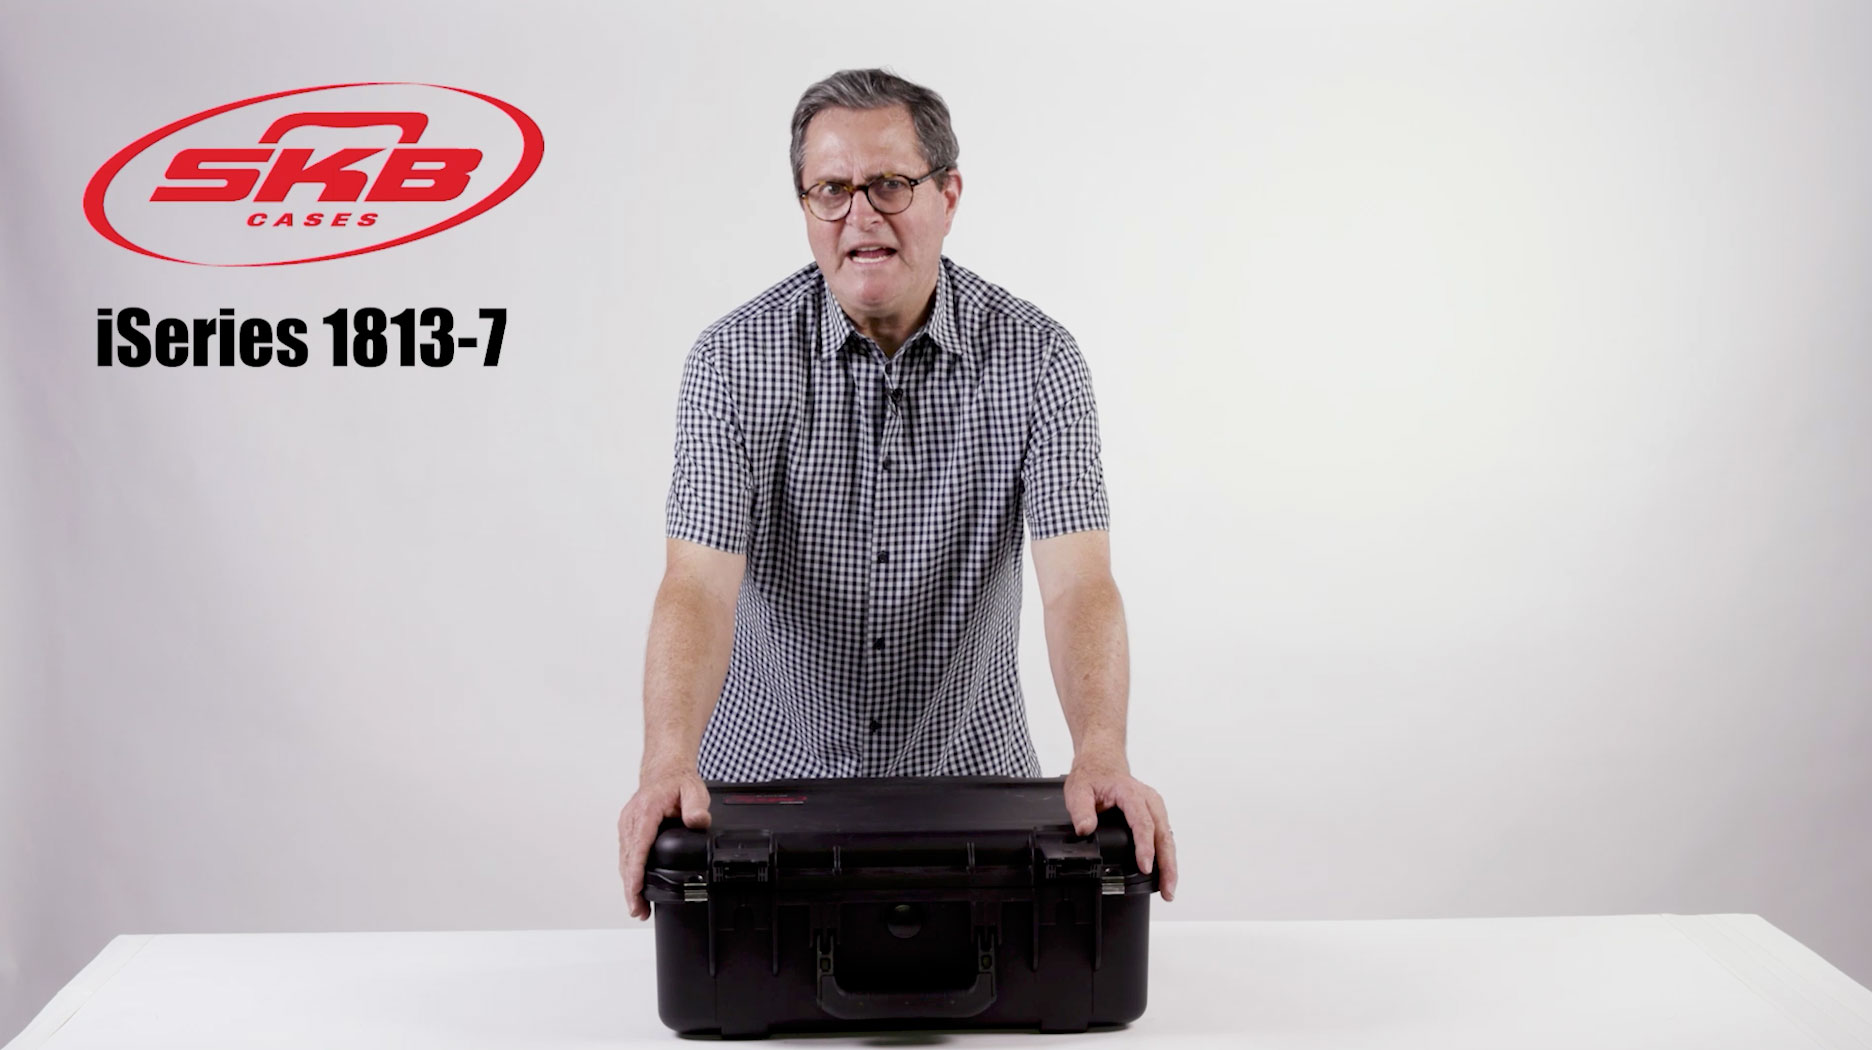
Leave a Reply